I’ve made many a red velvet cake recipe in my day. The cakes varied in the shade– more or less food coloring and cocoa, and in the type of frosting– boiled vanilla or cream cheese. However, when I tried this recipe, I stopped searching: I found THE ONE. It is a show stopper not only because of its four dark red layers, but also because of its fabulous fluffy frosting. Unlike most cream cheese frostings, this one is made from both regular (and I mean, generic grocery store brand) cream cheese and mascarpone. There’s no butter. The kicker ingredient is the cup and a half of heavy cream whipped in at the end; it lightens and transforms the frosting’s consistency. I, and many of my family and friends, concur that we could eat the frosting on its own, but with the addition of moist layers of cake, it’s simply over-the-top decadence. Perfect for Valentine’s or any other special day!
The original recipe is from one of my go-to baking blogs, Joy of Baking. I’ve never been disappointed by any of the recipes on this site. You can find a printable version here. I don’t change anything in the recipe except the pan preparation; I also flour the pans in addition to the butter/parchment treatment because I am compulsive about safeguarding against any possibility of missing cake chunks. (There is nothing so disappointing as layers of cake with missing bits)!
As with any baking, make sure you take all ingredients out ahead of time so they can reach room temperature; this ensures everything bakes evenly. For this recipe, don’t substitute the cake flour and remember to sift the the flour BEFORE measuring it (a total pain, but you don’t want a heavy cake here). I also use toothpicks to help guide me in cutting the cake layers in four; lastly, make sure you do freeze the cakes first AND use a long serrated knife (my current fave is one from Pampered Chef because it’s very thin and flexible). If you want a more elegant, towering cake, use 8-inch pans instead of 9-inch ones; the result is spectacular!
I made this cake for last weekend’s Mommy Dinner and failed to take pics of how I made the frosting and assembled the cake. The moms all agreed that it was definitely a recipe I needed to blog (yeah, as if I needed a reason to make this cake a second time)! More importantly, I DIDN’T GET ANY LEFTOVERS! Kurt and Ken surreptitiously snacked on the last pieces and I was left with an empty plastic container in the kitchen sink.
Here’s how I do it:
Cut out two circles of parchment (or wax) paper to fit a 9-inch cake pan. Butter (or spray or Crisco) the pans and line the bottoms with the parchment. Grease the bottom (parchment) again and flour. Set aside. Preheat oven to 350 degrees.
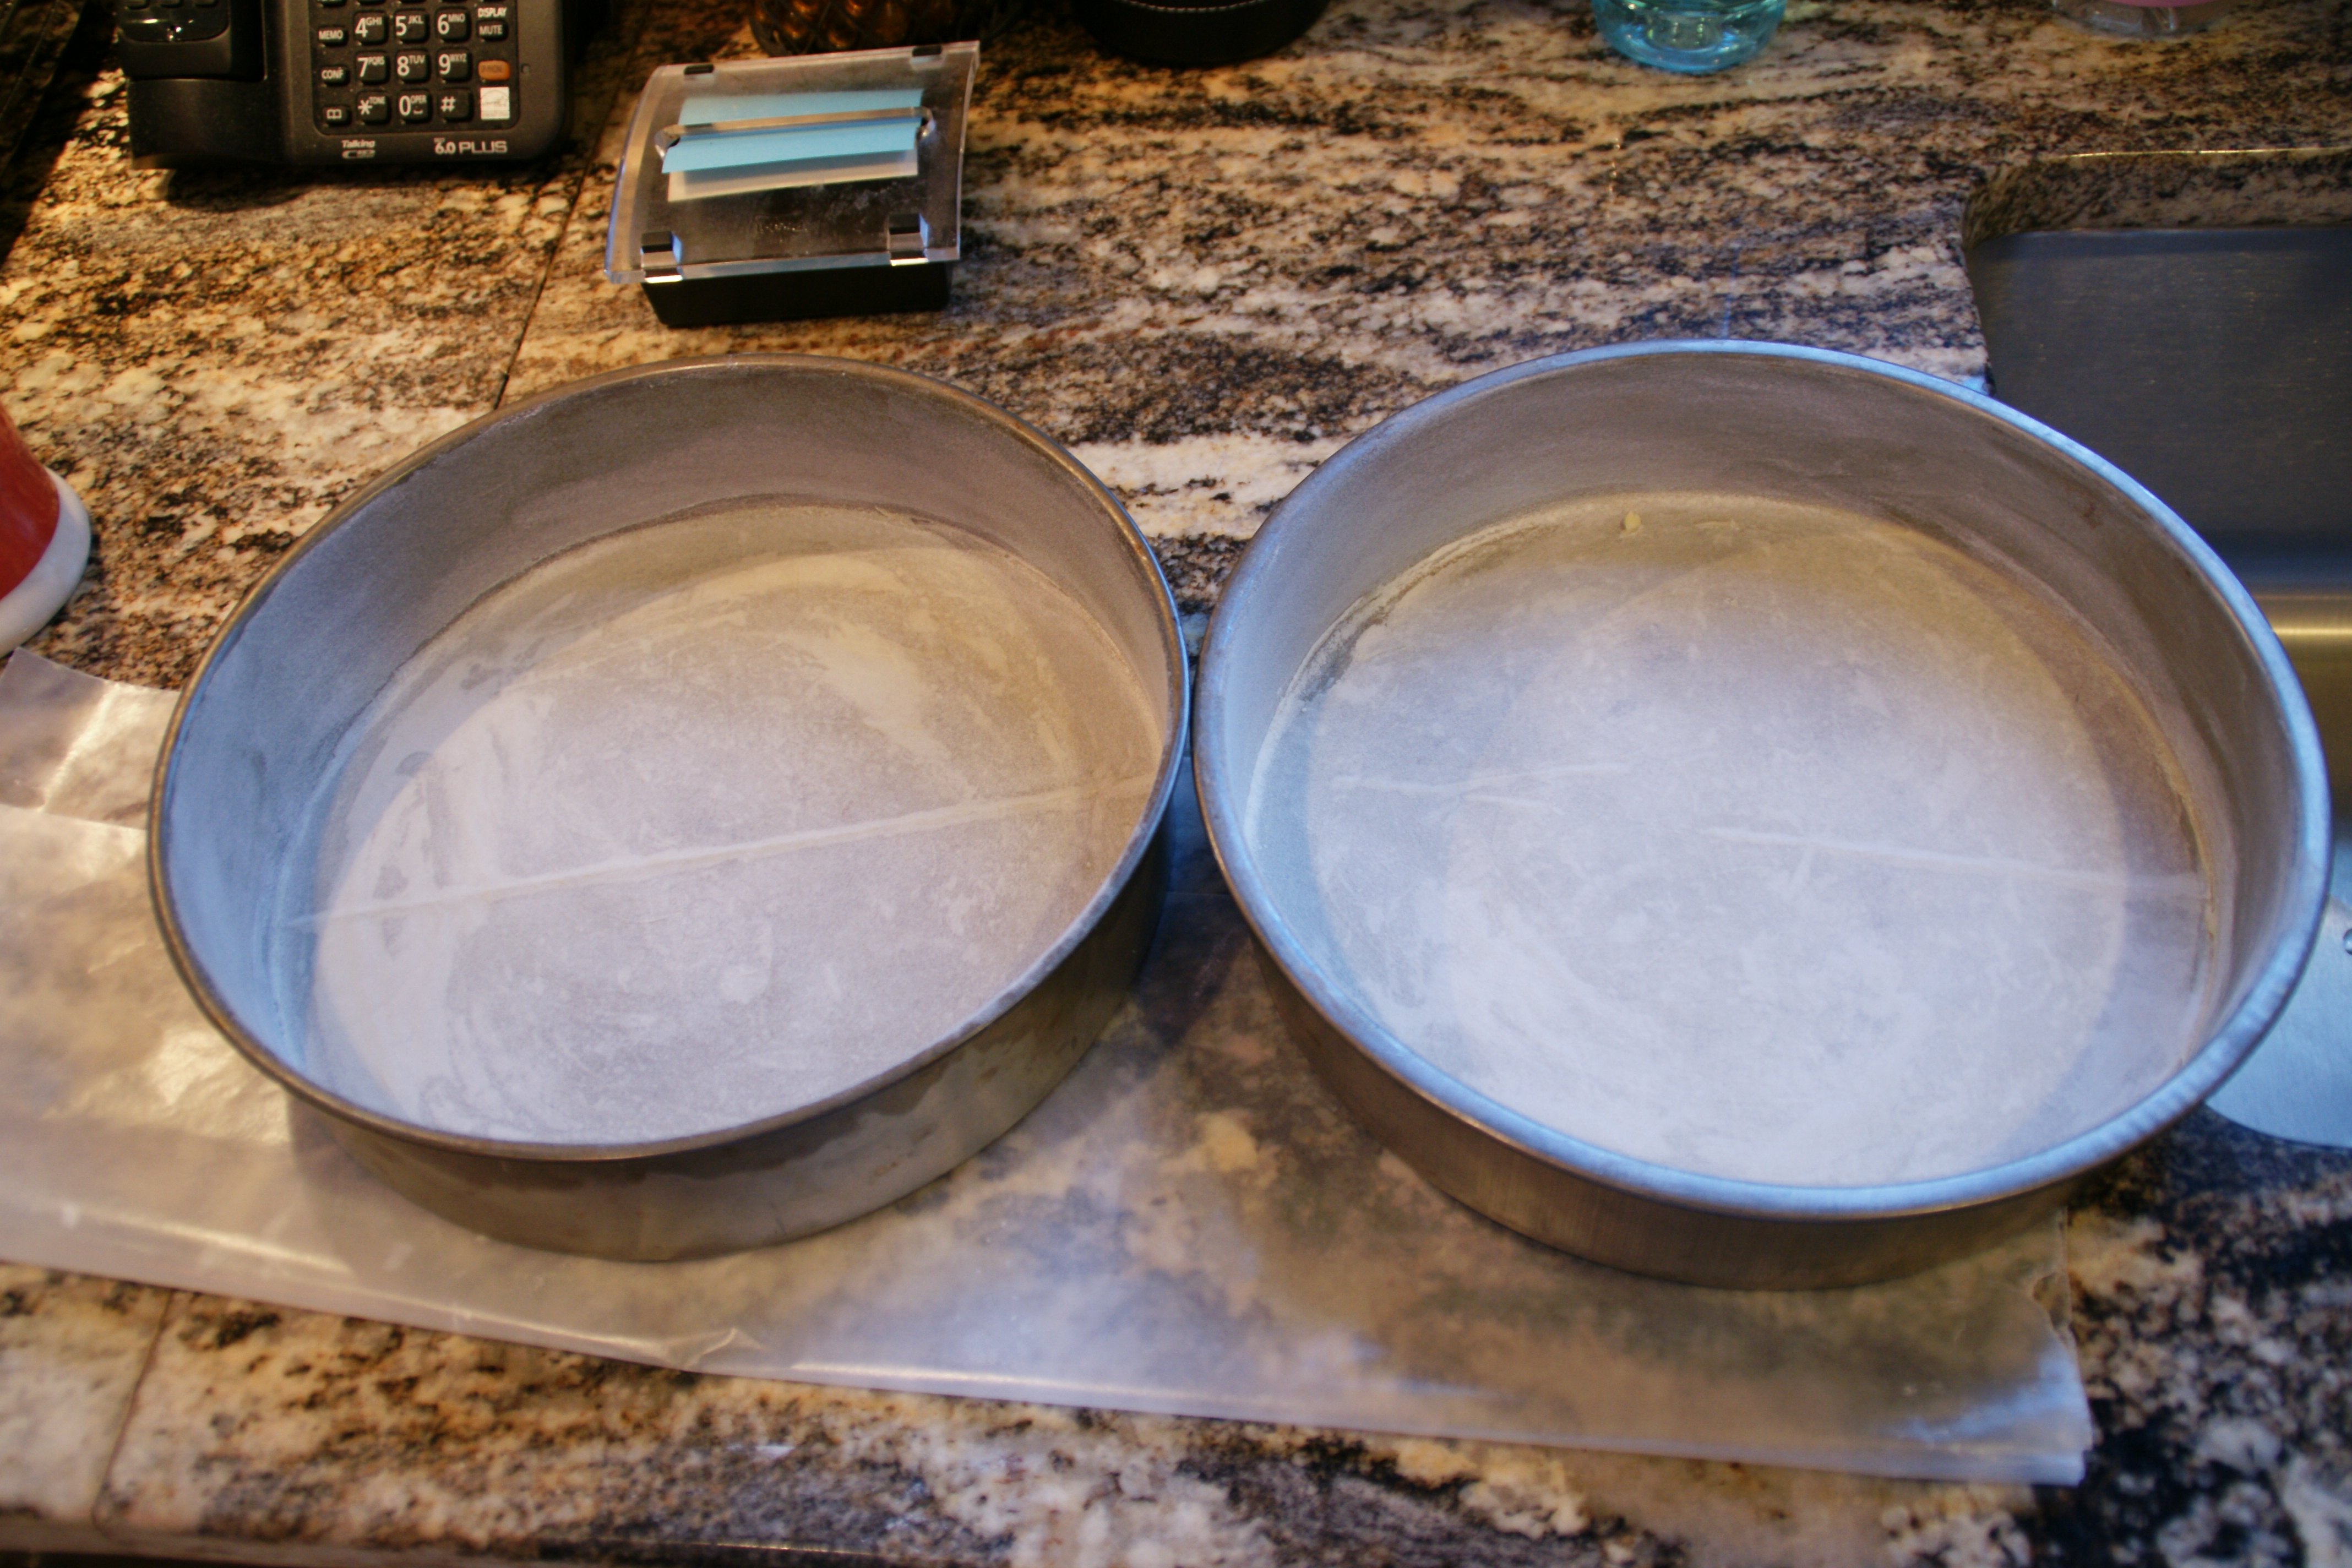
This is a very light and delicate cake, so prep the pans well!
Measure the buttermilk into a 1-cup or larger measuring cup and add the red food coloring. Whisk to combine; it will be bright fuschia, but try to ignore that fact. Set aside.
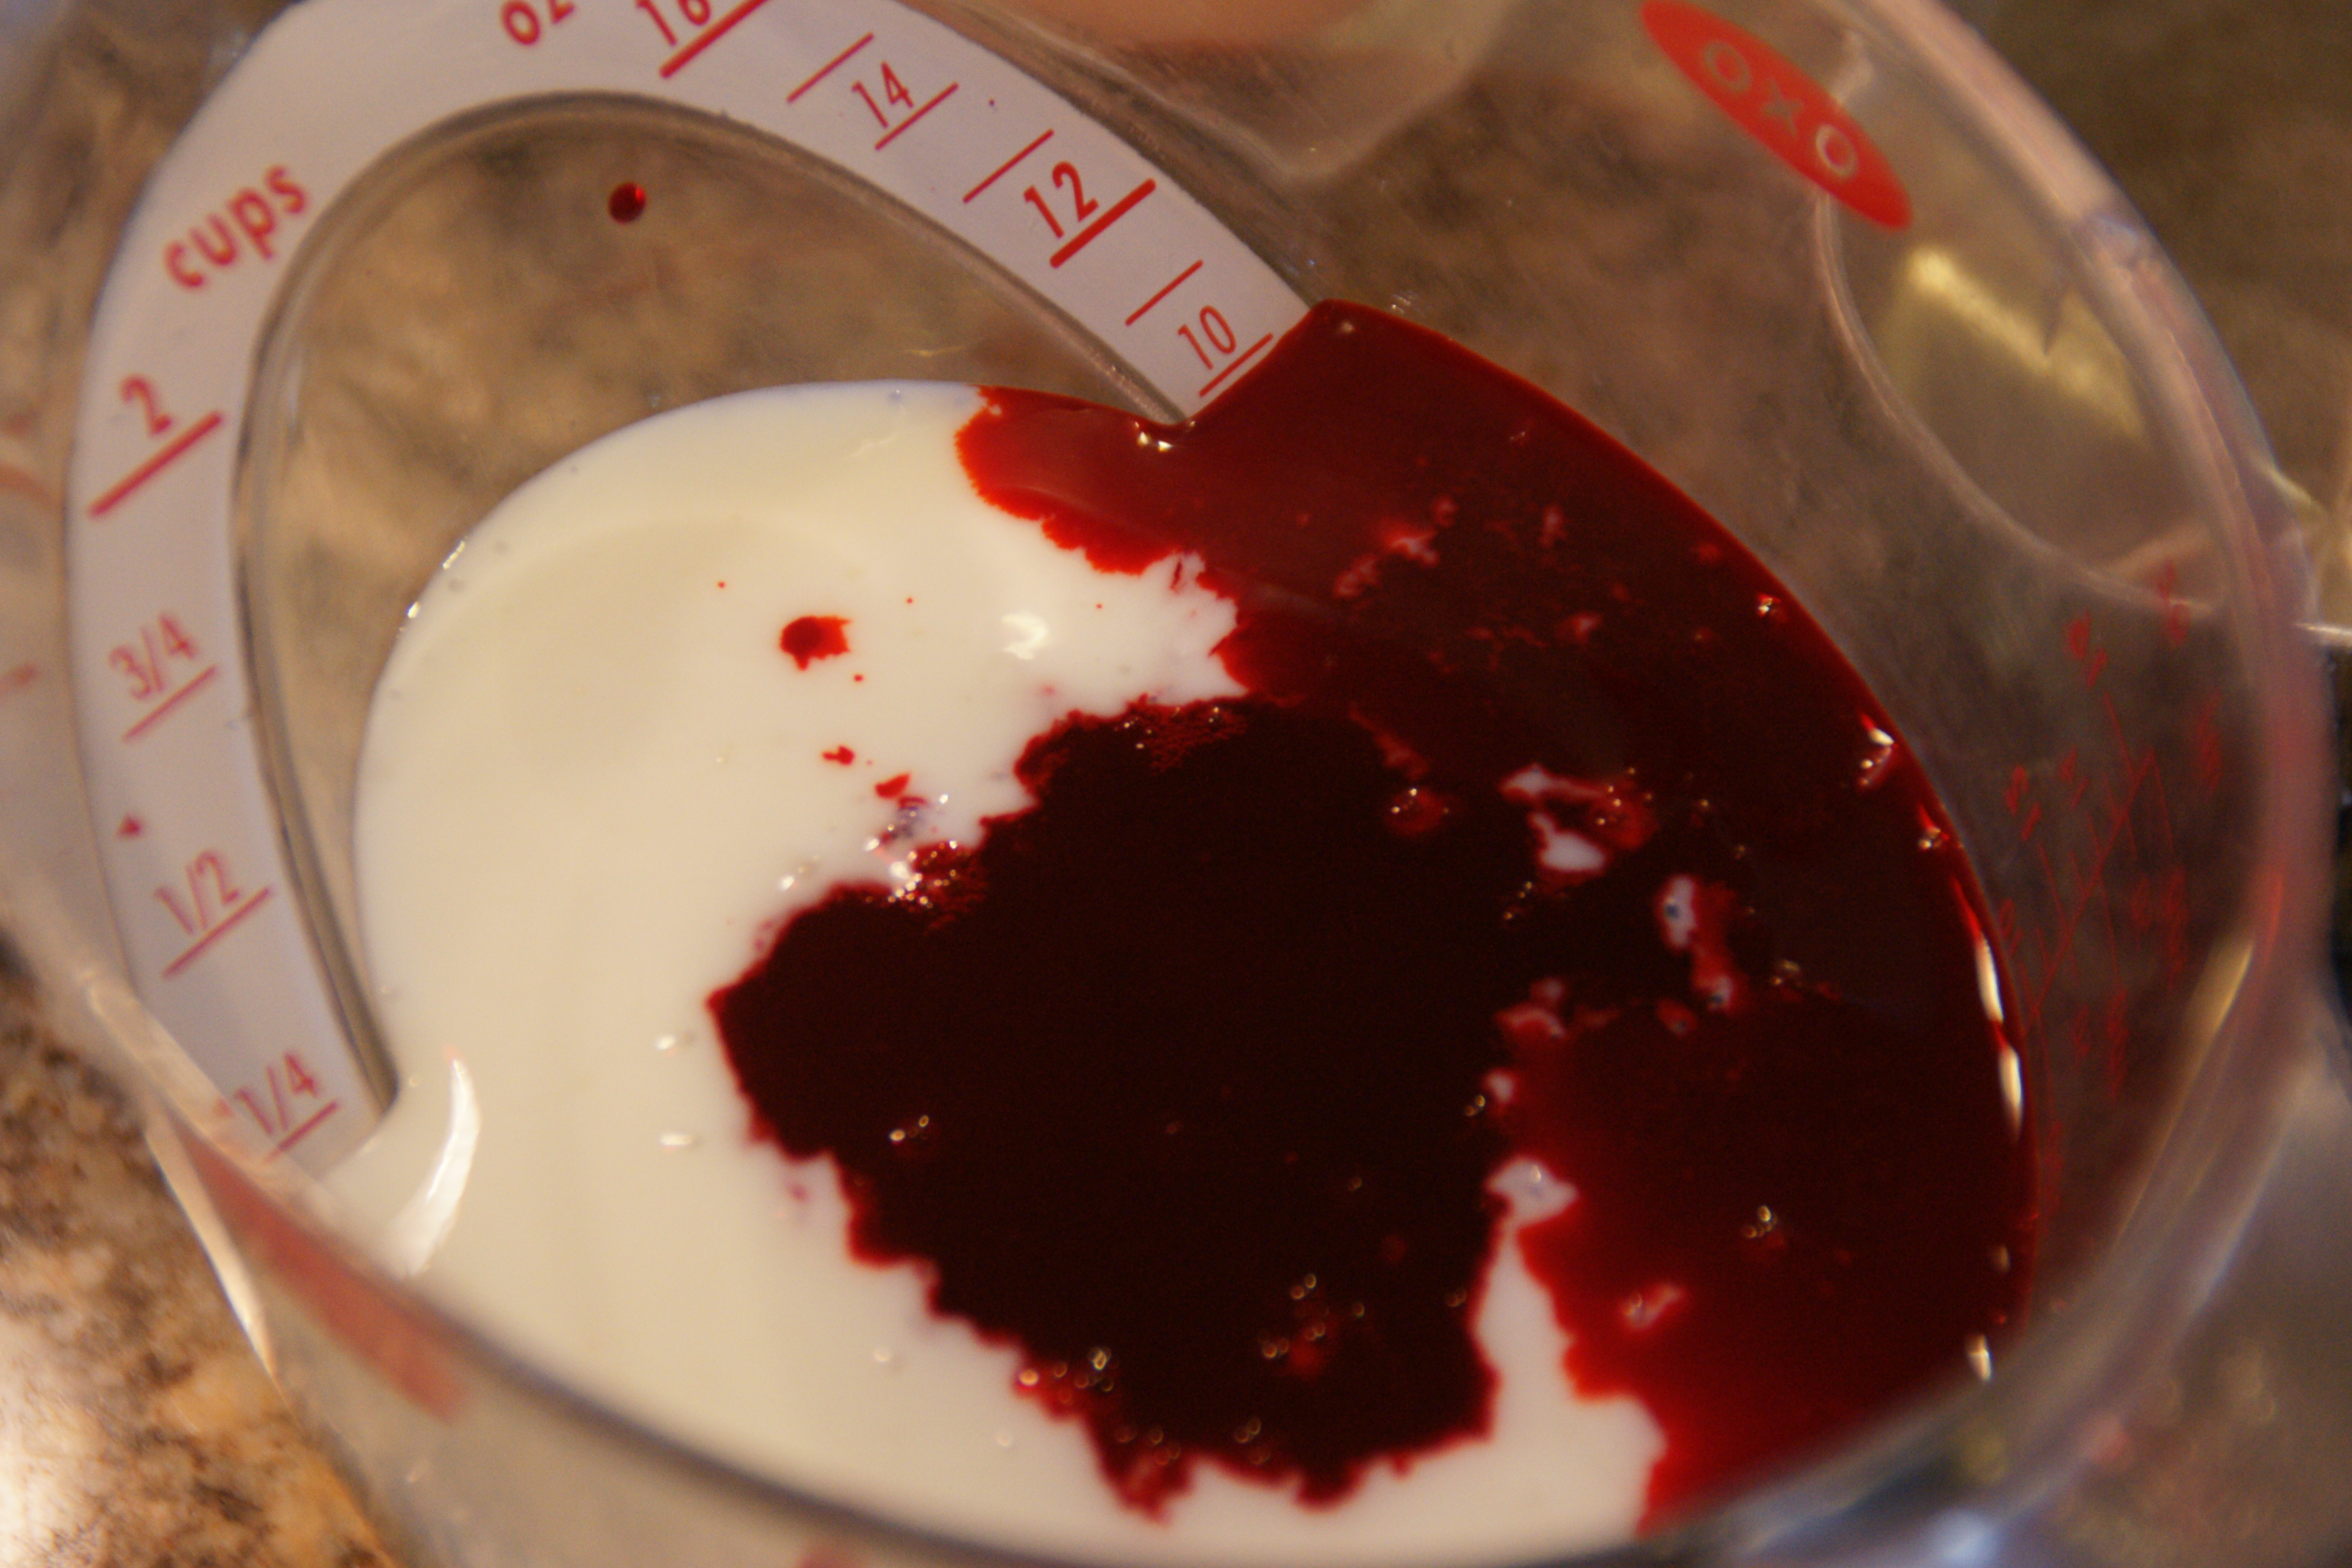
Yep, you gotta get over the bottle of red food coloring…
In a small bowl, sift the flour, cocoa powder and salt together. Set aside.
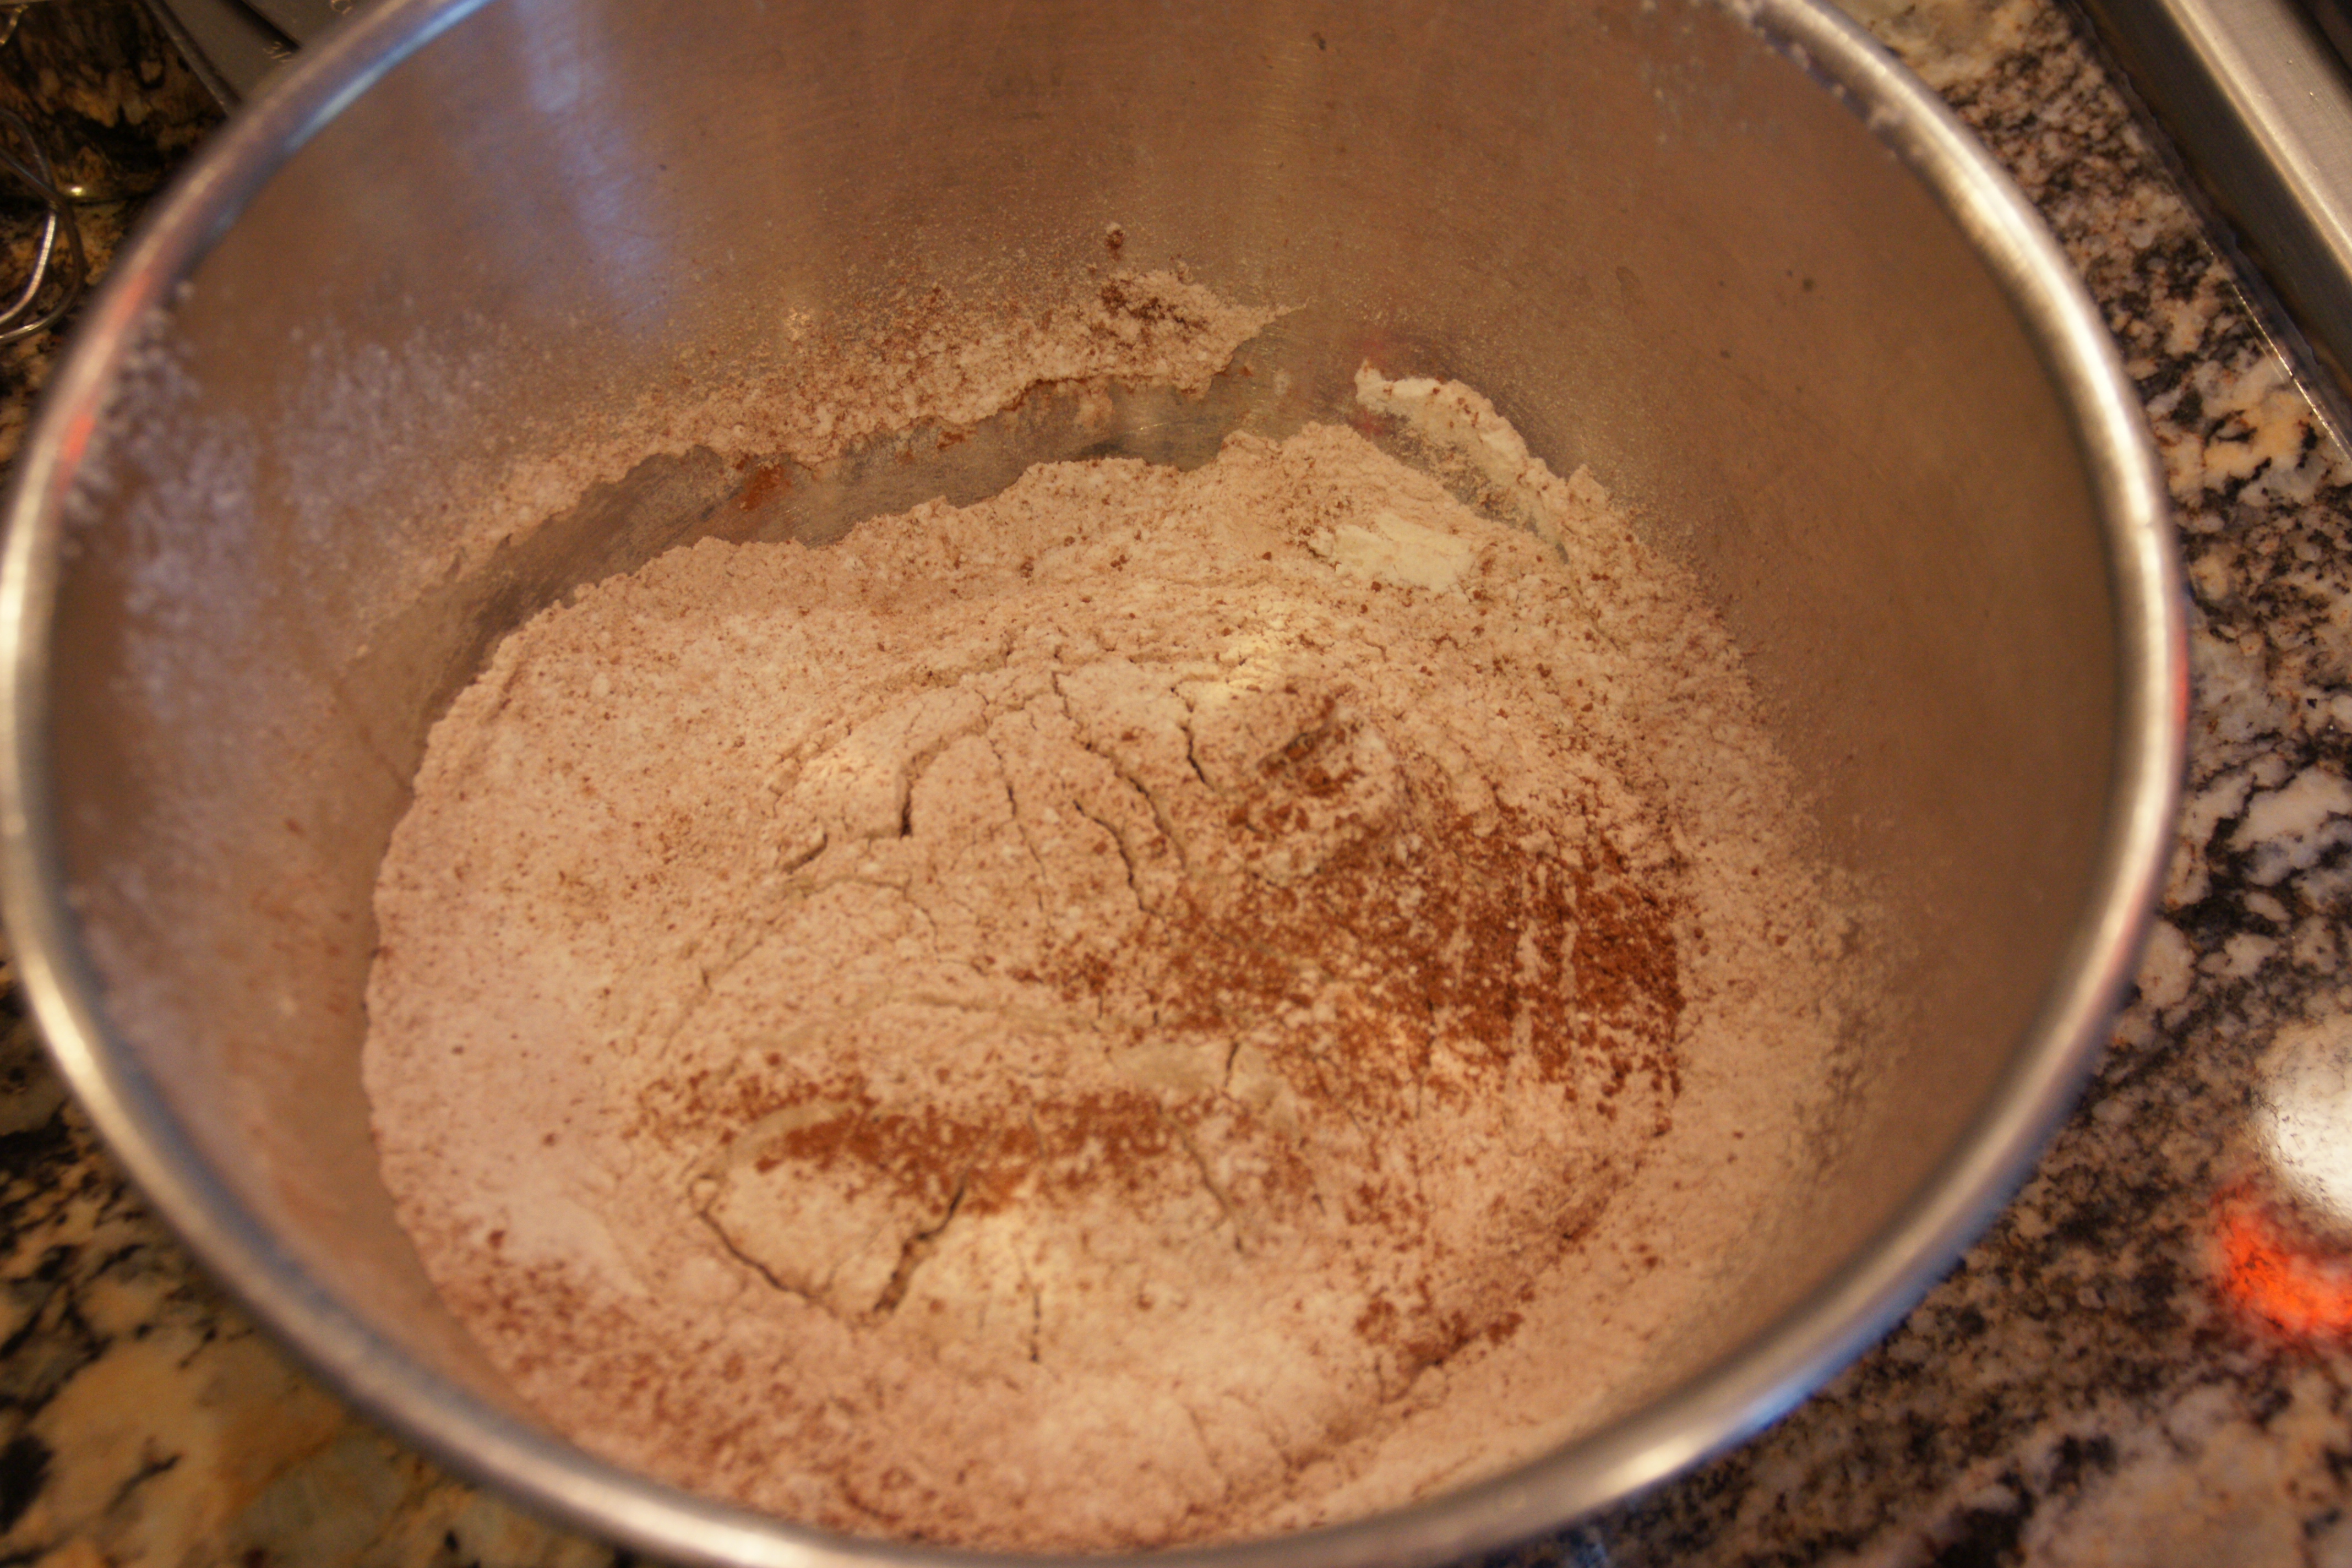
Sift to lighten and remove lumps
In a larger bowl, using a hand mixer, beat the softened butter til light and fluffy. (You really want to beat the butter for a while to get lots of air into it; your only leavening will be the eggs whites and baking soda).
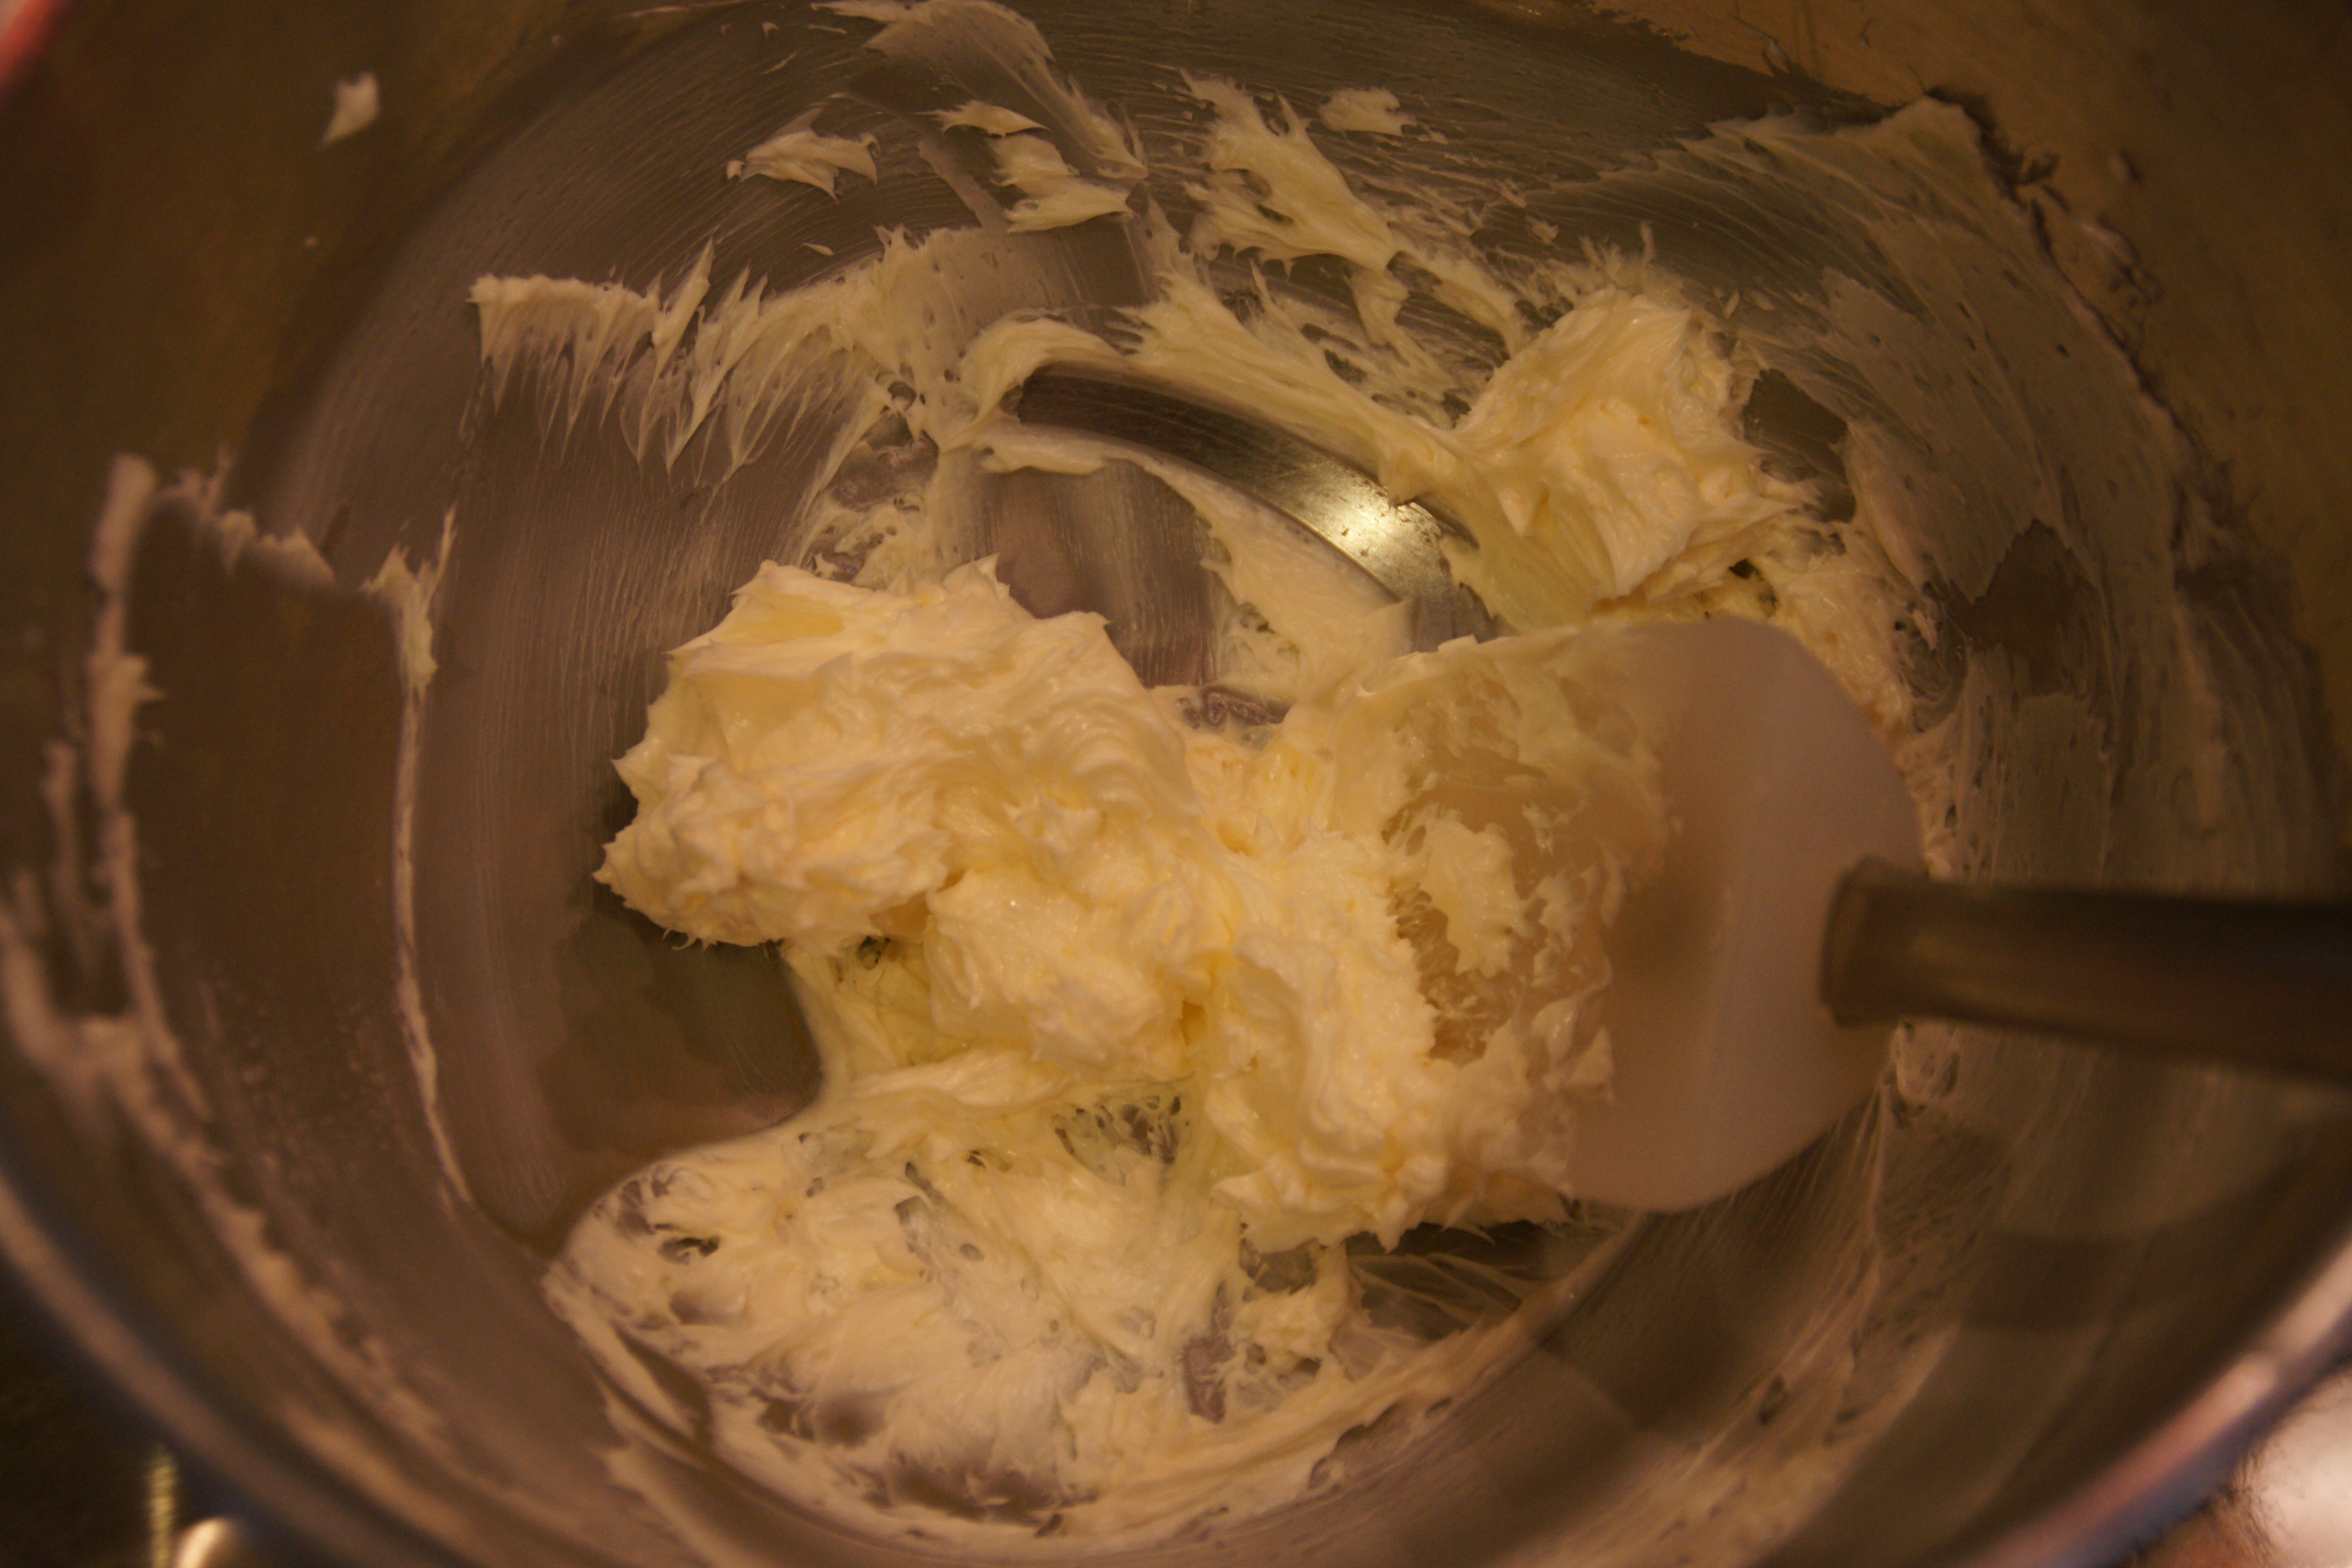
Butter will lighten a bit in color
Add the sugar and beat until well incorporated. Scrape down the bowl every now and then to ensure everything is mixed!
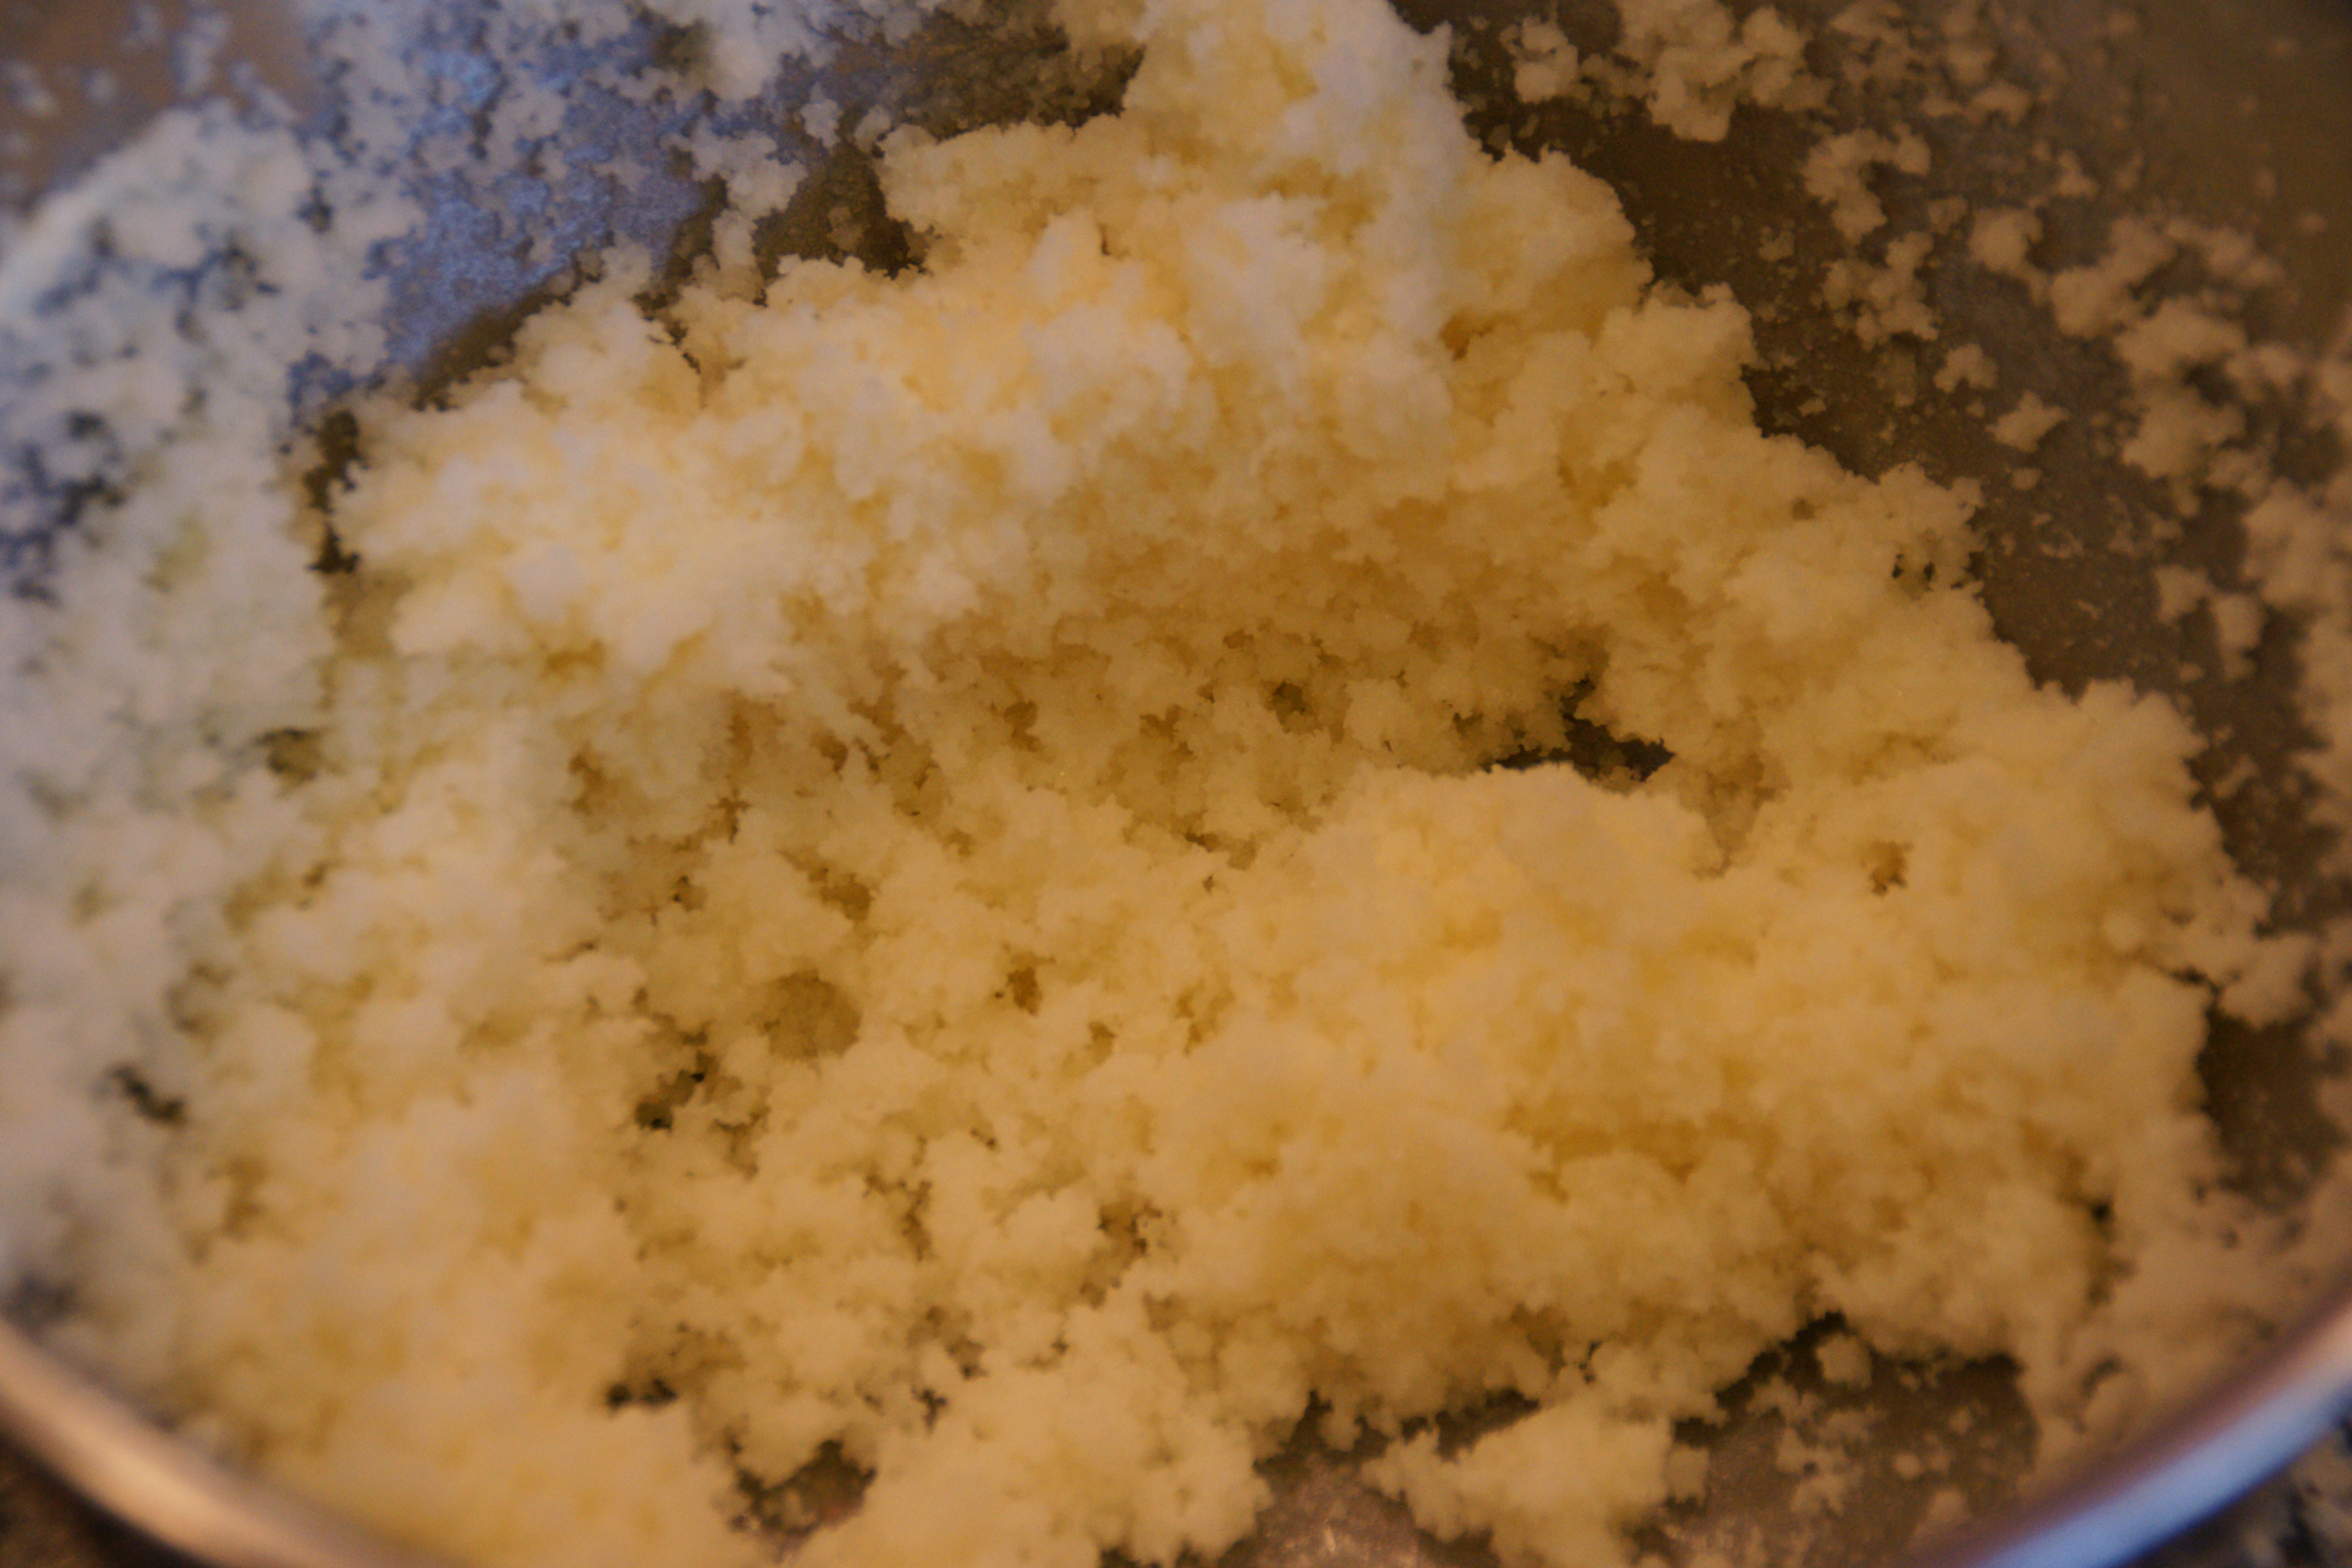
I beat this on high for about 3 minutes
Add the eggs one at a time, beating well after each addition. Scrape down the sides. Beat in the vanilla. Get your red buttermilk and flour ready.

The mixture will be very smooth after the eggs and vanilla have been added
Alternately beat in the flour and buttermilk, beginning and ending with the flour.
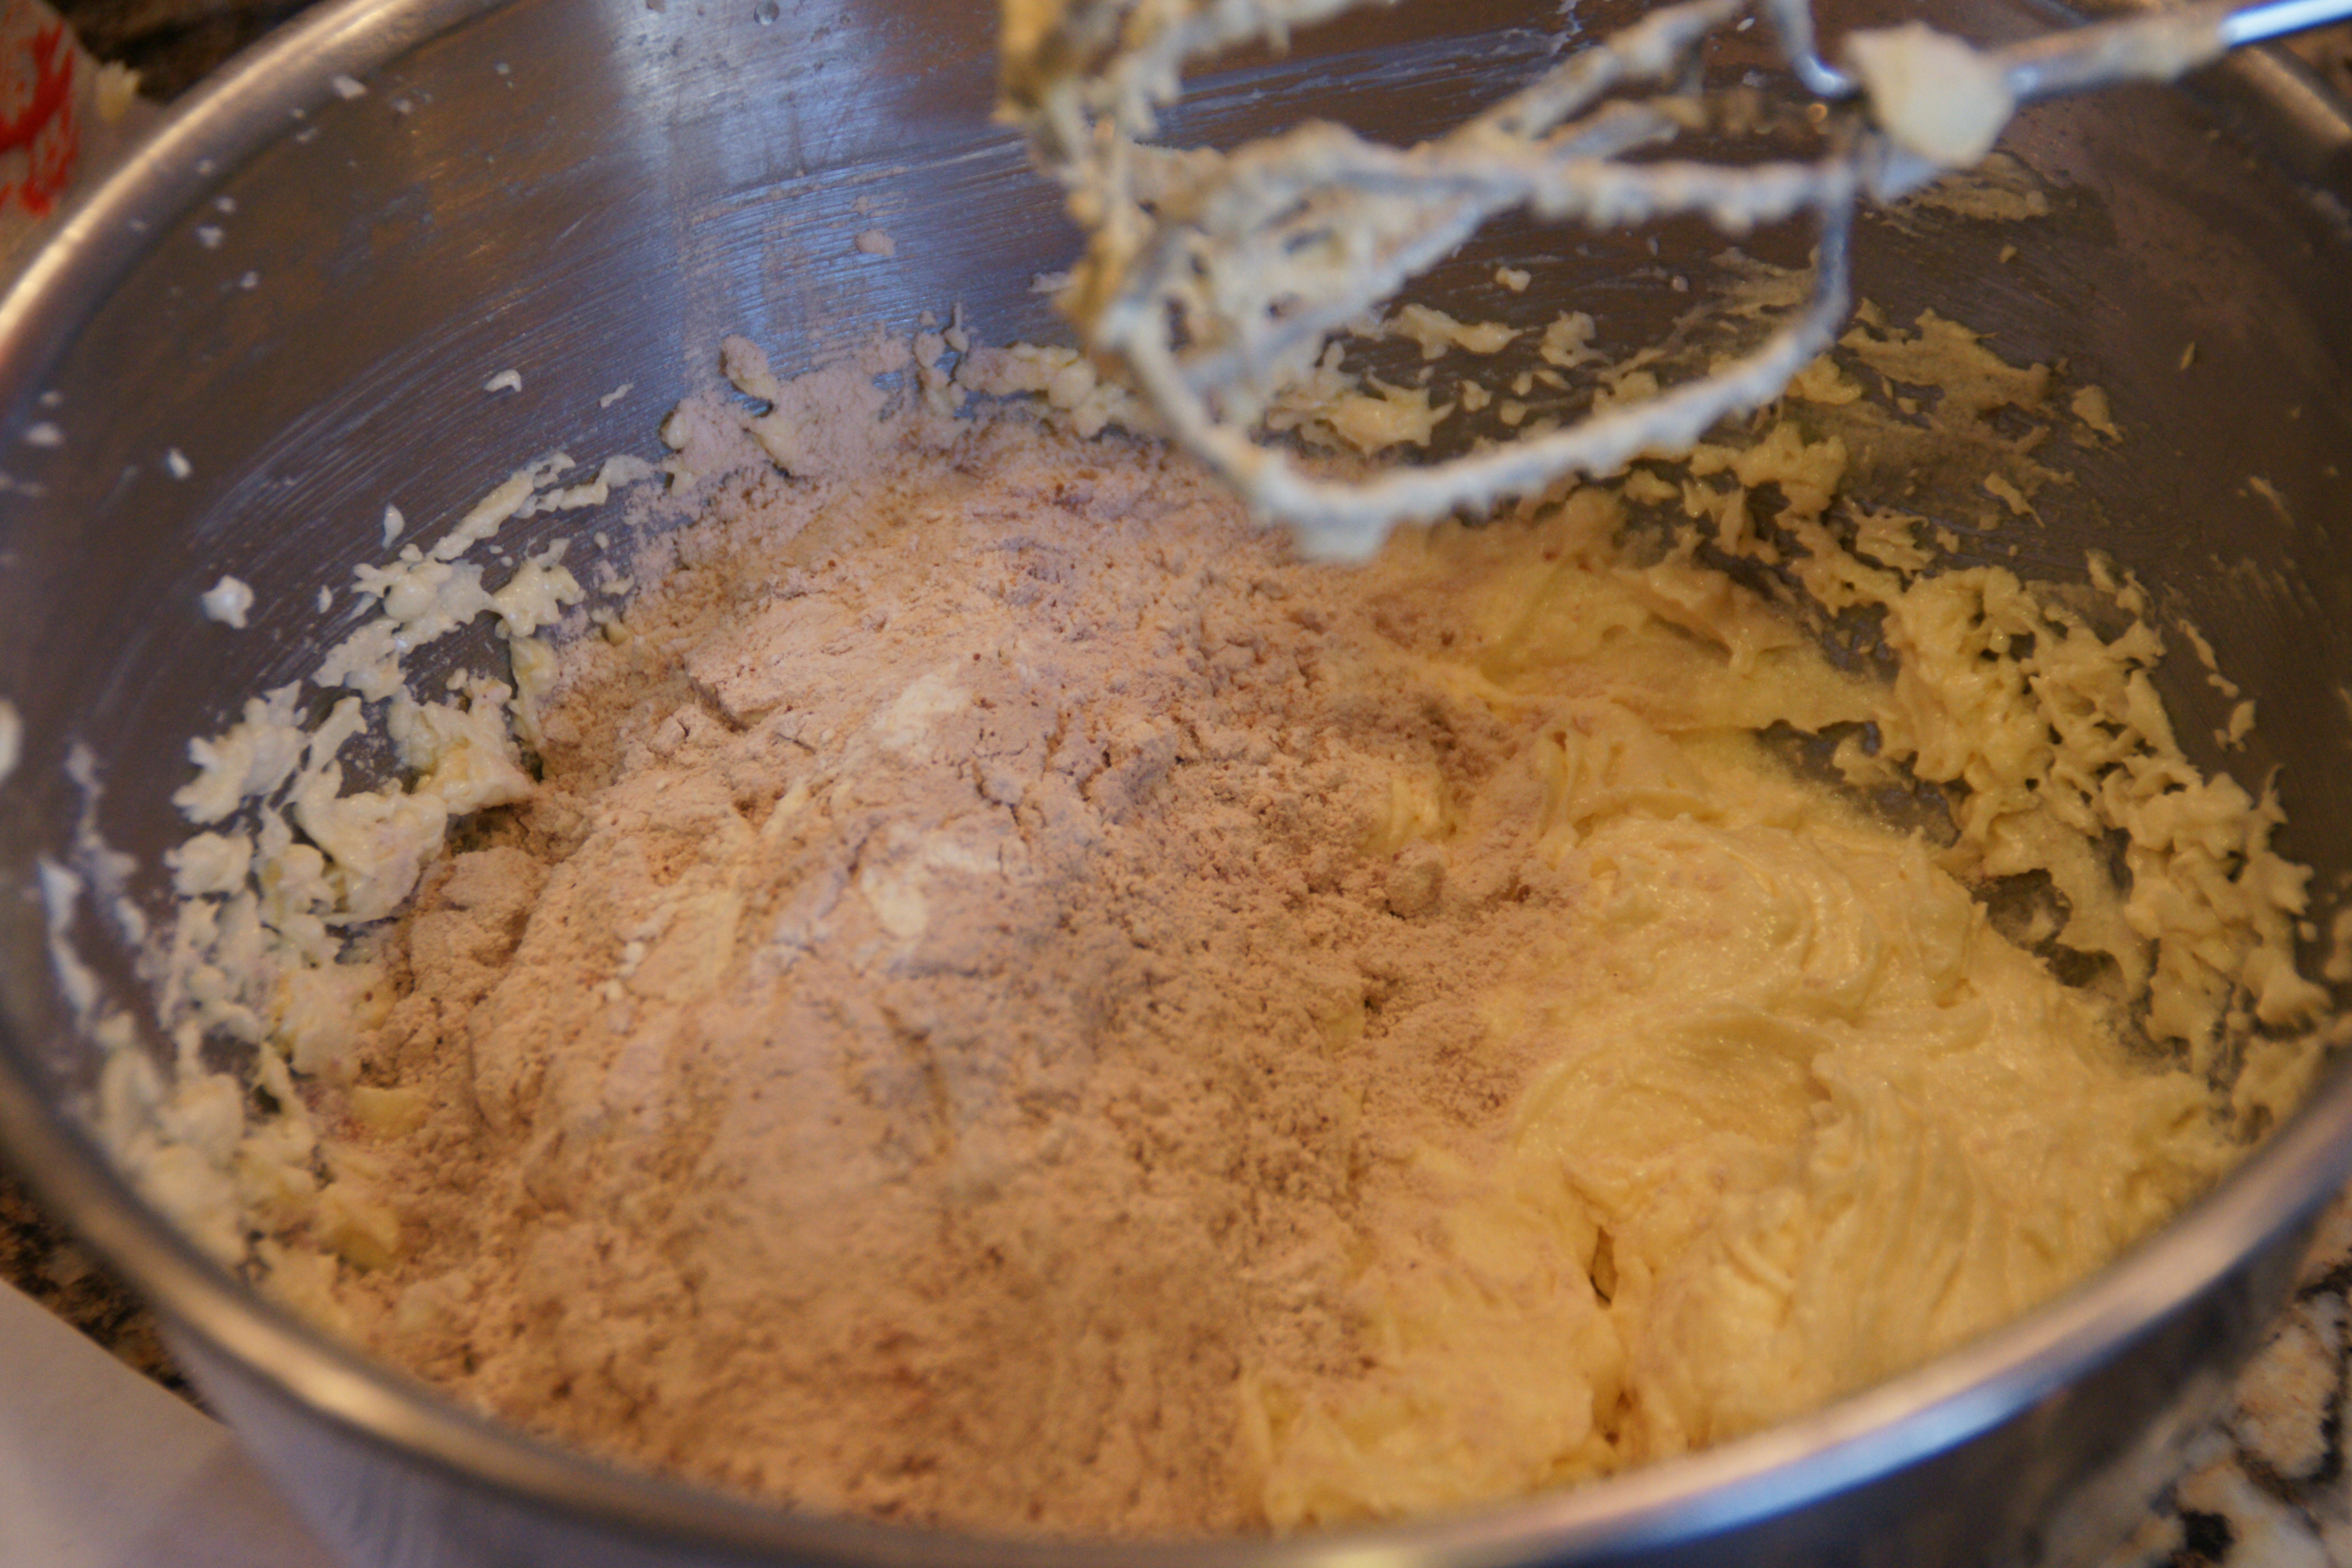
Start (and end) with the flour mix!
I do the flour in three parts, and the buttermilk in two: flour, buttermilk, flour, buttermilk, flour. Periodically scrape down the sides of the bowl.
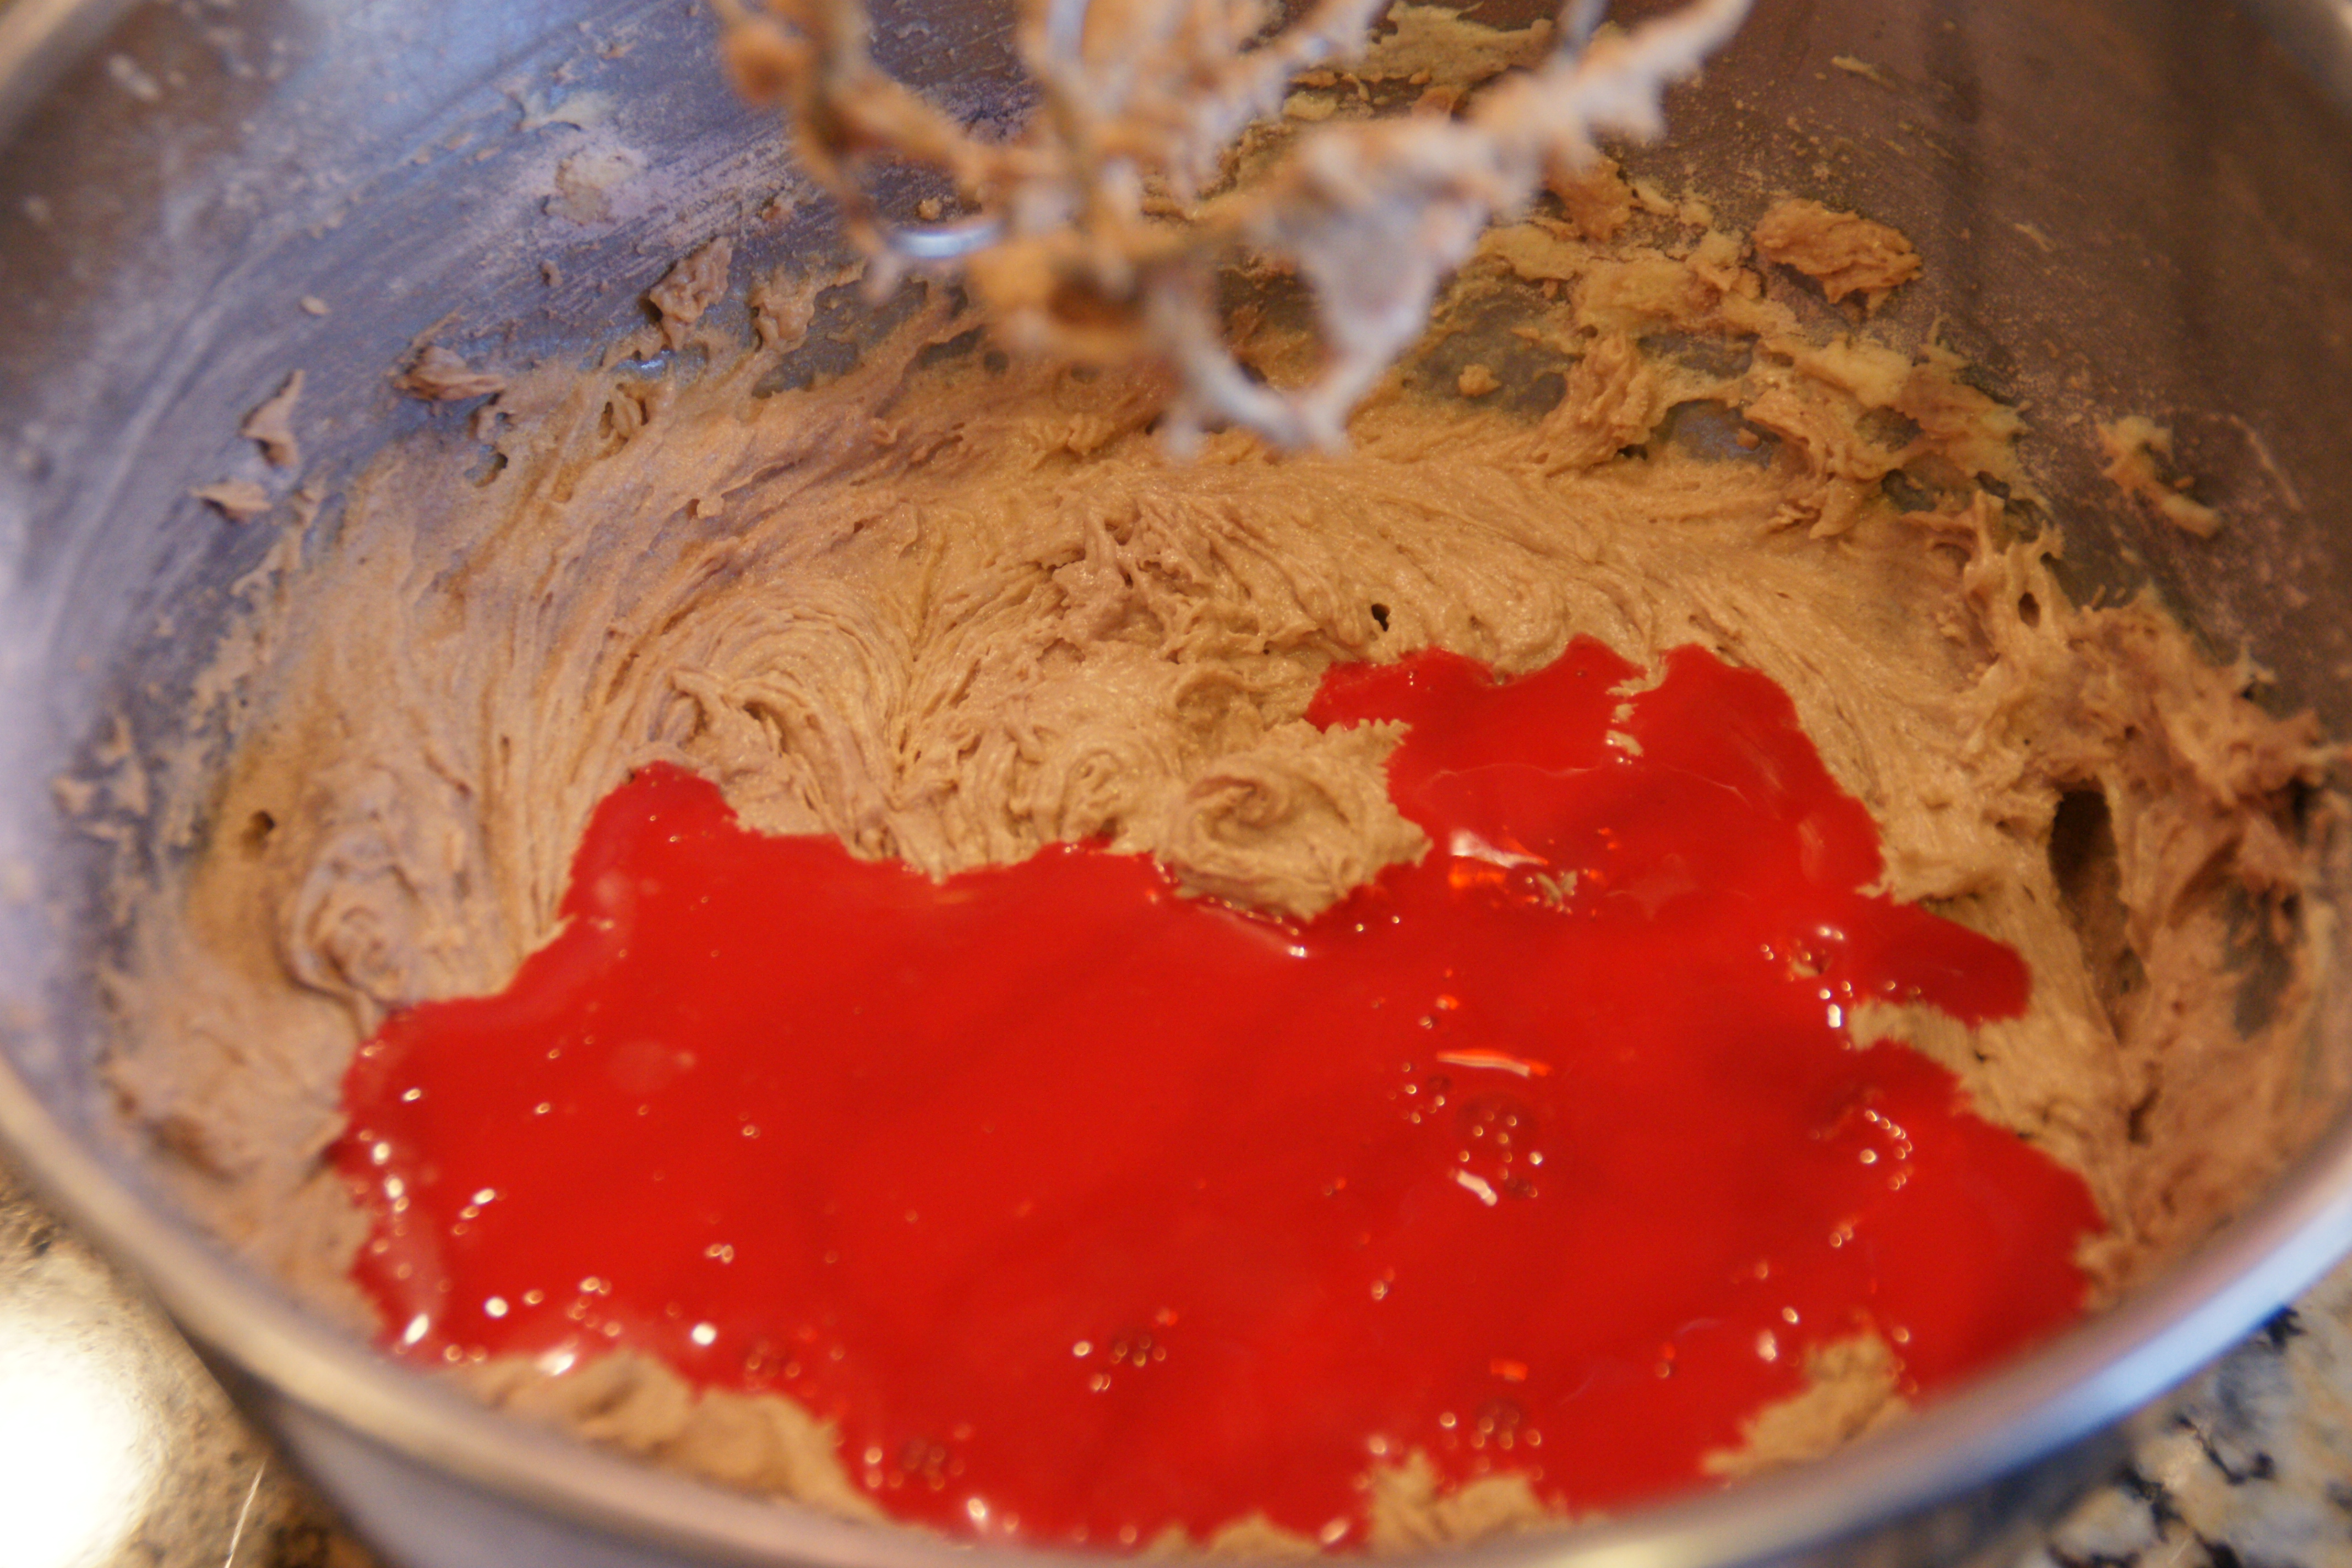
The RED in red velvet cake (it actually is more fuschia)!
Place the baking soda in a small prep bowl. Add the white vinegar and swirl so the vinegar hits all the soda. The mixture should bubble and foam (if not, time to buy more baking soda). Quickly add the mixture to the batter and mix thoroughly.
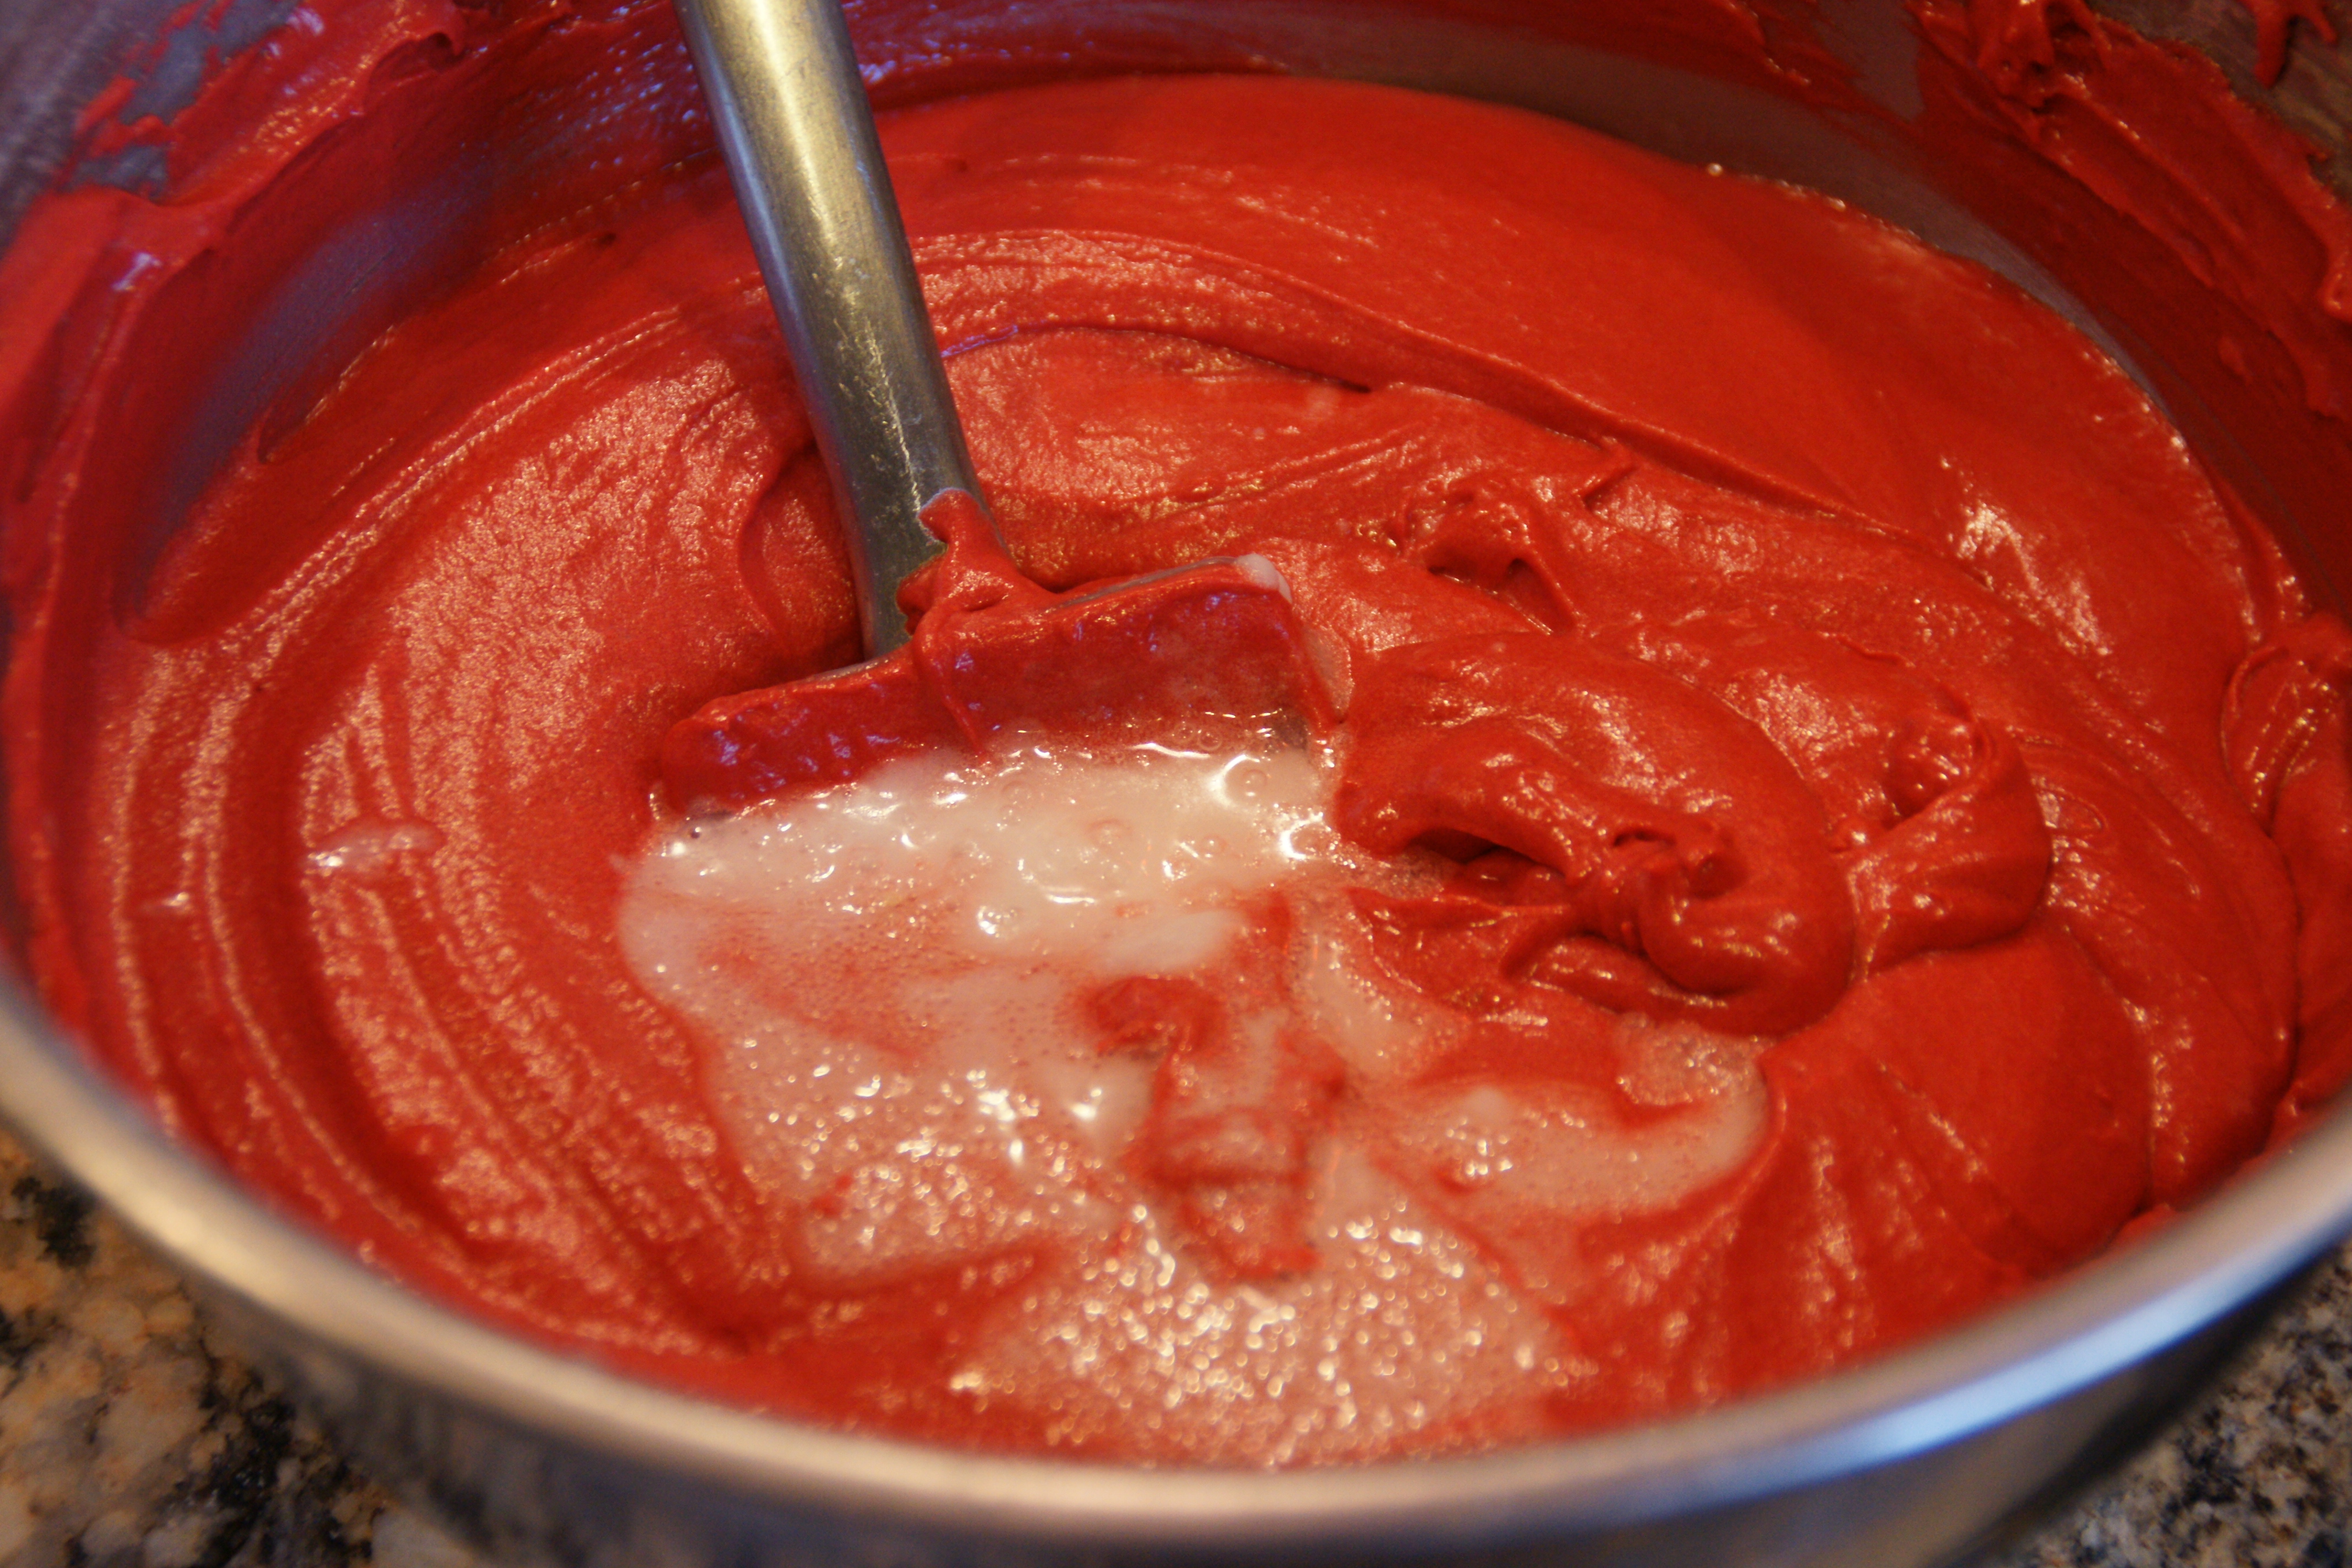
The fizz! Mix quickly!
Divide the batter between the two cake pans and bake for 25 to 30 minutes. Cakes are done when a tester inserted in the middle comes out clean and the cakes have shrunk slightly from the sides of the pan. Cool the cakes in their pans for 10 minutes.
Run a knife around the edge to loosen the cake, then invert onto wire racks to cool. When completely cooled, wrap the layers in plastic wrap and freeze until firm (at least an hour).
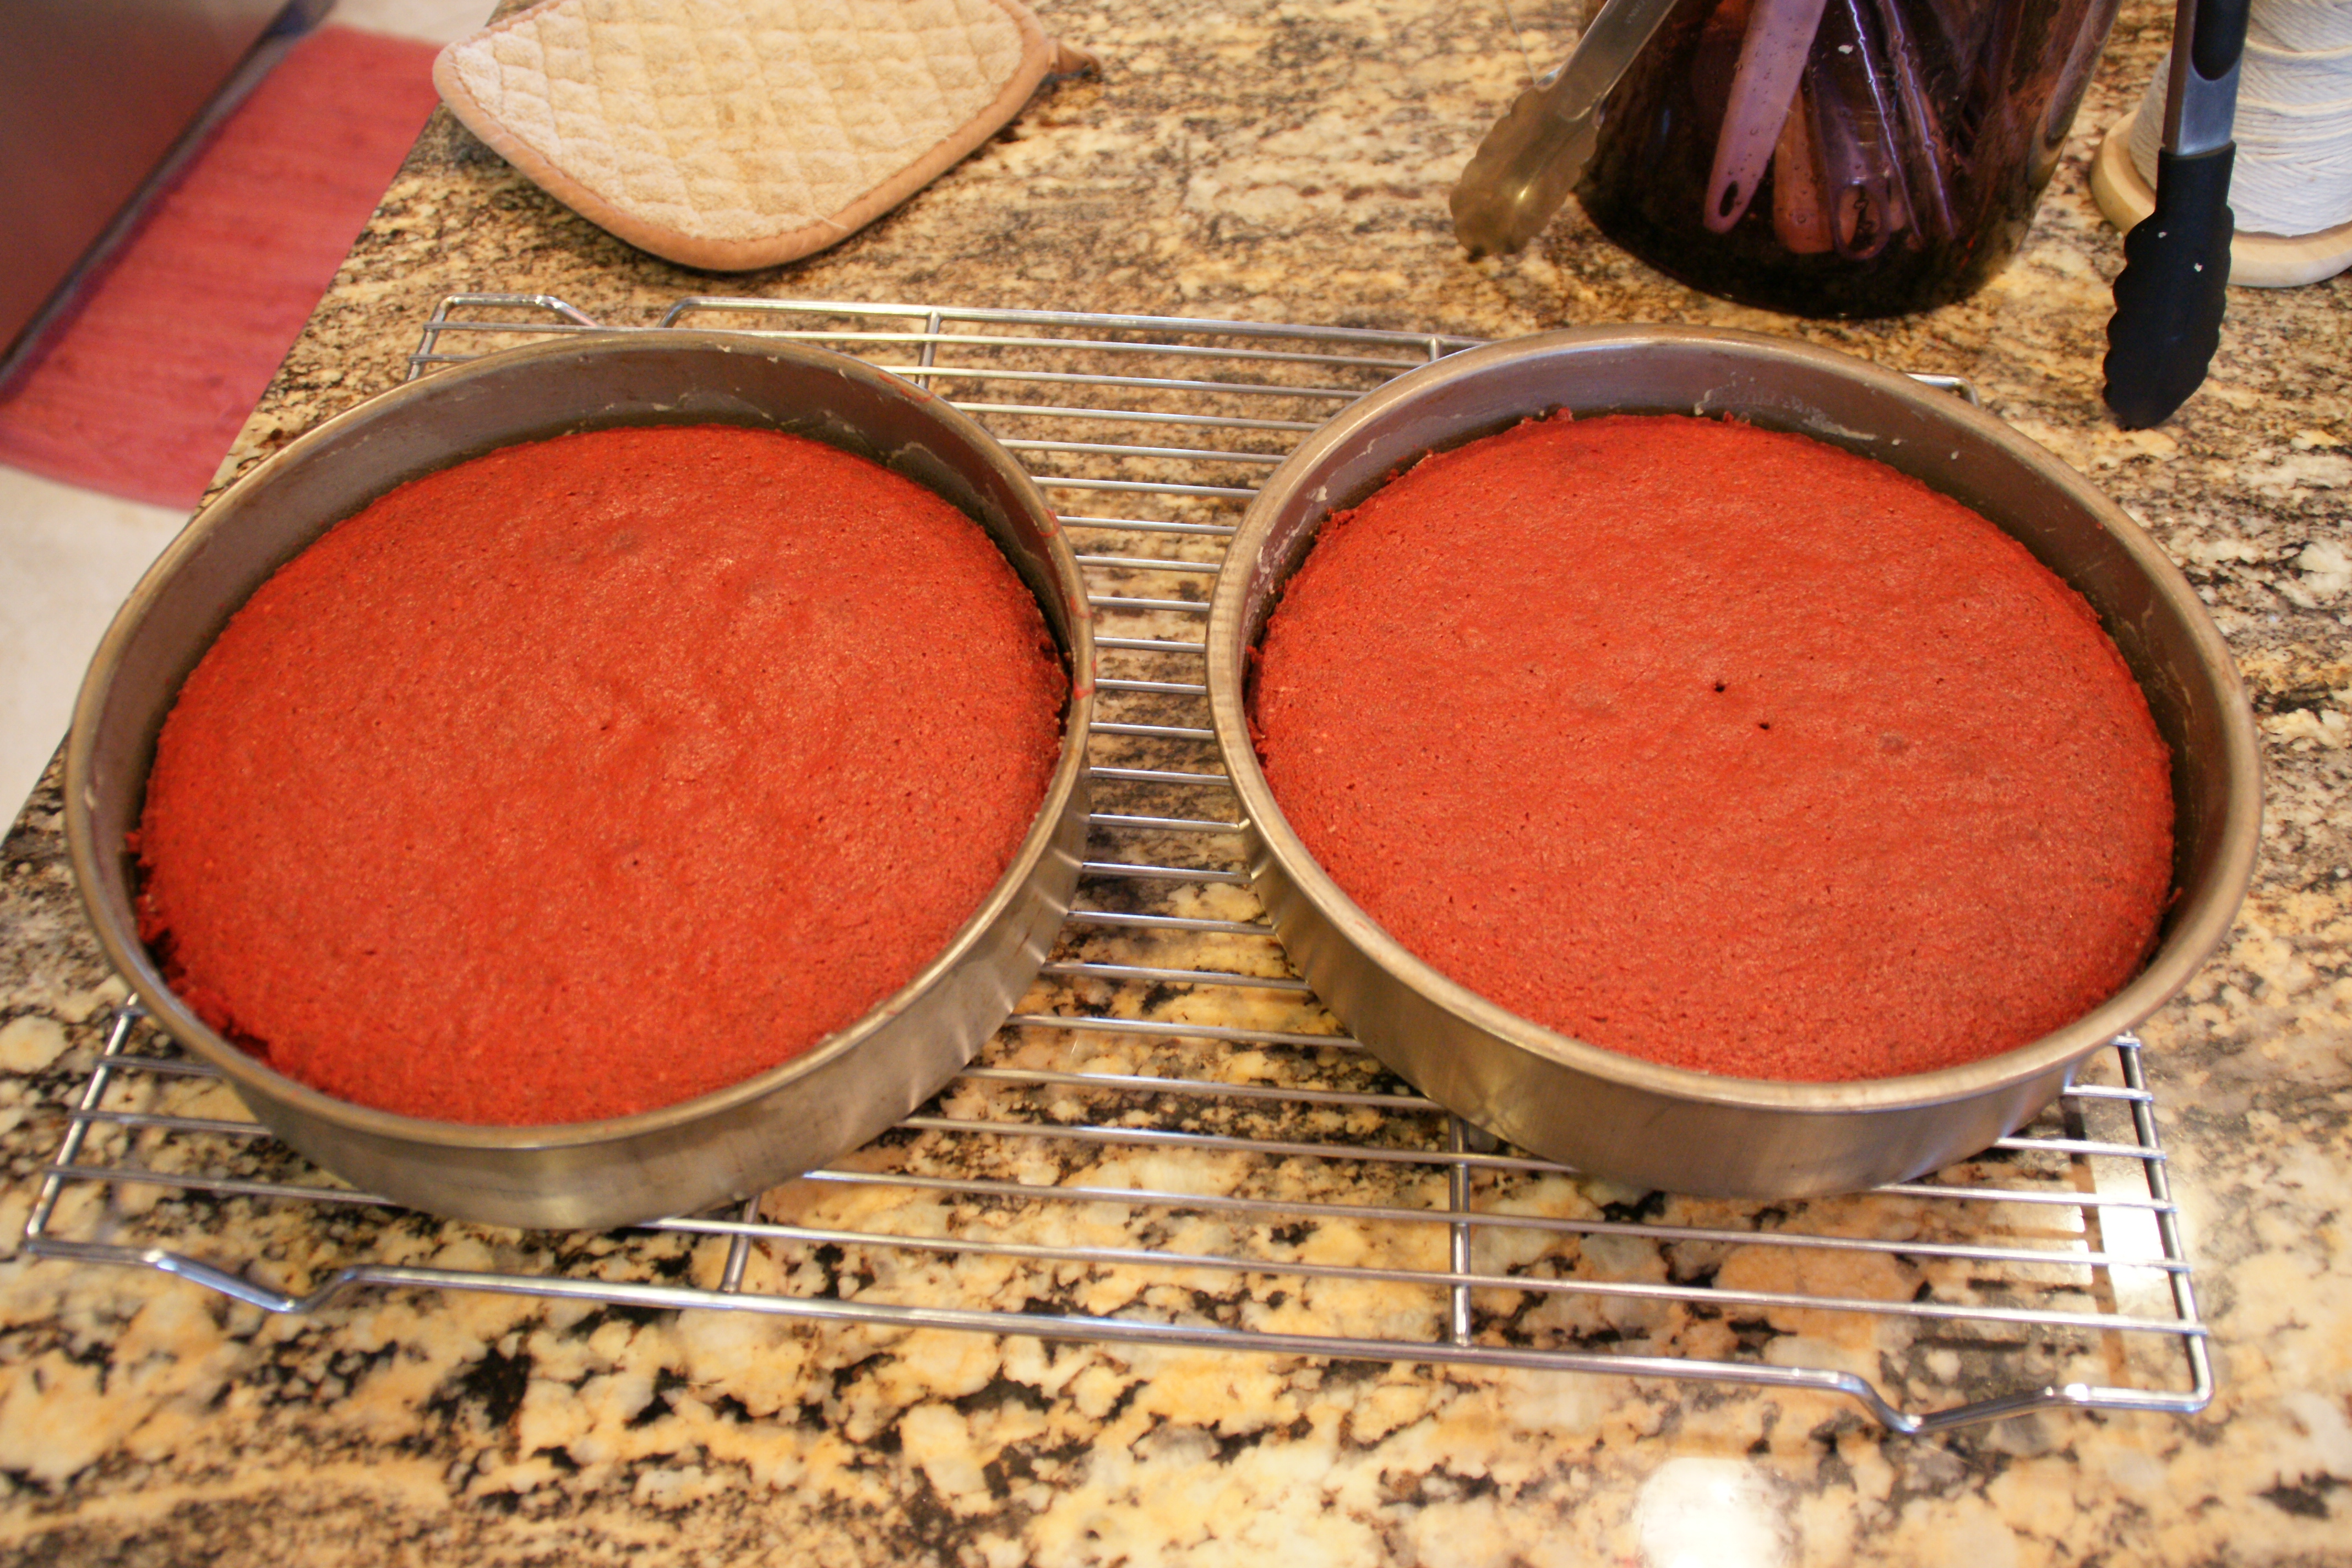
Perfect!
When ready to assemble the cake, prepare the frosting. In the bowl of your standing mixer, beat the cream cheese and mascarpone ’til smooth.
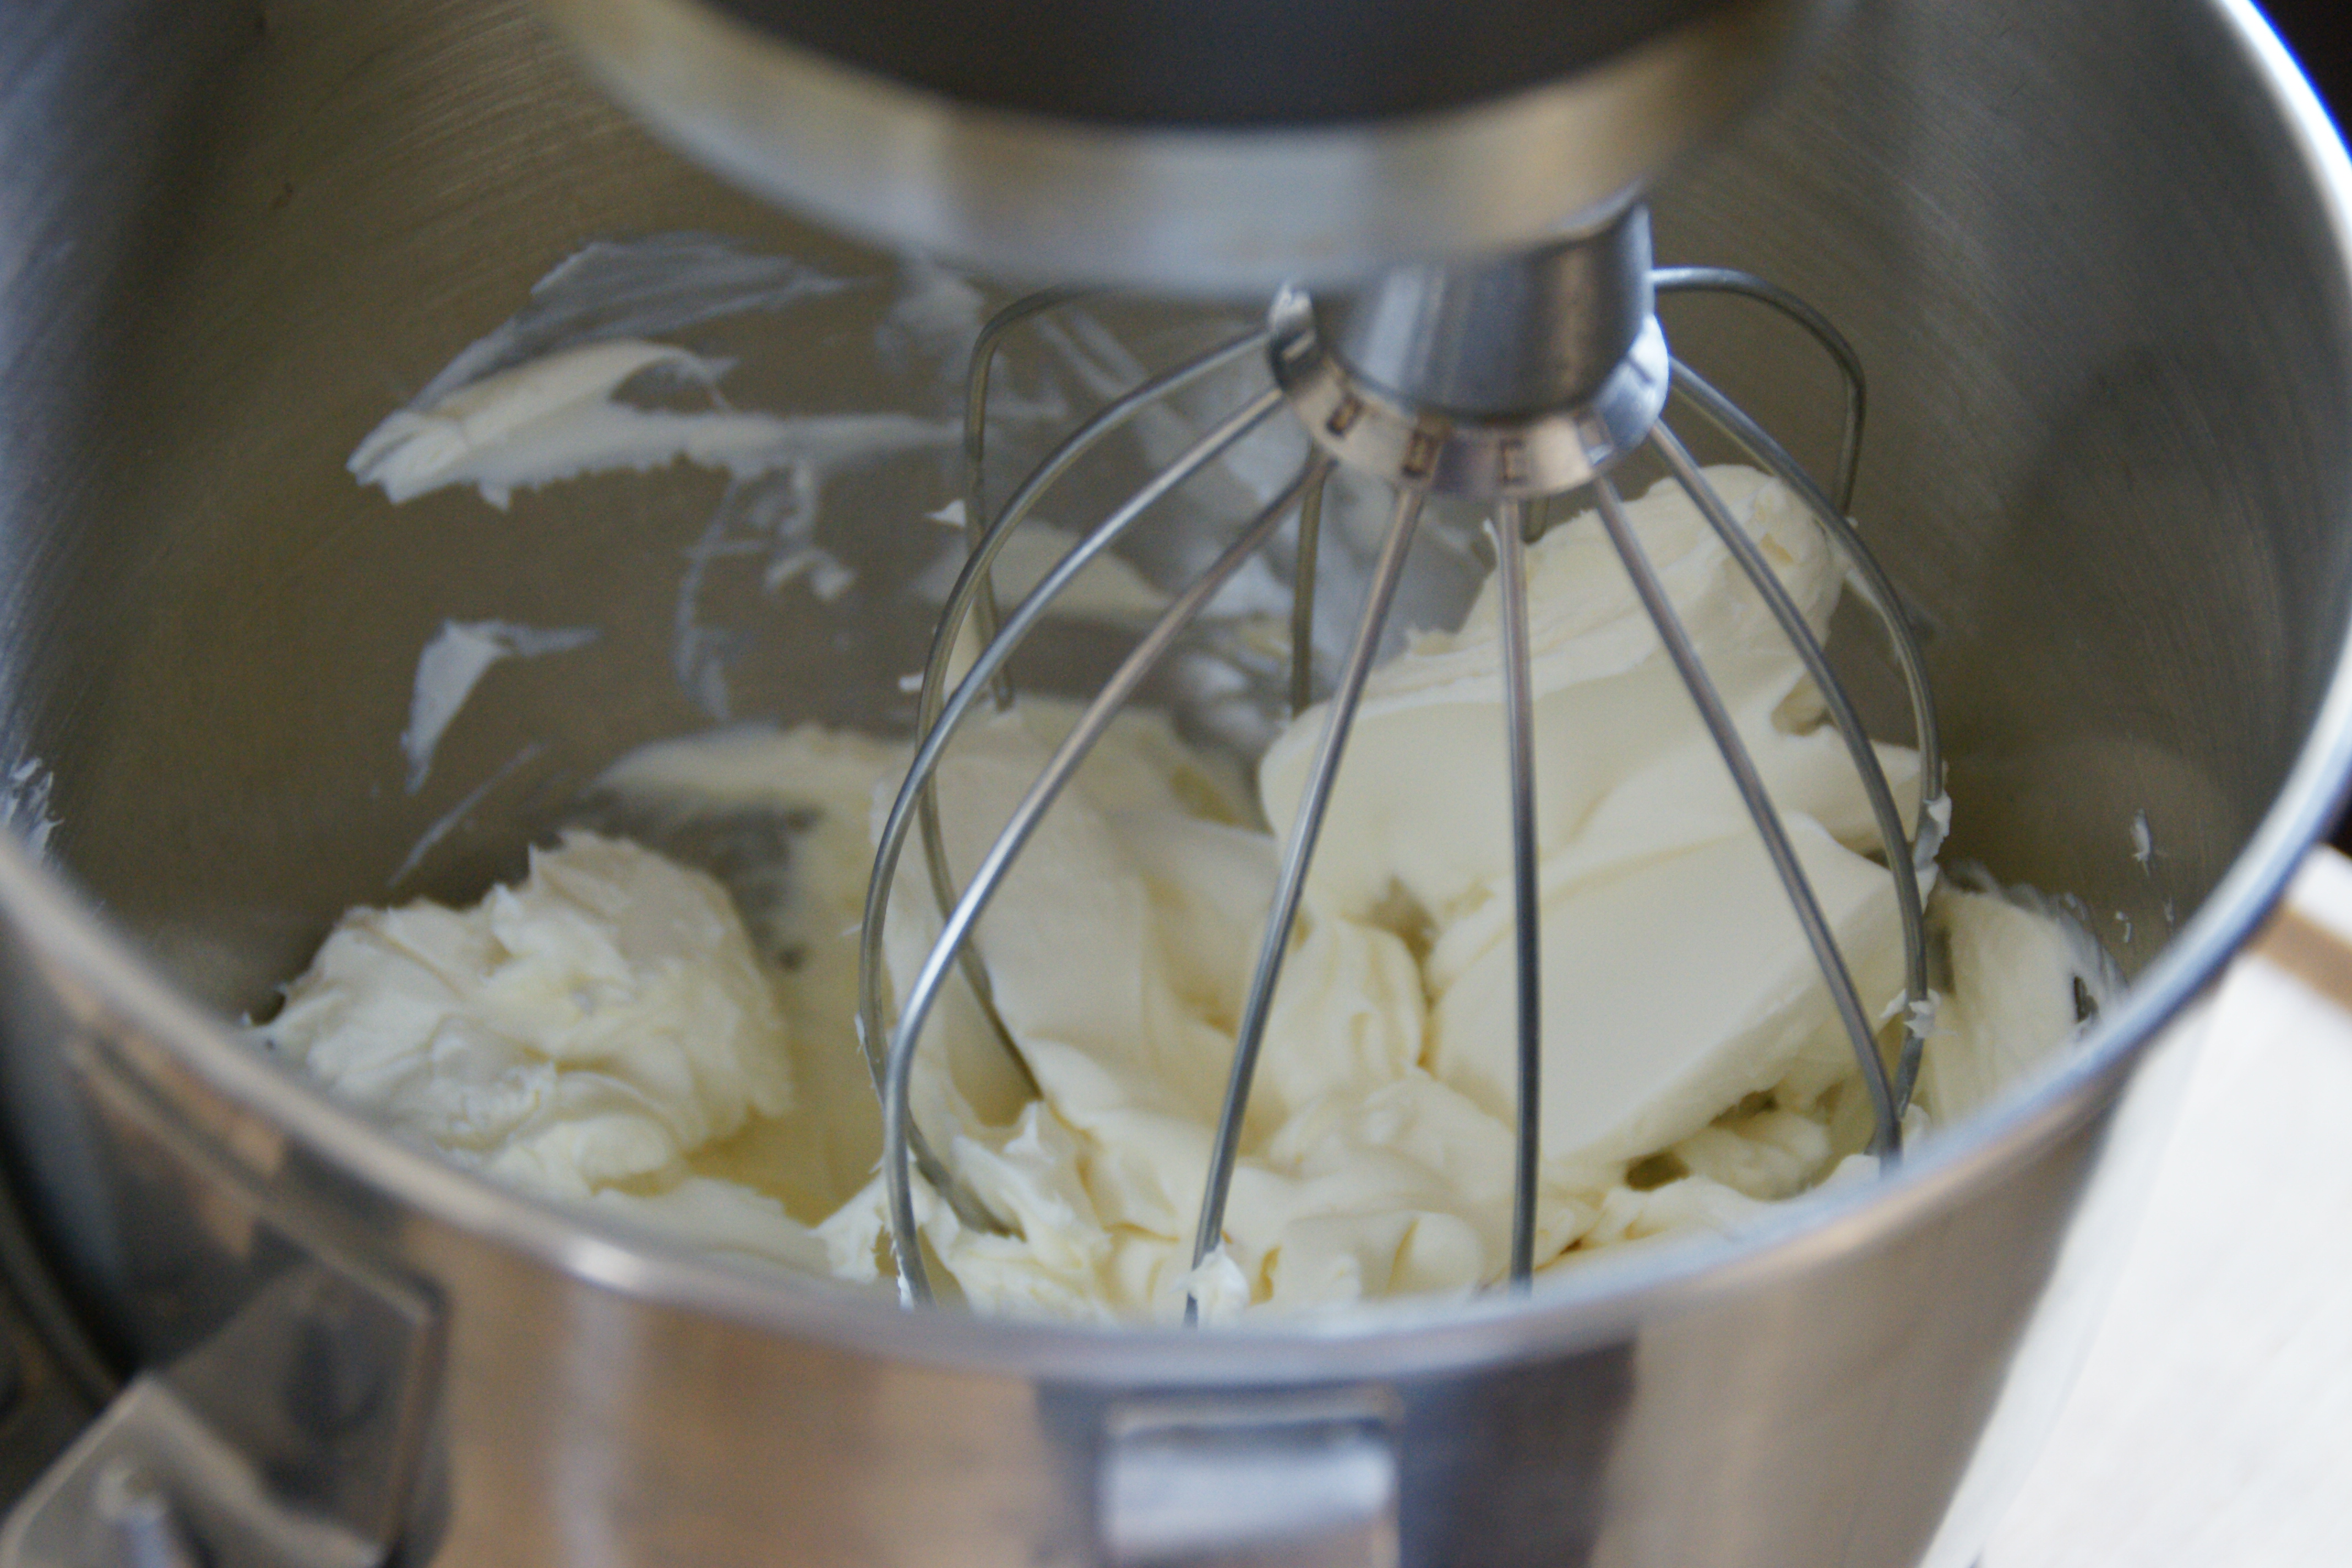
Use the whisk to whip the cheeses together until smooth
Add the powdered sugar and vanilla, and continue beating until smooth.
You can sift the powdered sugar if you want, but I never do
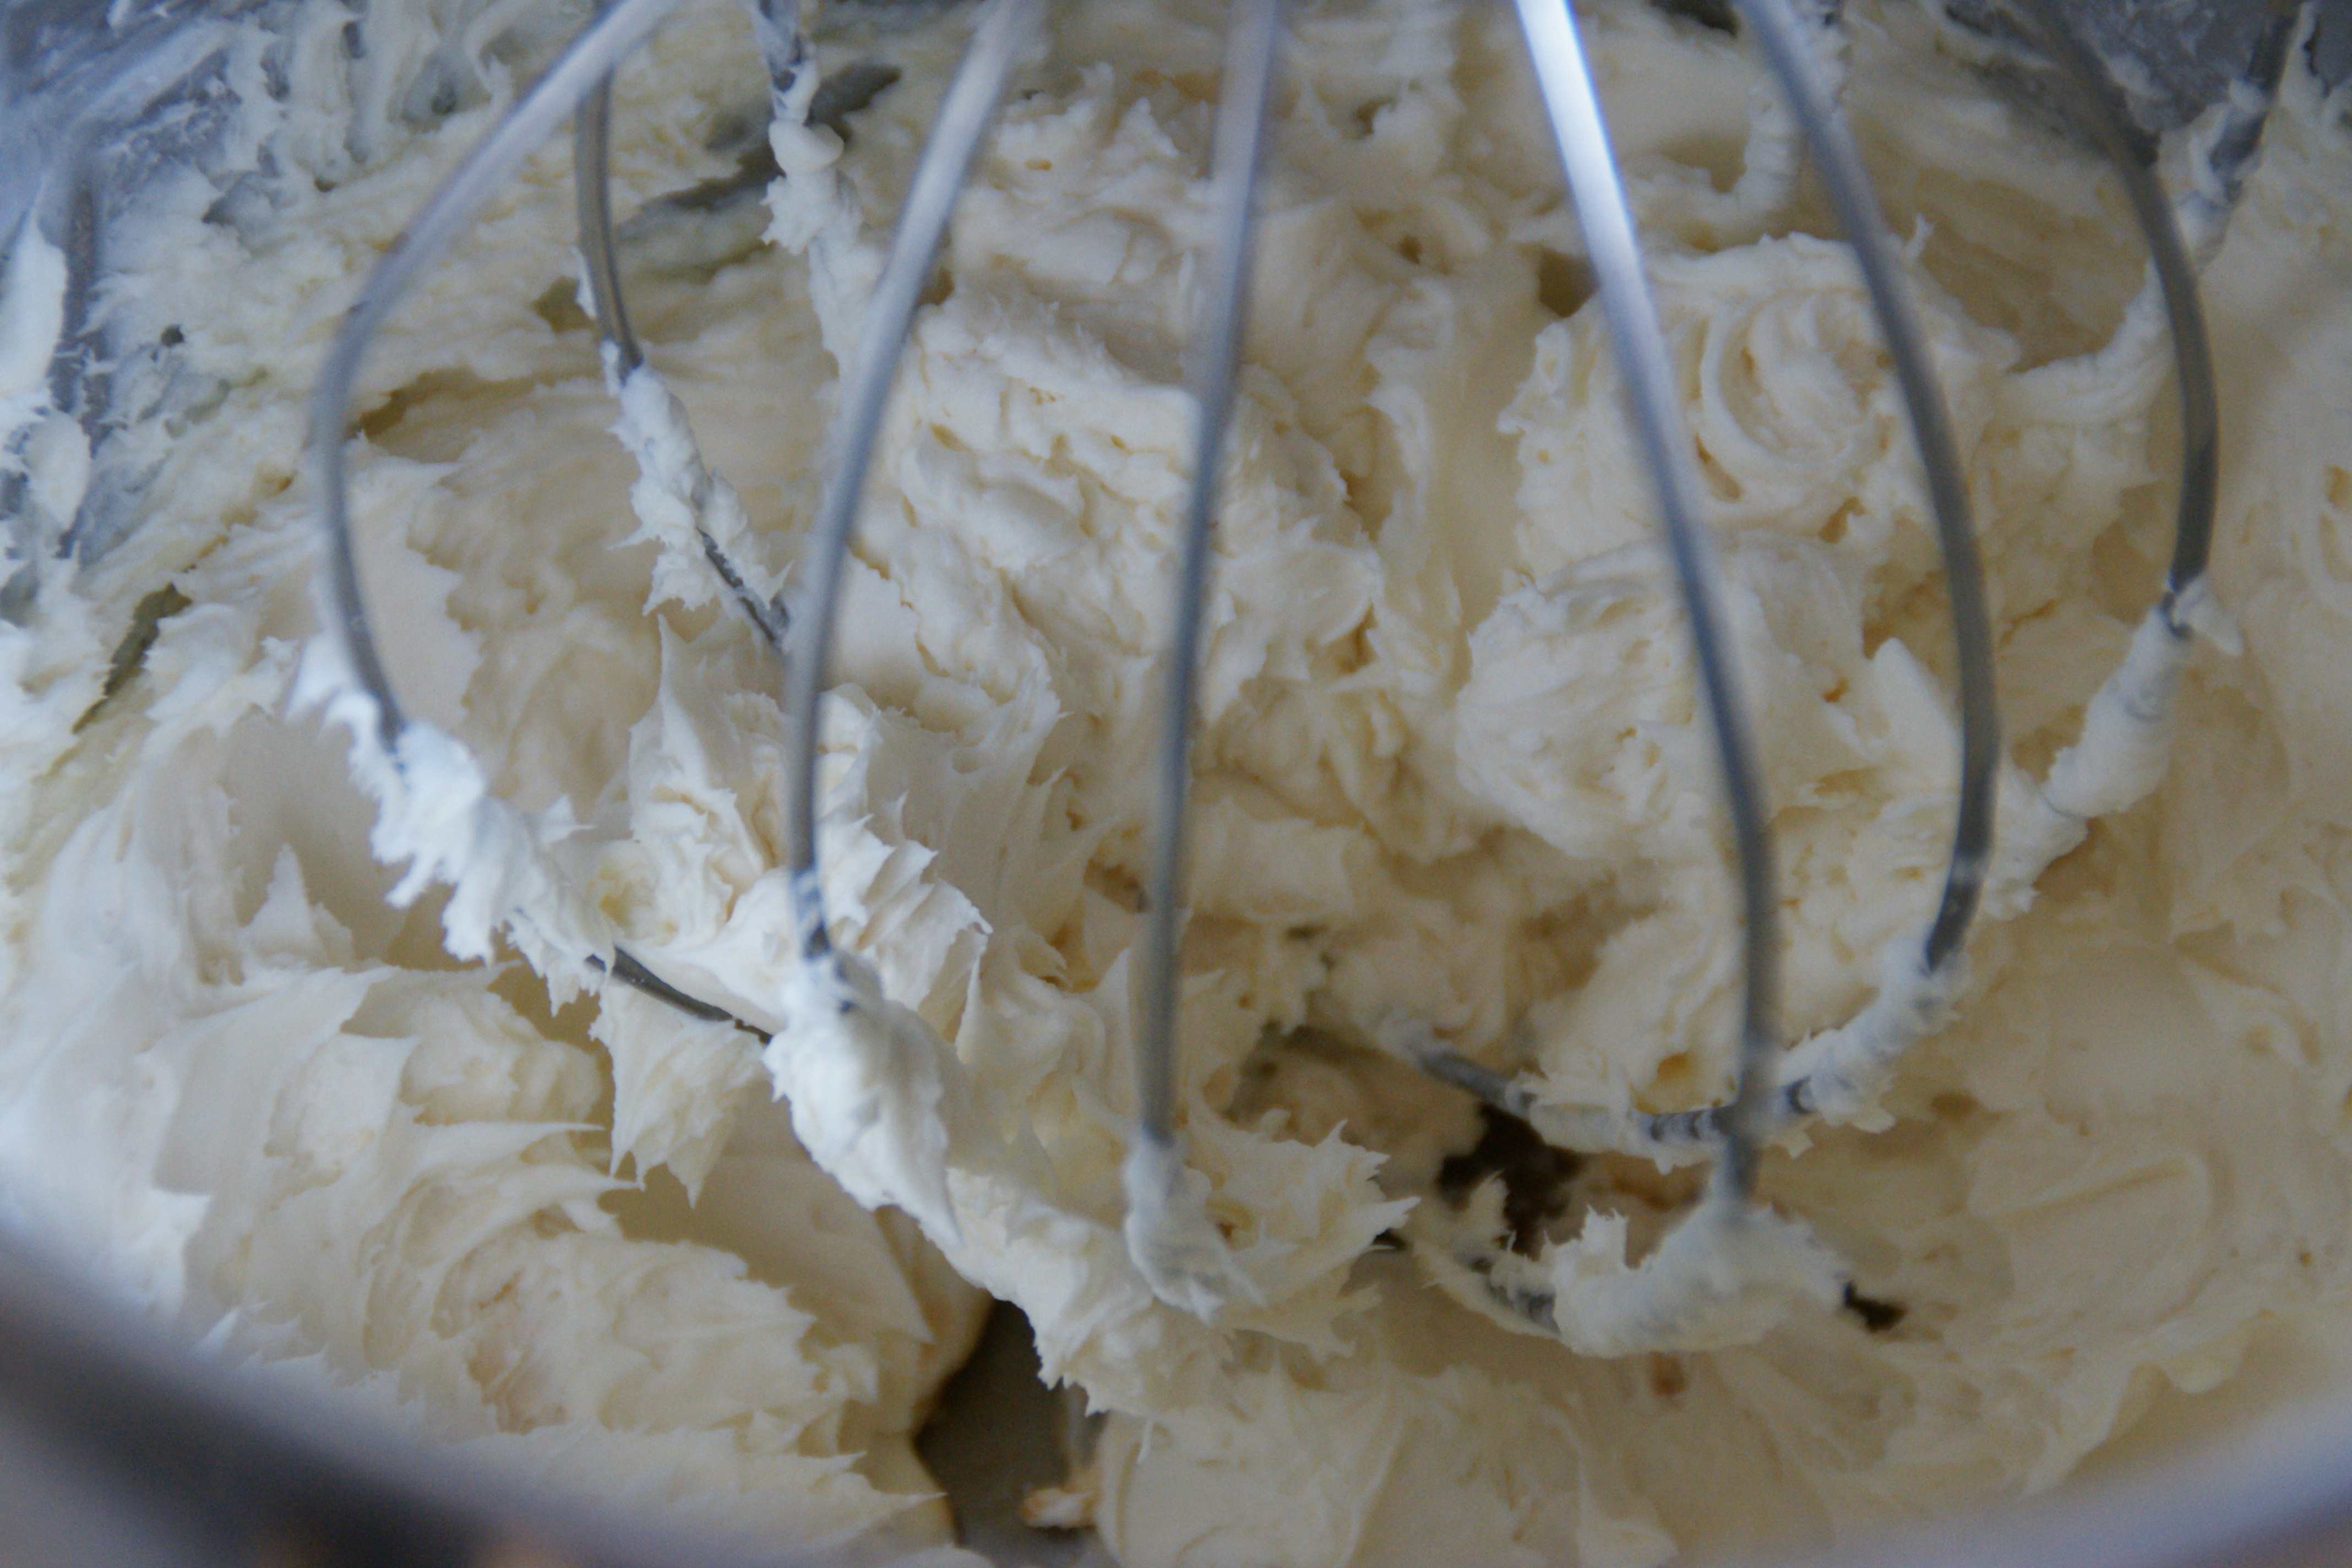
IF you have bought “heavy” whipping cream (your store may only have “whipping cream”), you can simply add the cream to the cheese/sugar mixture and beat on high until frosting is light, fluffy and spreading consistency. If you don’t have access to heavy whipping cream, beat the cream separately to stiff peaks and fold the whipped cream into the cheese/sugar mixture. Set aside while you prepare the cake layers.
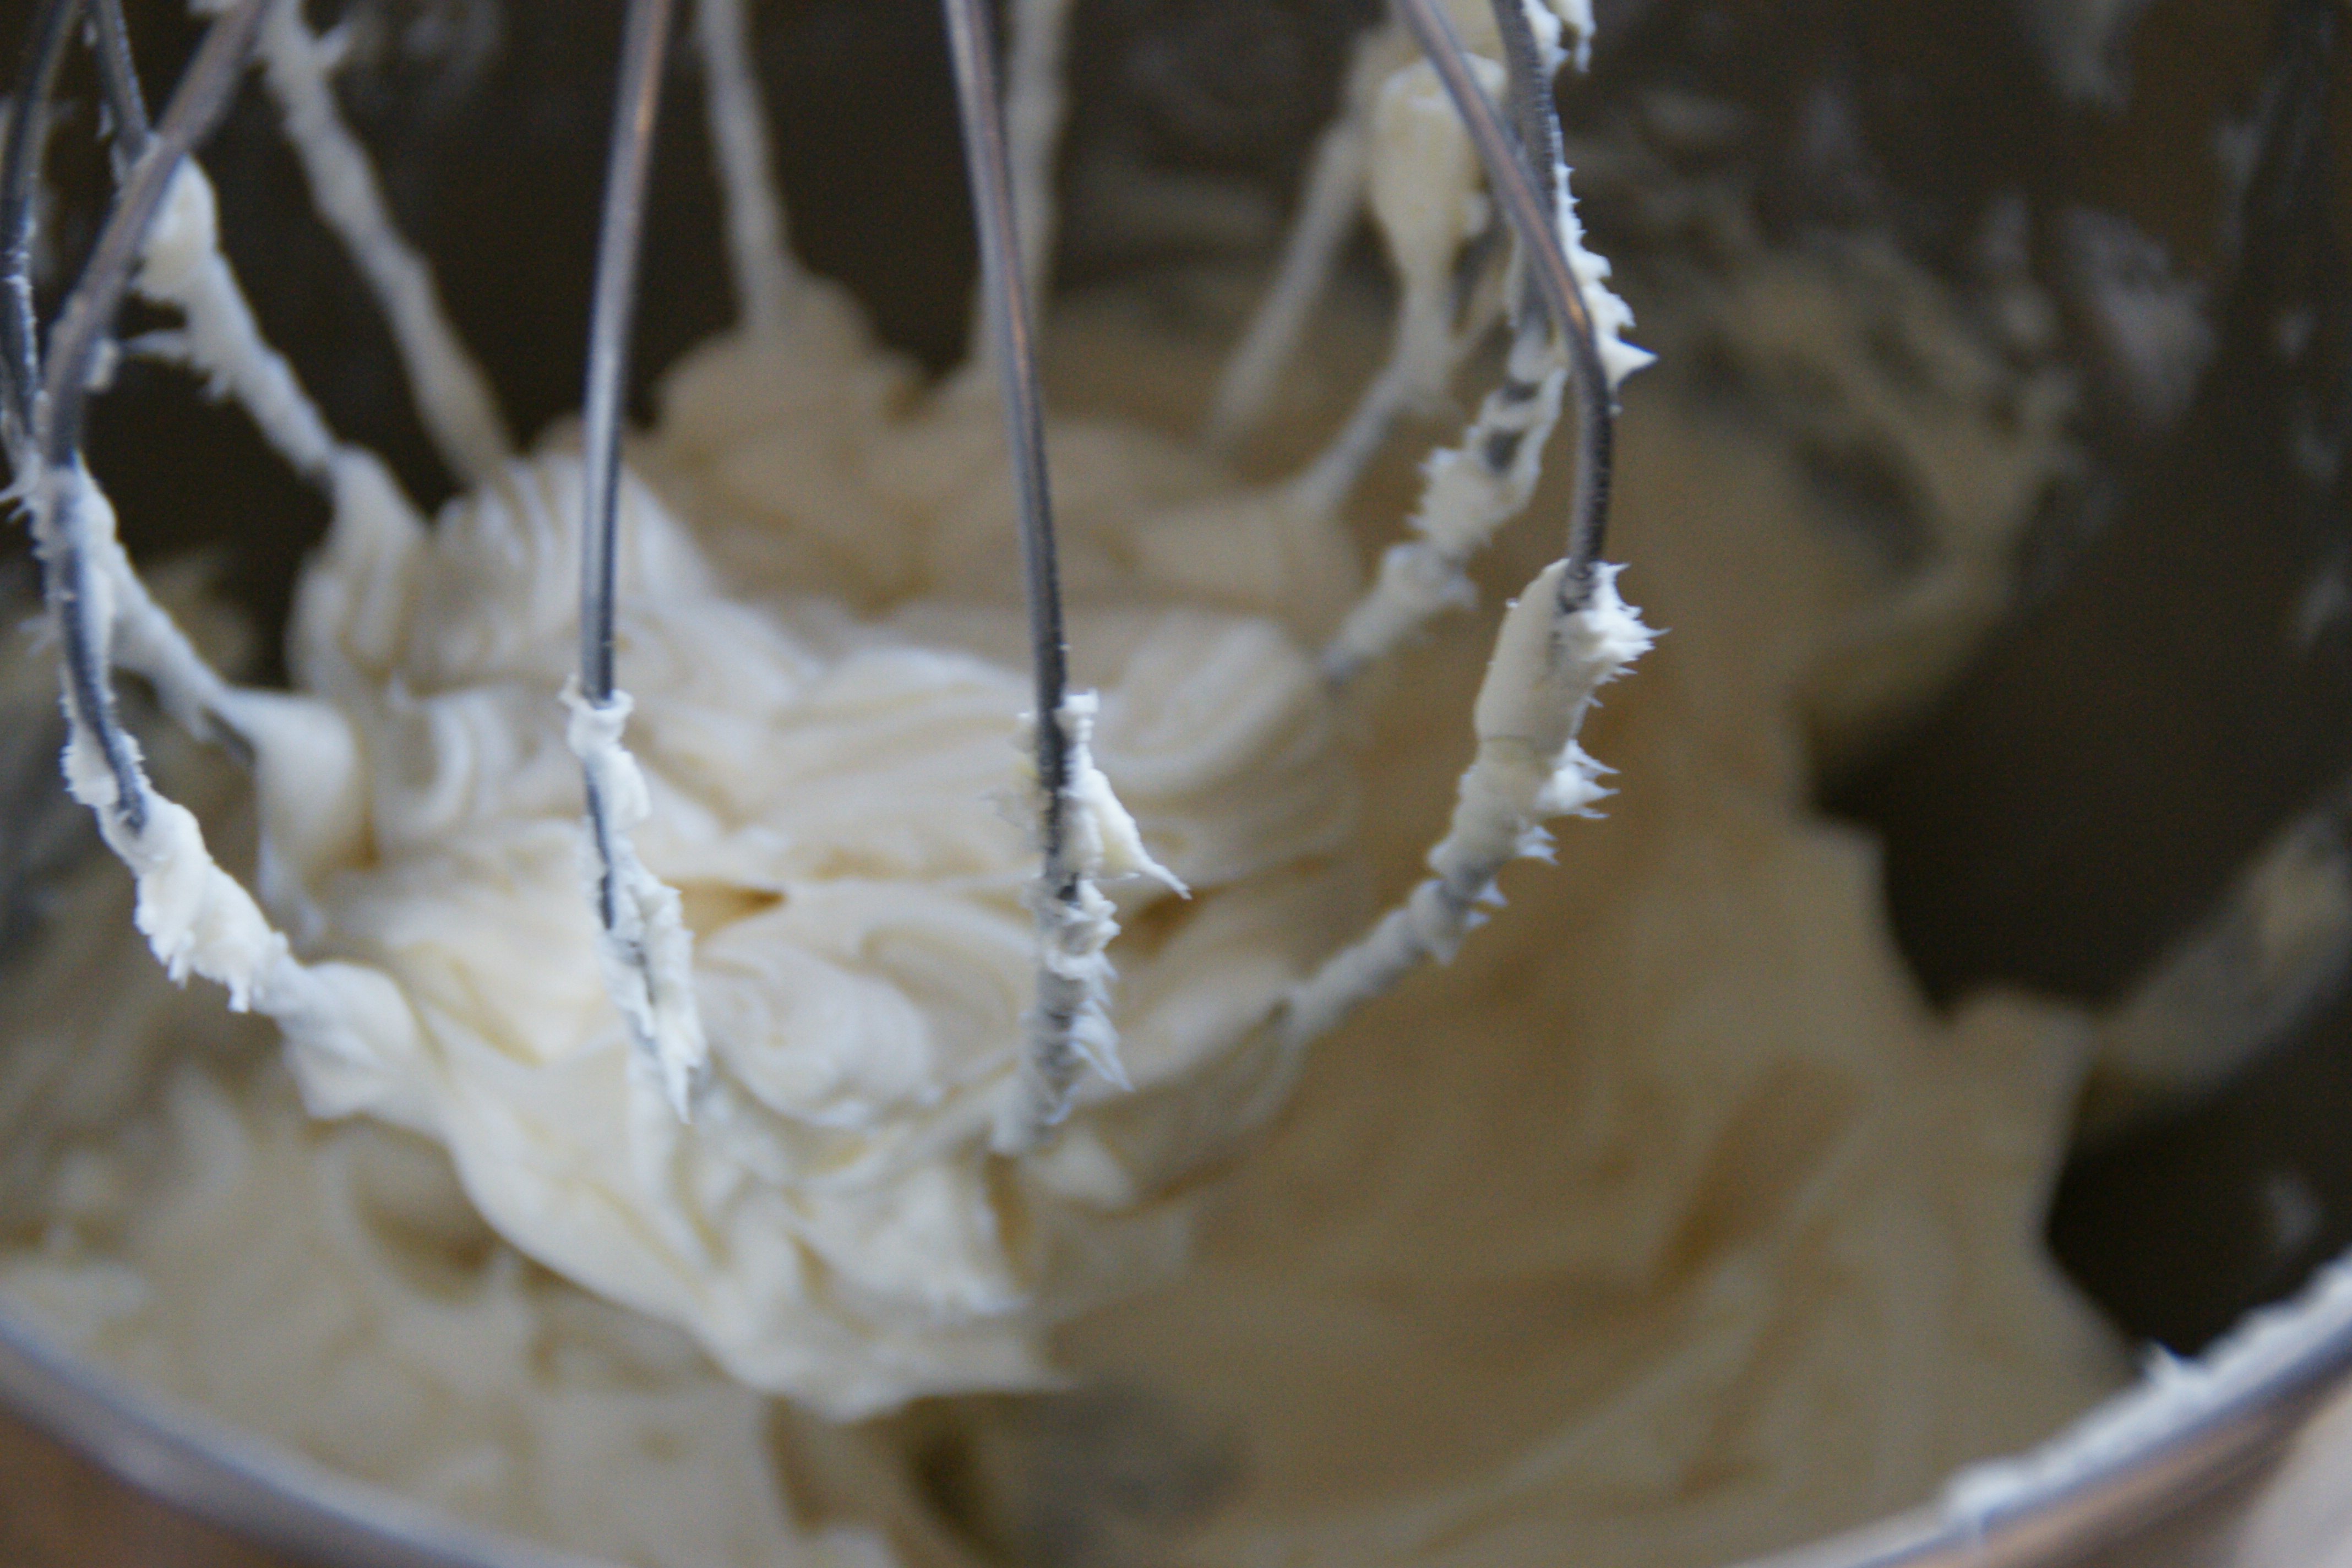
I had heavy cream, so I just added it to the bowl– see how light and fluffy the frosting has become?
Unwrap the layers. Using 8 toothpicks, insert them around the cake at even intervals. With a long serrated knife and using the toothpicks as a guide, slowly divide the layer in half. Separate the layers and brush crumbs off. Repeat with the other cake layer.
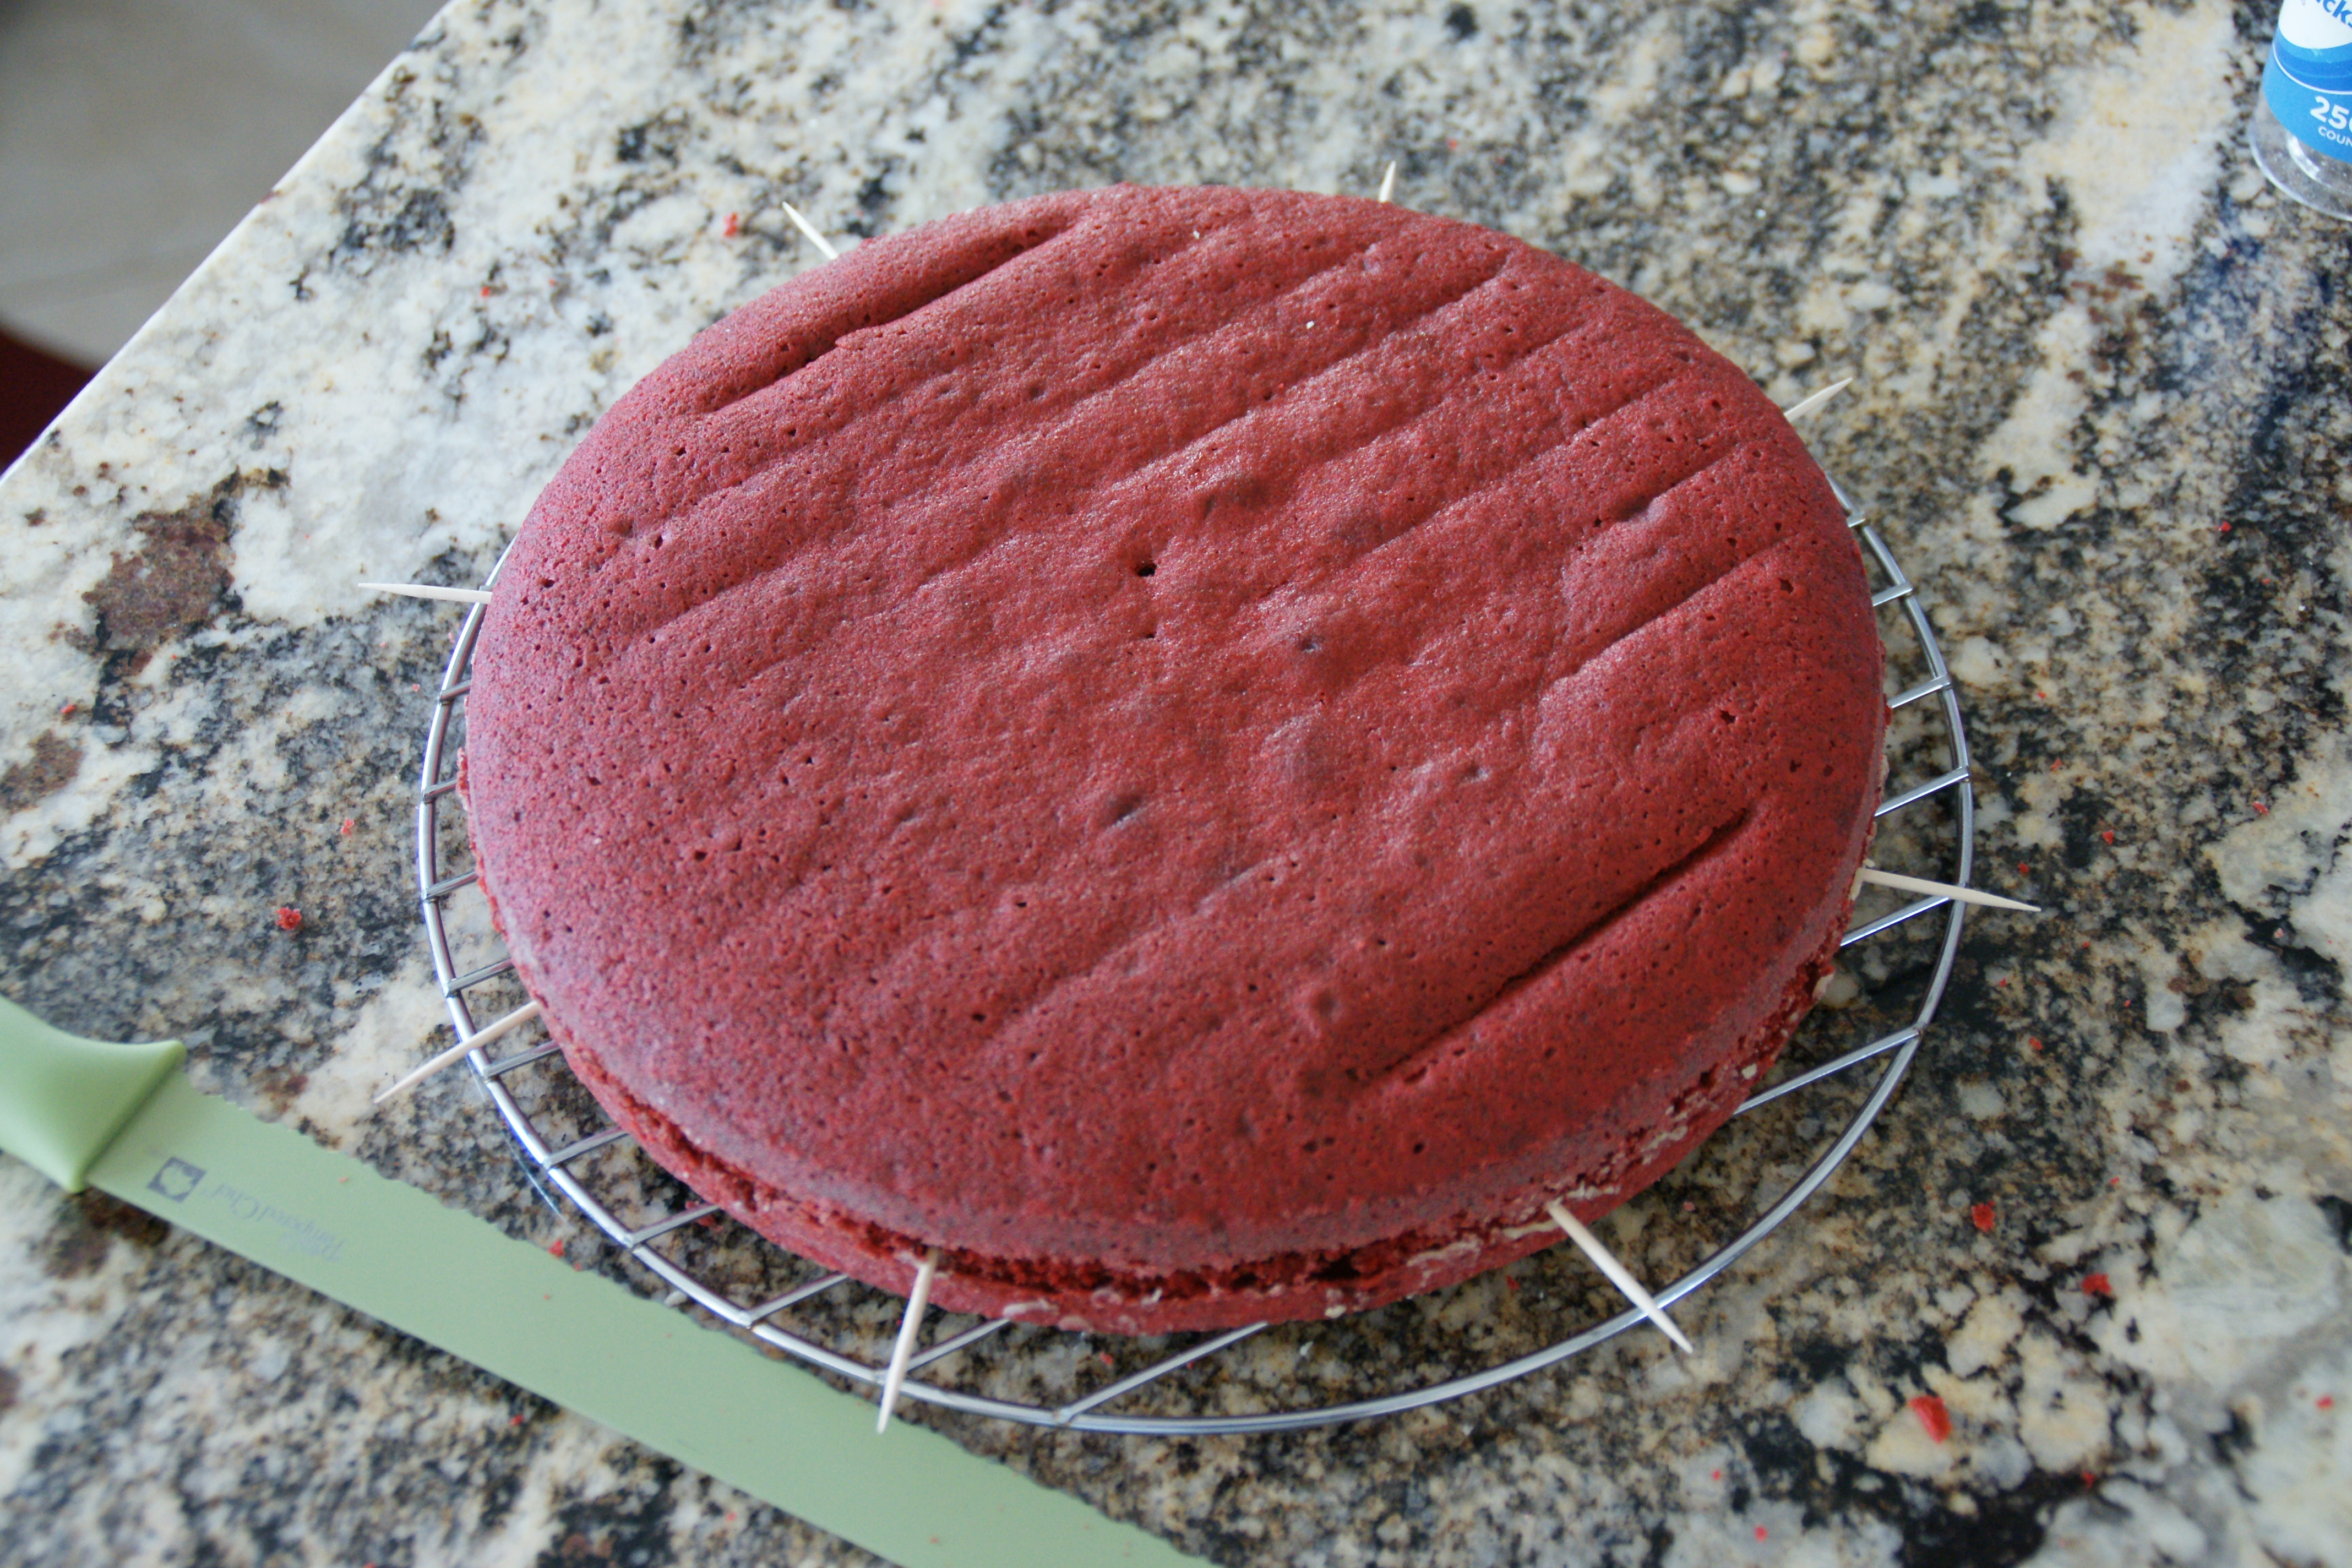
That’s a very thin Pampered Chef bread knife; guide it along the toothpicks
Place a layer on your serving plate. Spread about 1/2 cup of the frosting to about 1/4 inch from the edge of the cake.
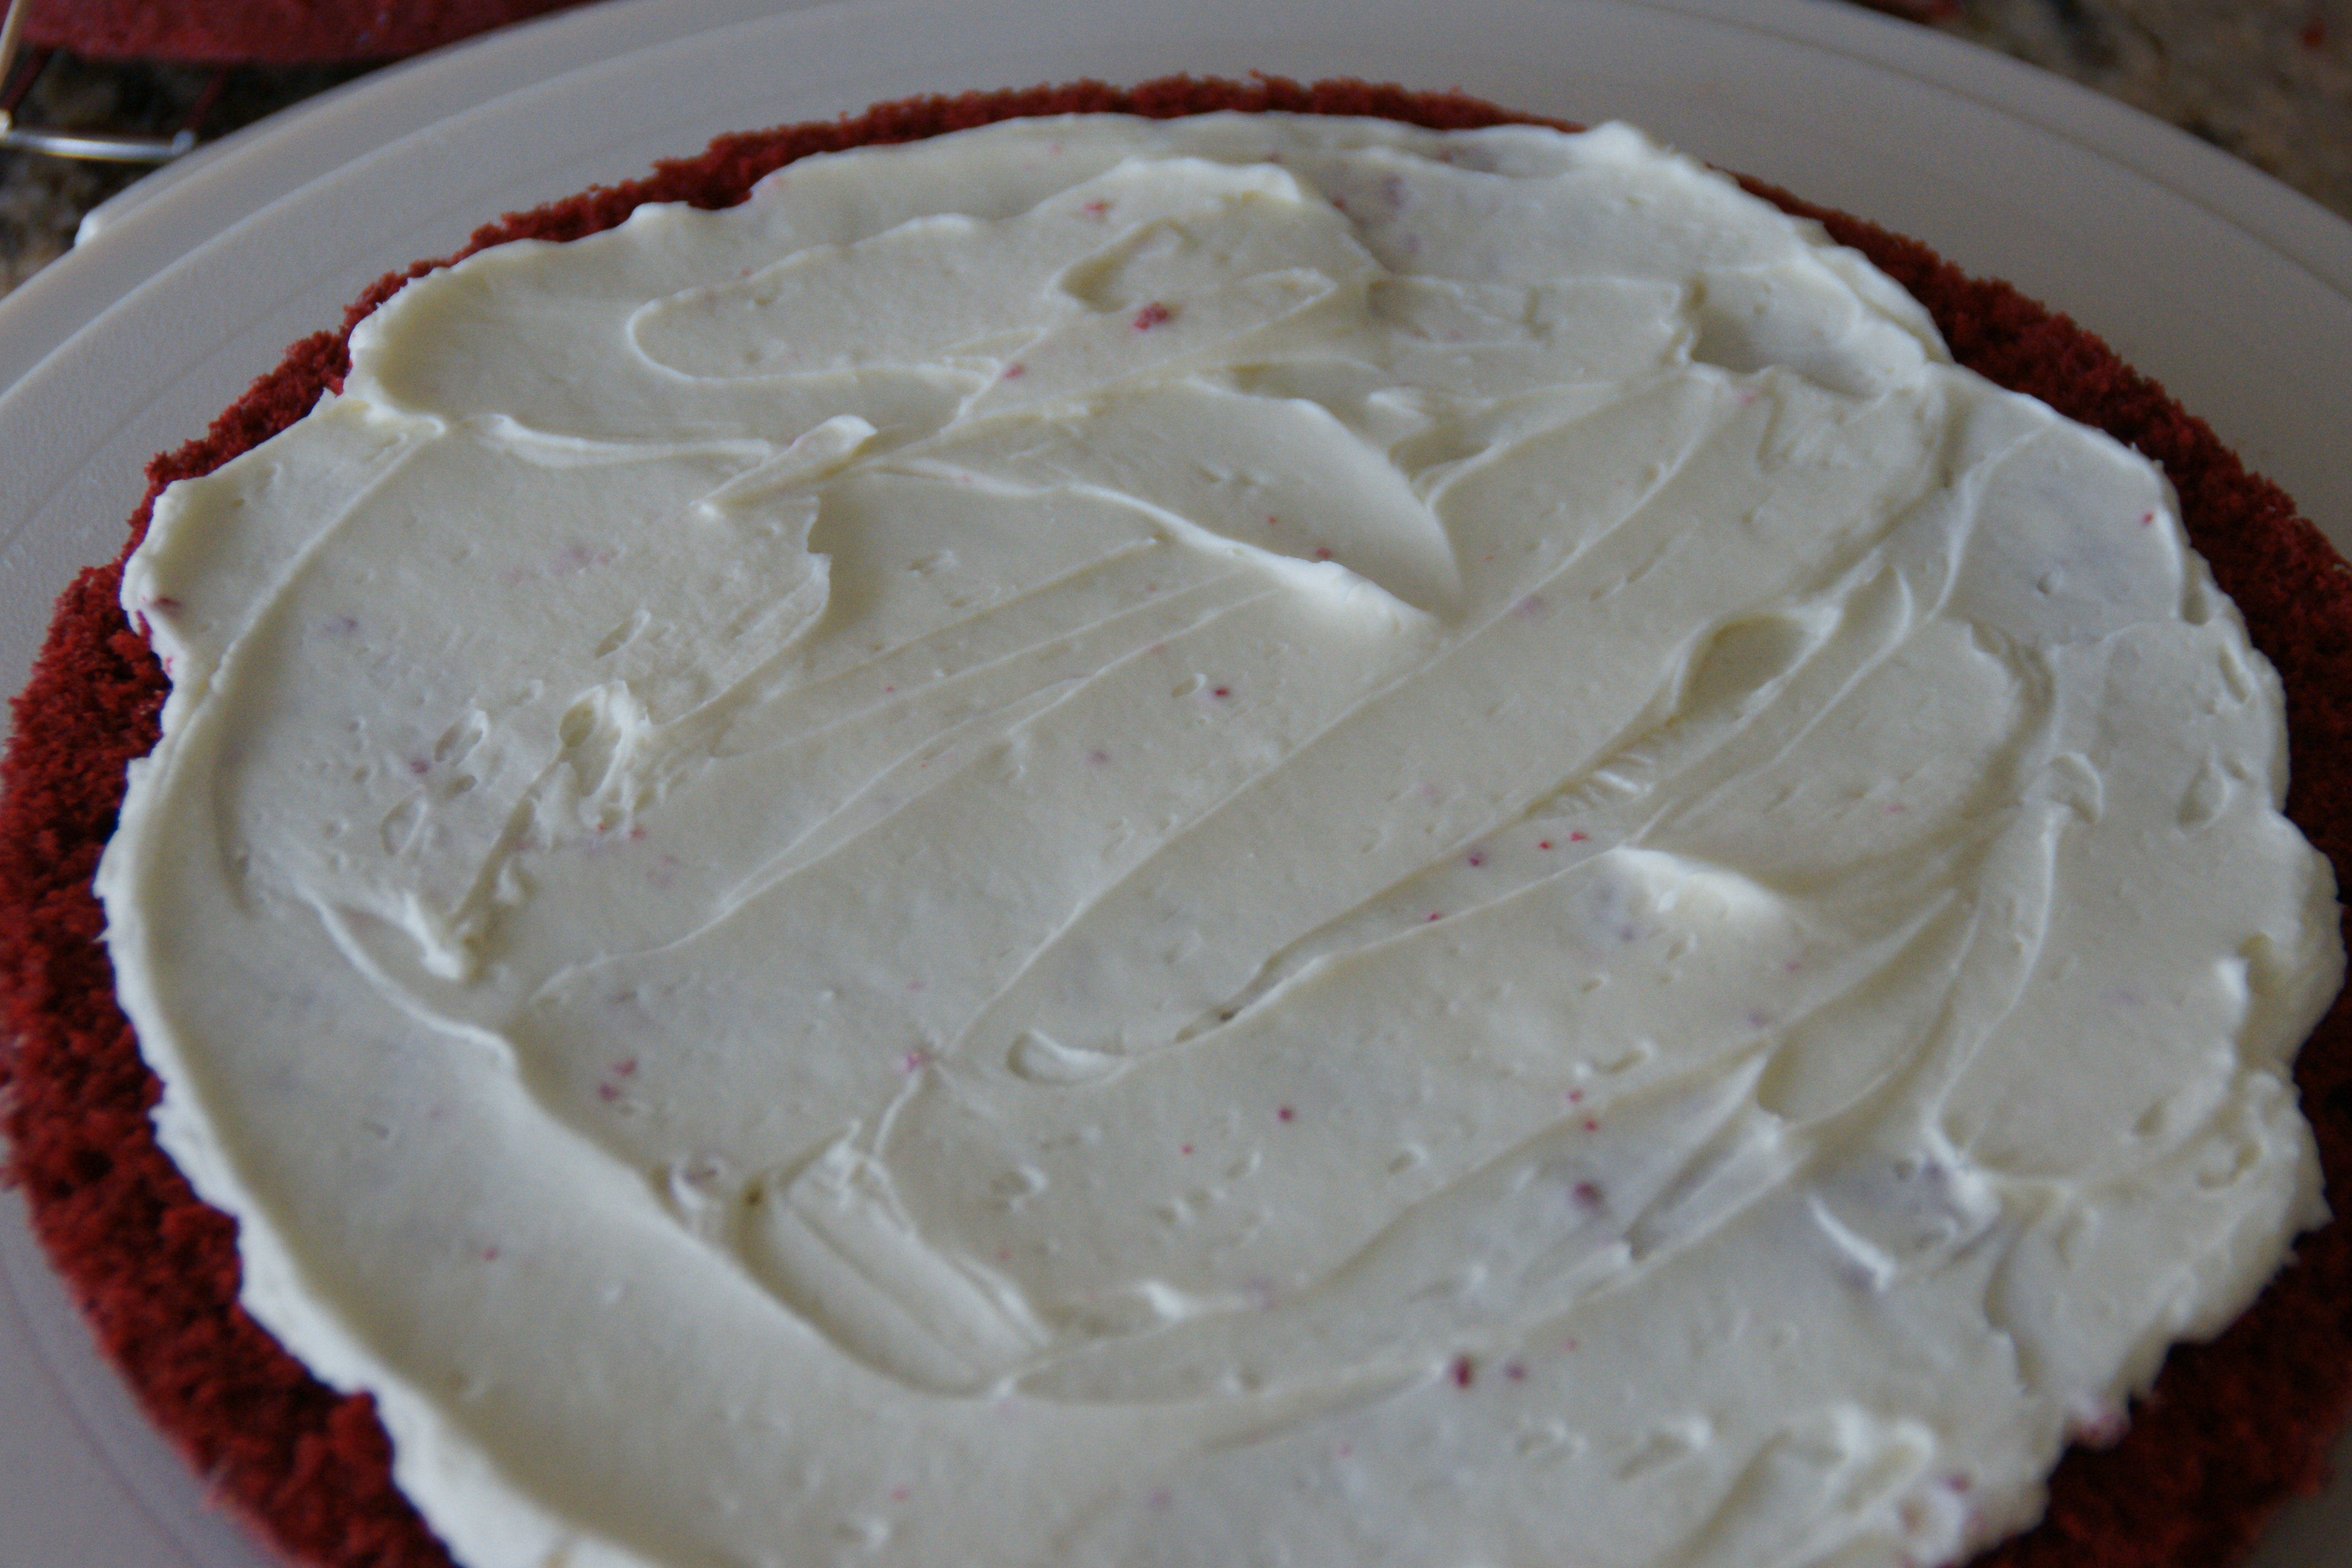
Frost almost to the edge of the layer
Continue building the cake with the remaining layers, then cover the top and sides with the remaining frosting.
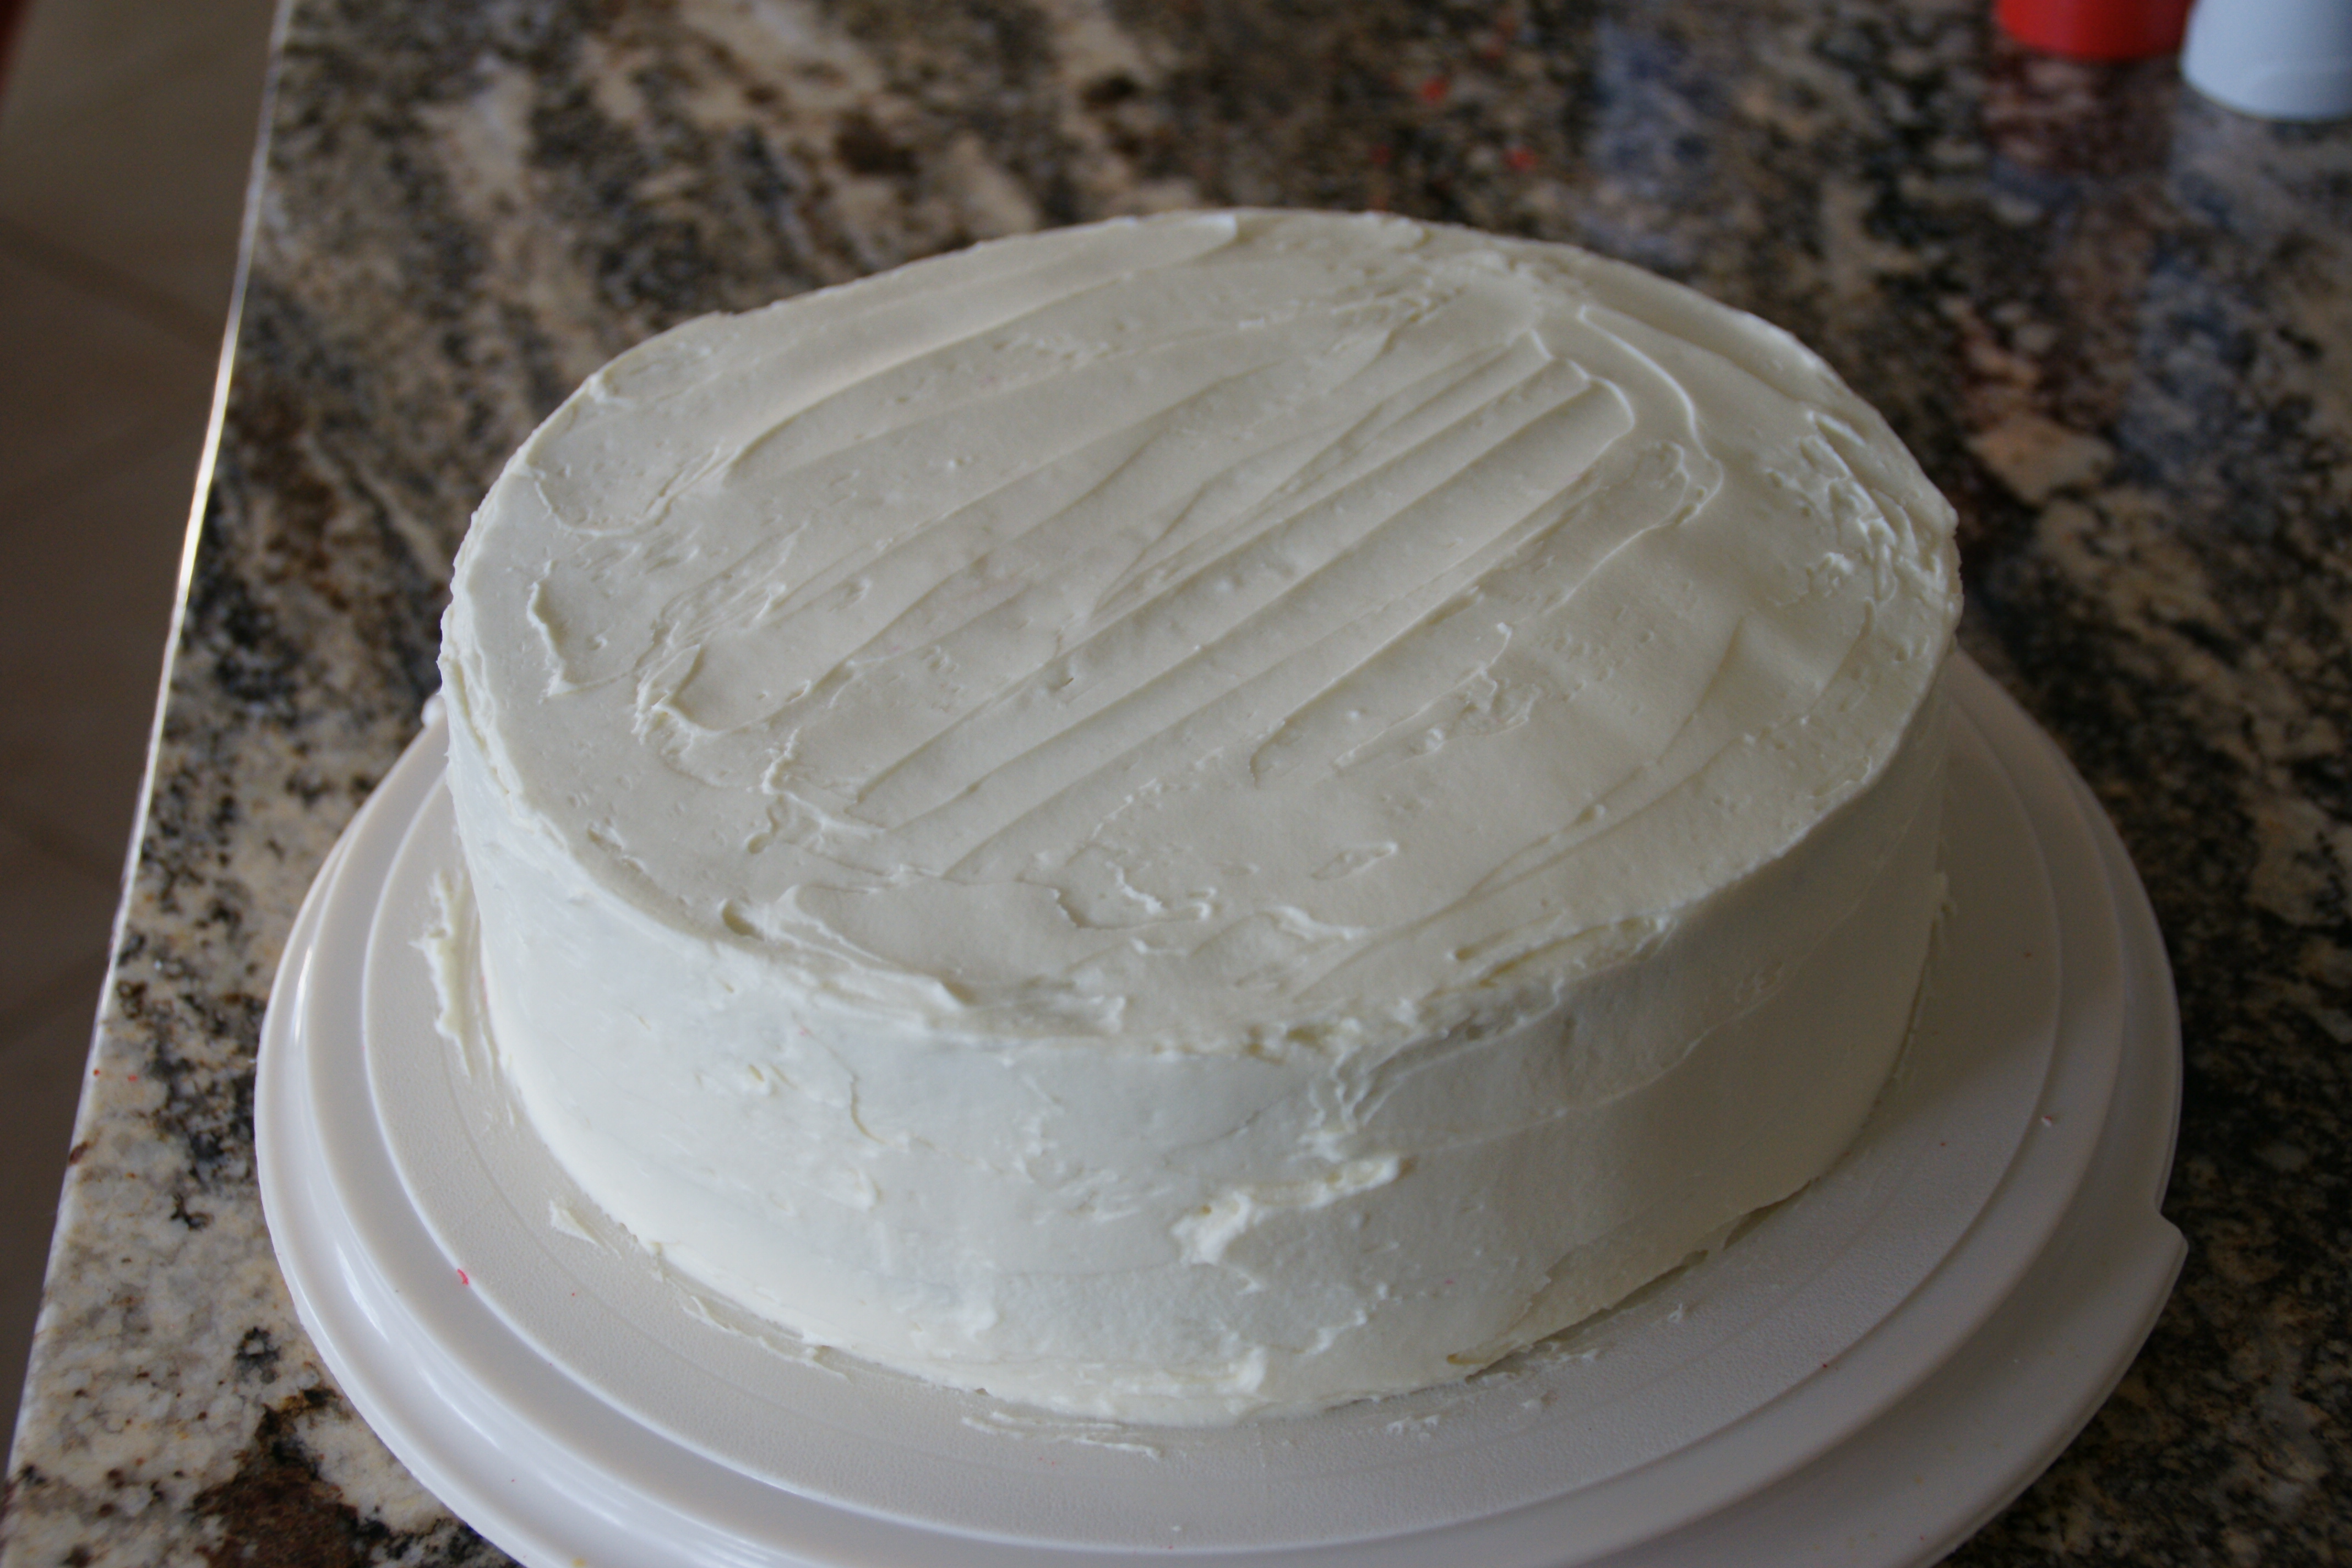
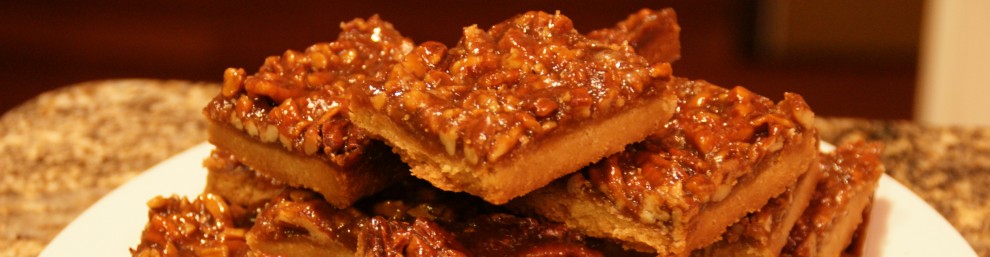
Ready to serve!
Happy Valentine’s Day!

A little slice of heaven…


Pingback: Healthy Banana Cream Layer Cake Recipe | WHOLE LIVING WEB MAGAZINE
Pingback: Recipe: Cleveland Cassata Cake | Hungry Lindsay