Today let’s finish up the baguette recipe, but before I start, there are a few tools you’ll find helpful:
- Spray bottle (I bought mine at Walmart in the laundry section)
- Pizza or bread stone, preferable rectangular (I bought mine at the Williams-Sonoma outlet in Leesburg)
The process of making the baguette dough is the same as the one for making the pre-ferment; in fact, the ingredients are the same with the exception of the added pre-ferment. I’m largely going to recap the dough-making process and focus more describing the shaping, the second rise and baking. (Yeast breads generally have two rises). I should probably also let you know that I take shortcuts in shaping because I don’t really care if the loaves are perfectly symmetrical.
French Baguette (adapted from Reinhart’s “The Bread Baker’s Apprentice”)
- 1 batch of pâte fermentée
- 5 oz all-purpose flour (preferably unbleached)
- 5 oz bread flour (preferably unbleached)
- 1 1/4 tsp kosher salt
- 3/4 tsp dry yeast
- 1 c warm (bath temp) water
Remove the pâte fermentée from the refrigerator and place it on a cutting board.
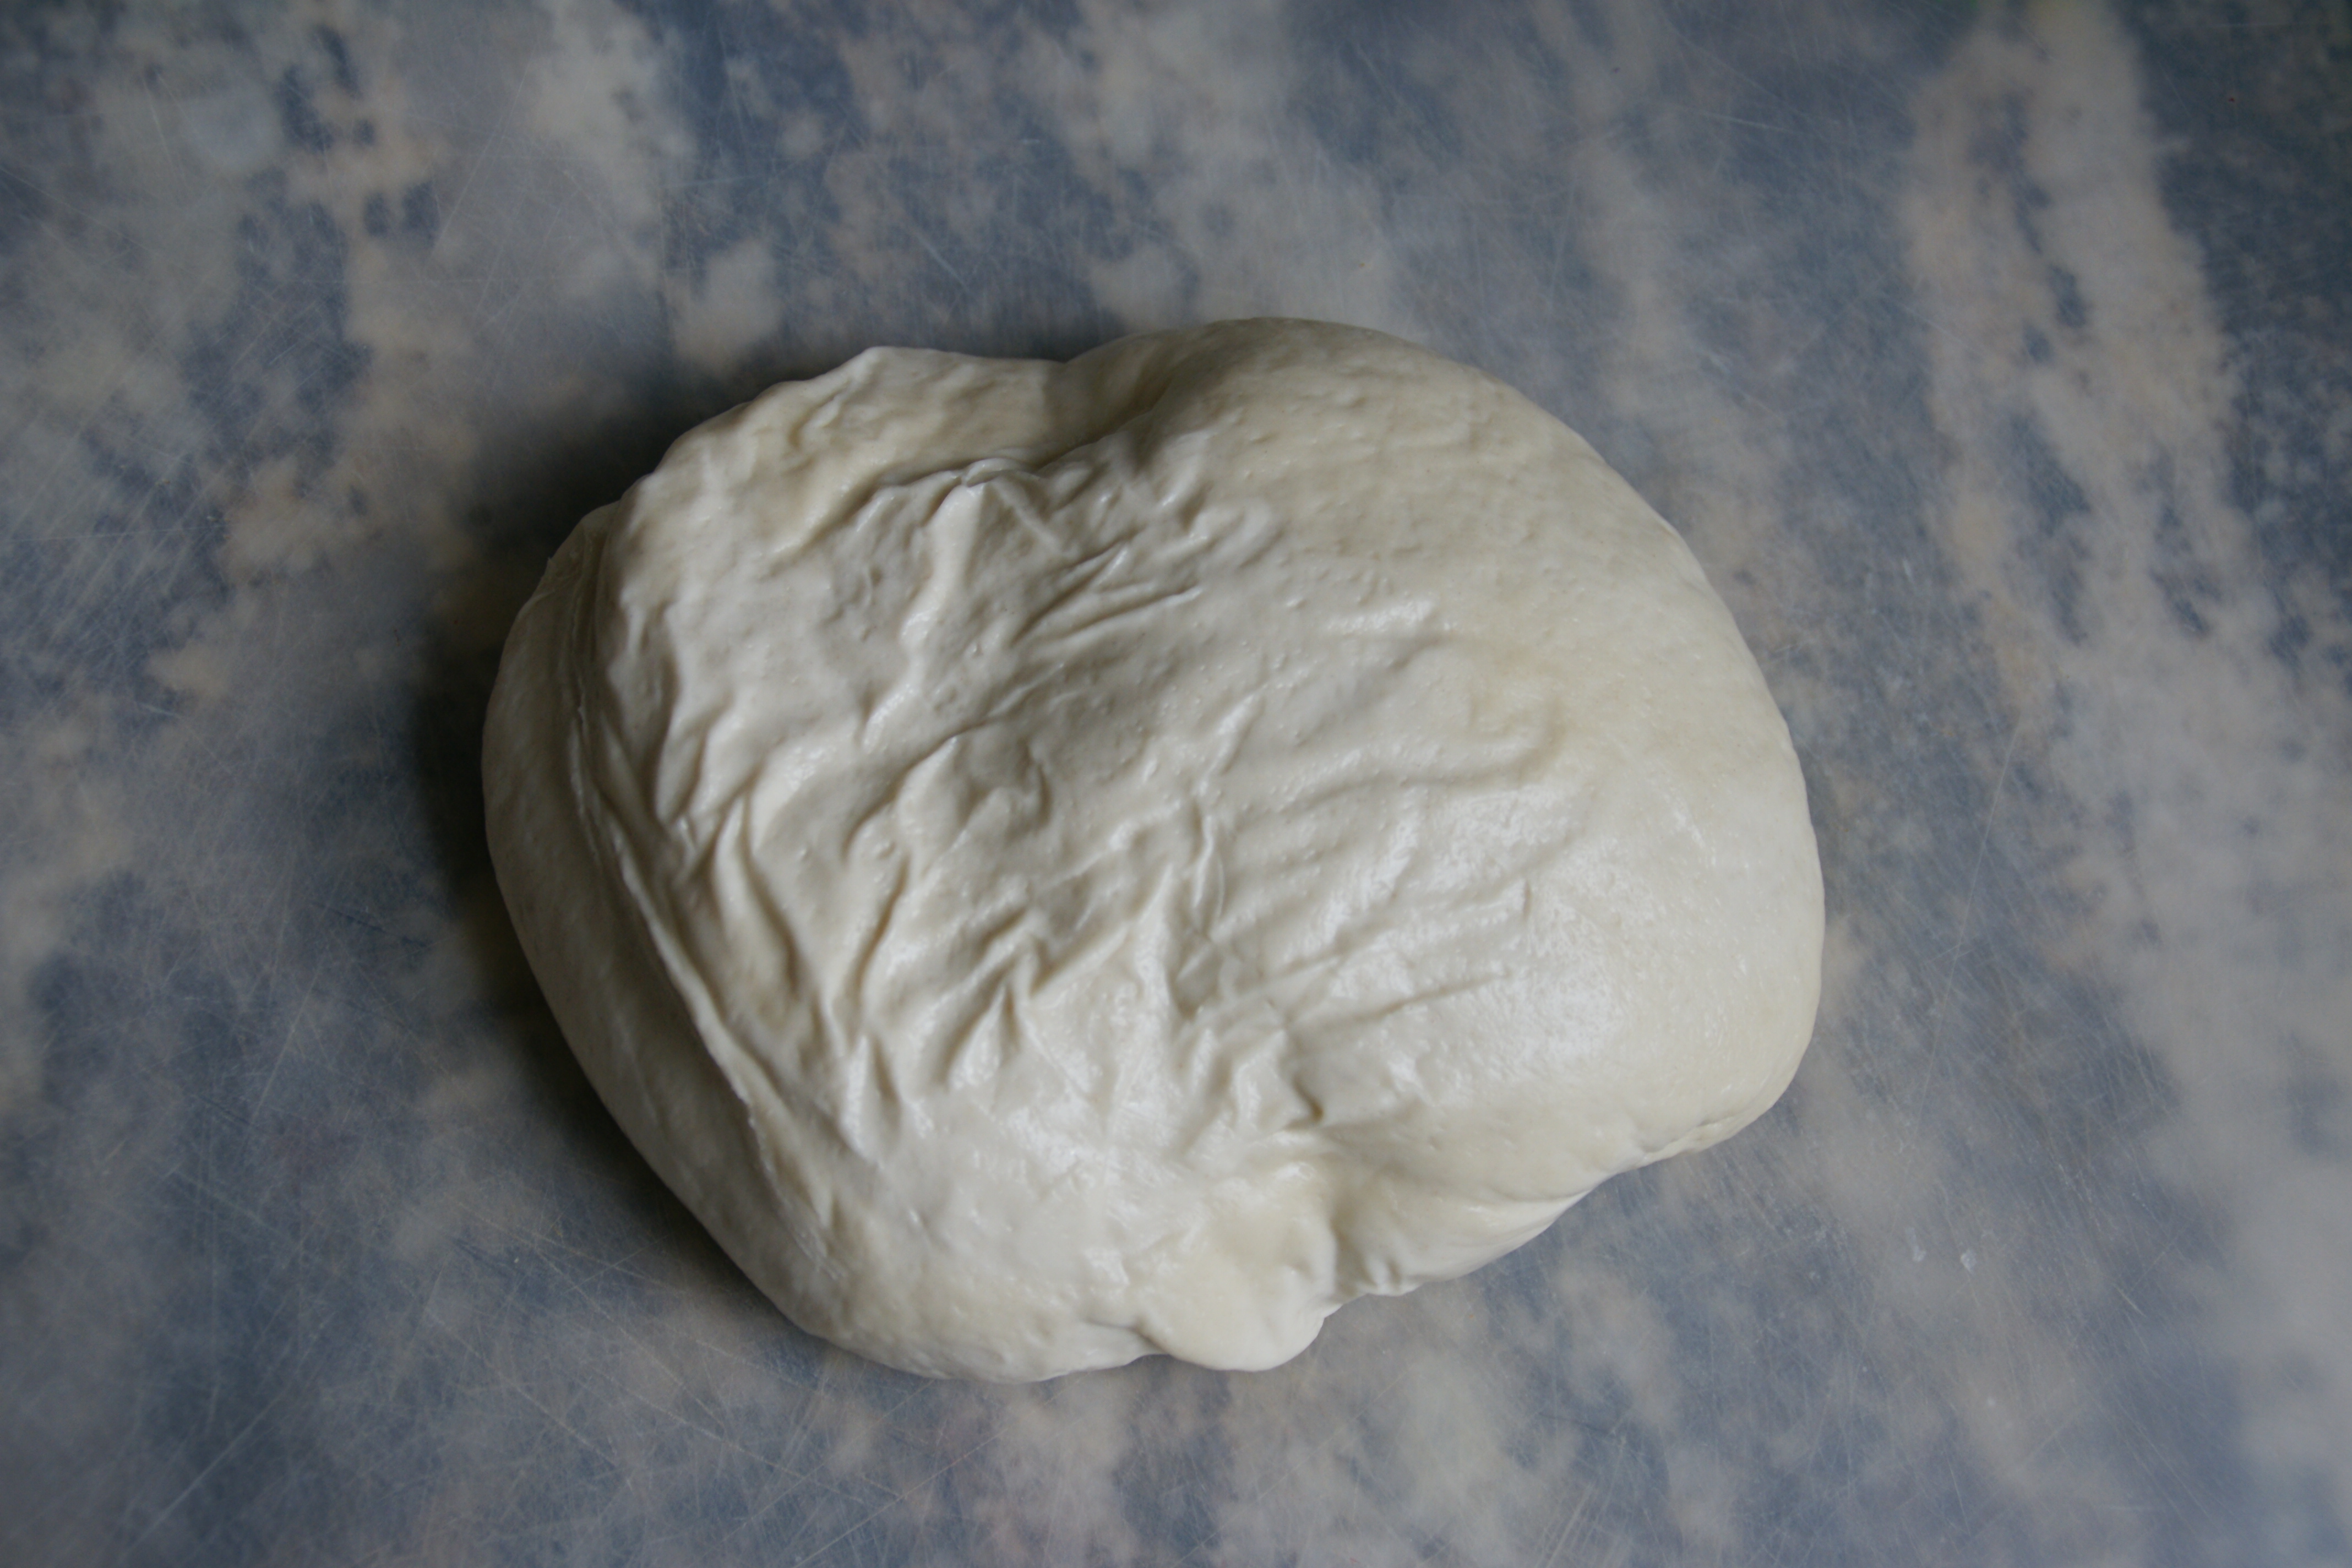
Chilled pre-ferment
Cut it into 12 pieces with your dough scraper, icing spatula, etc.
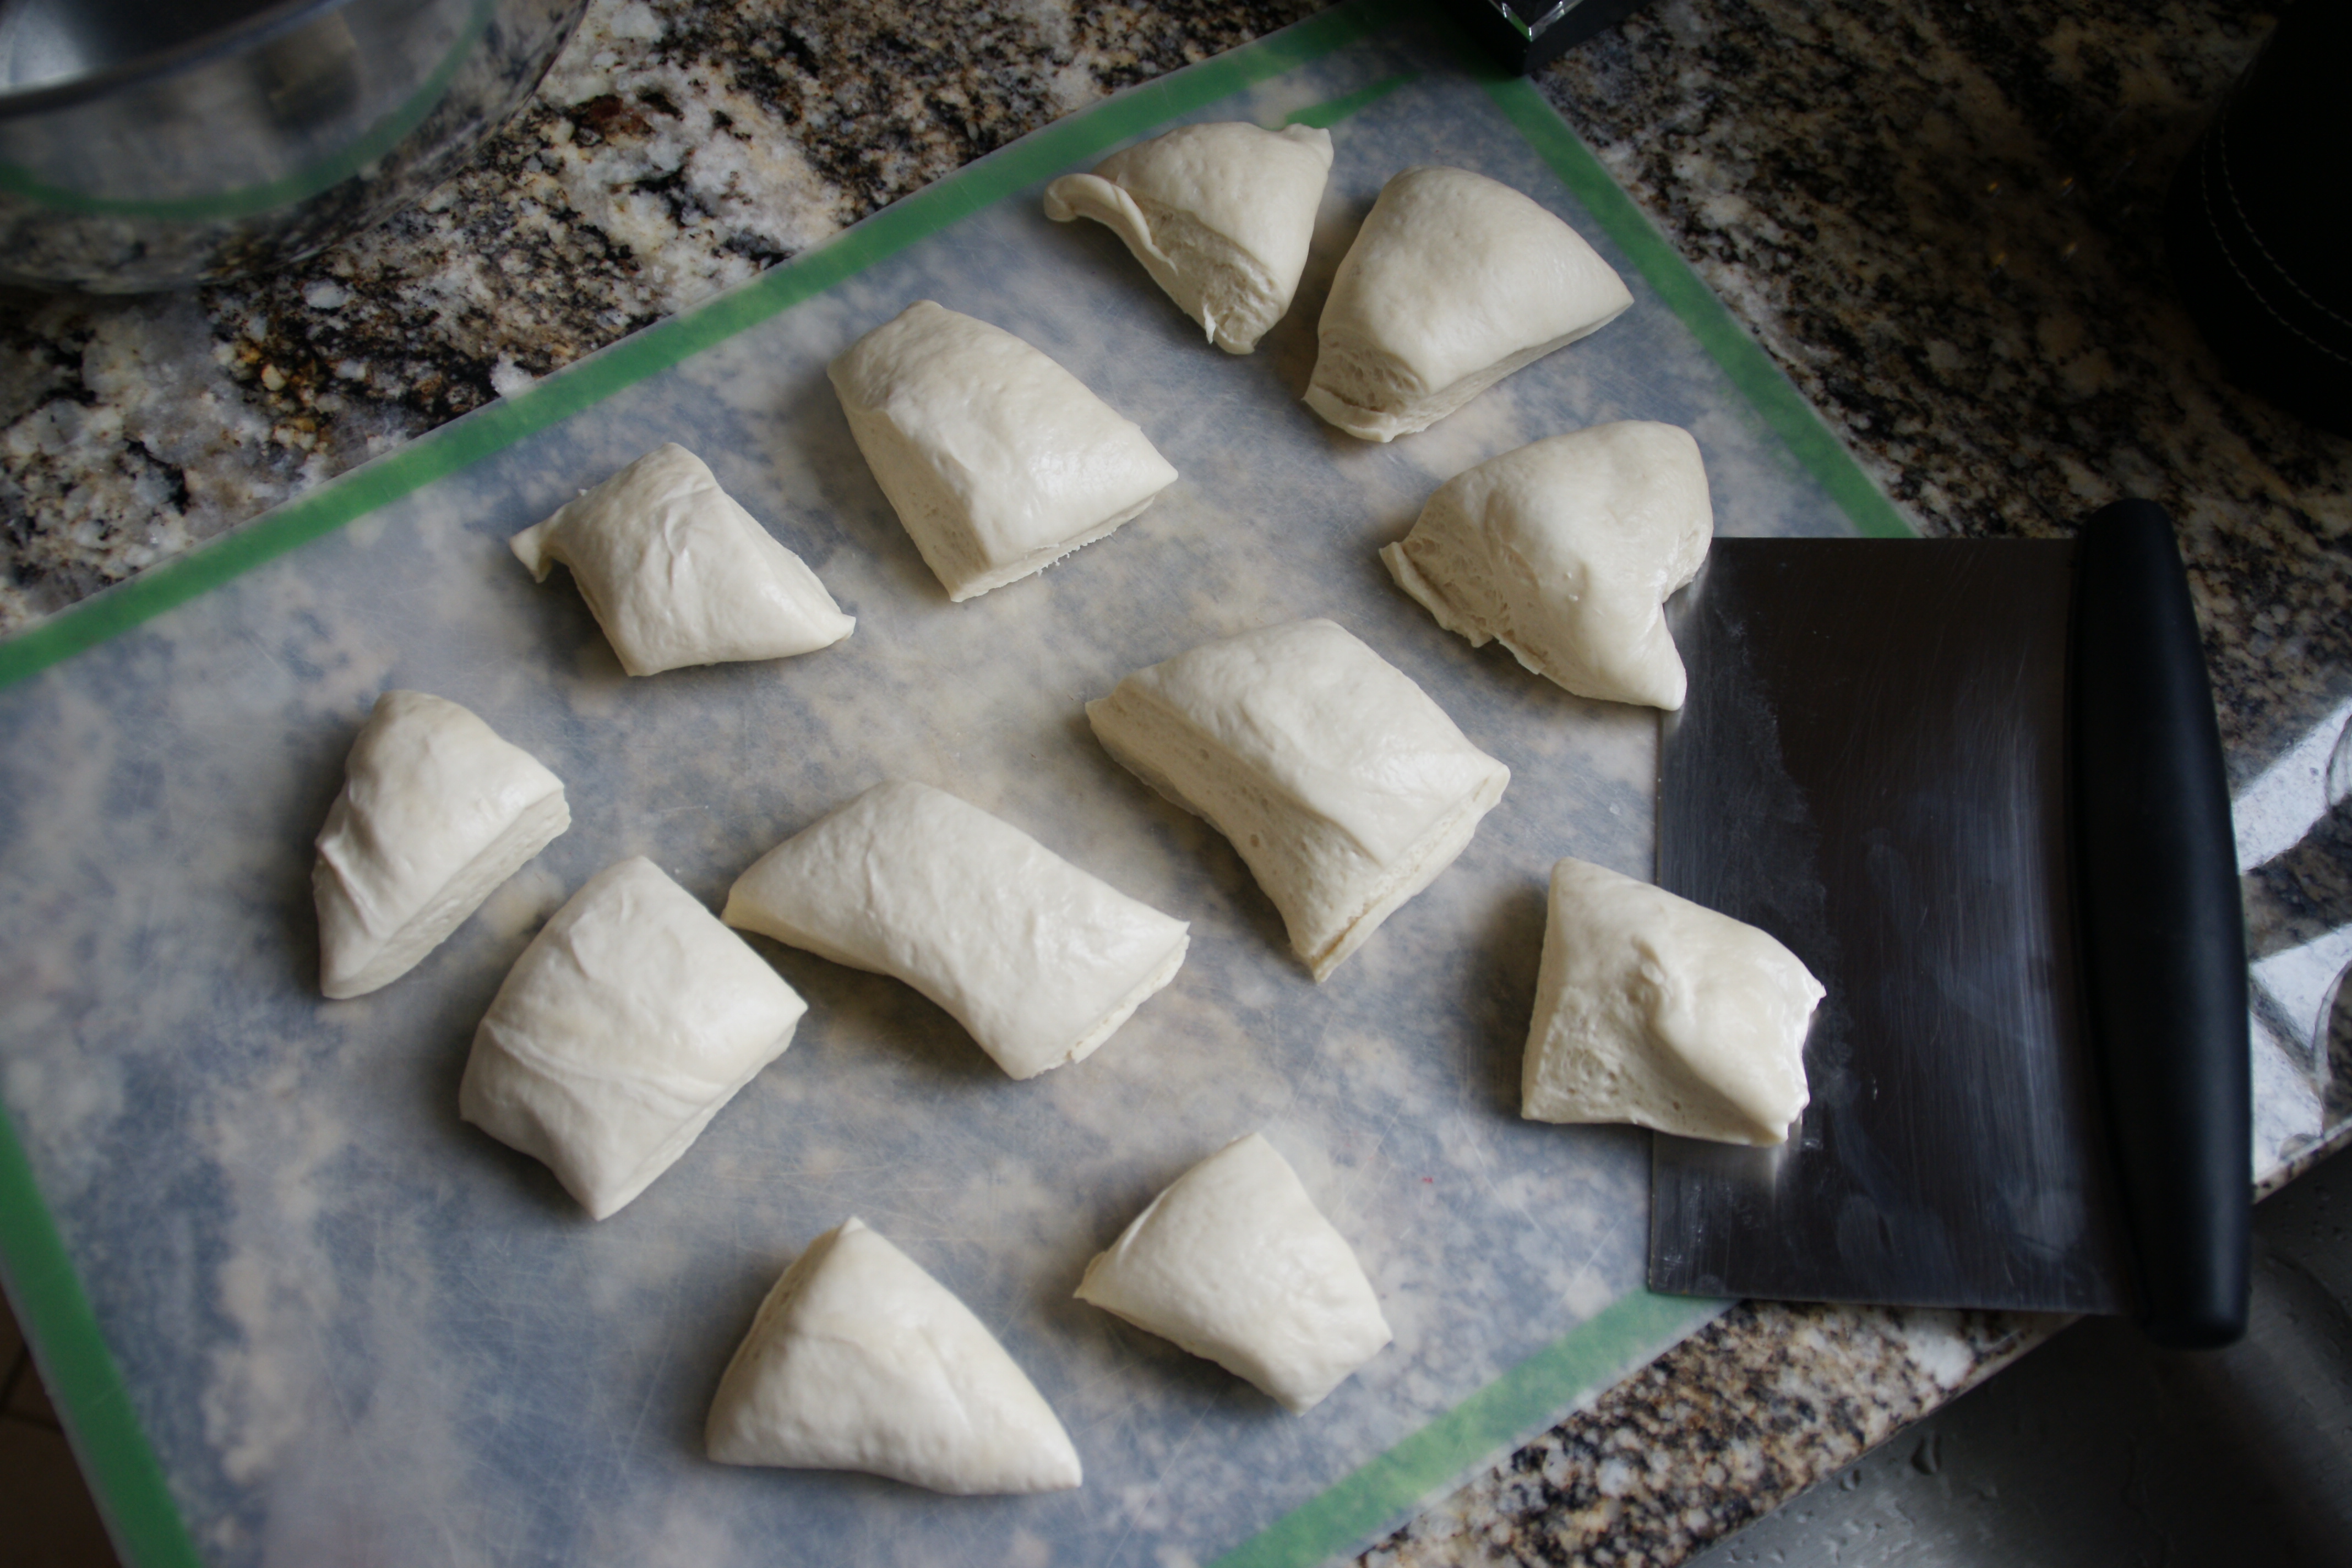
These do not have to be perfect cuts!
Toss the pieces into a mixing bowl. Cover with a towel and let the dough warm up for an hour.
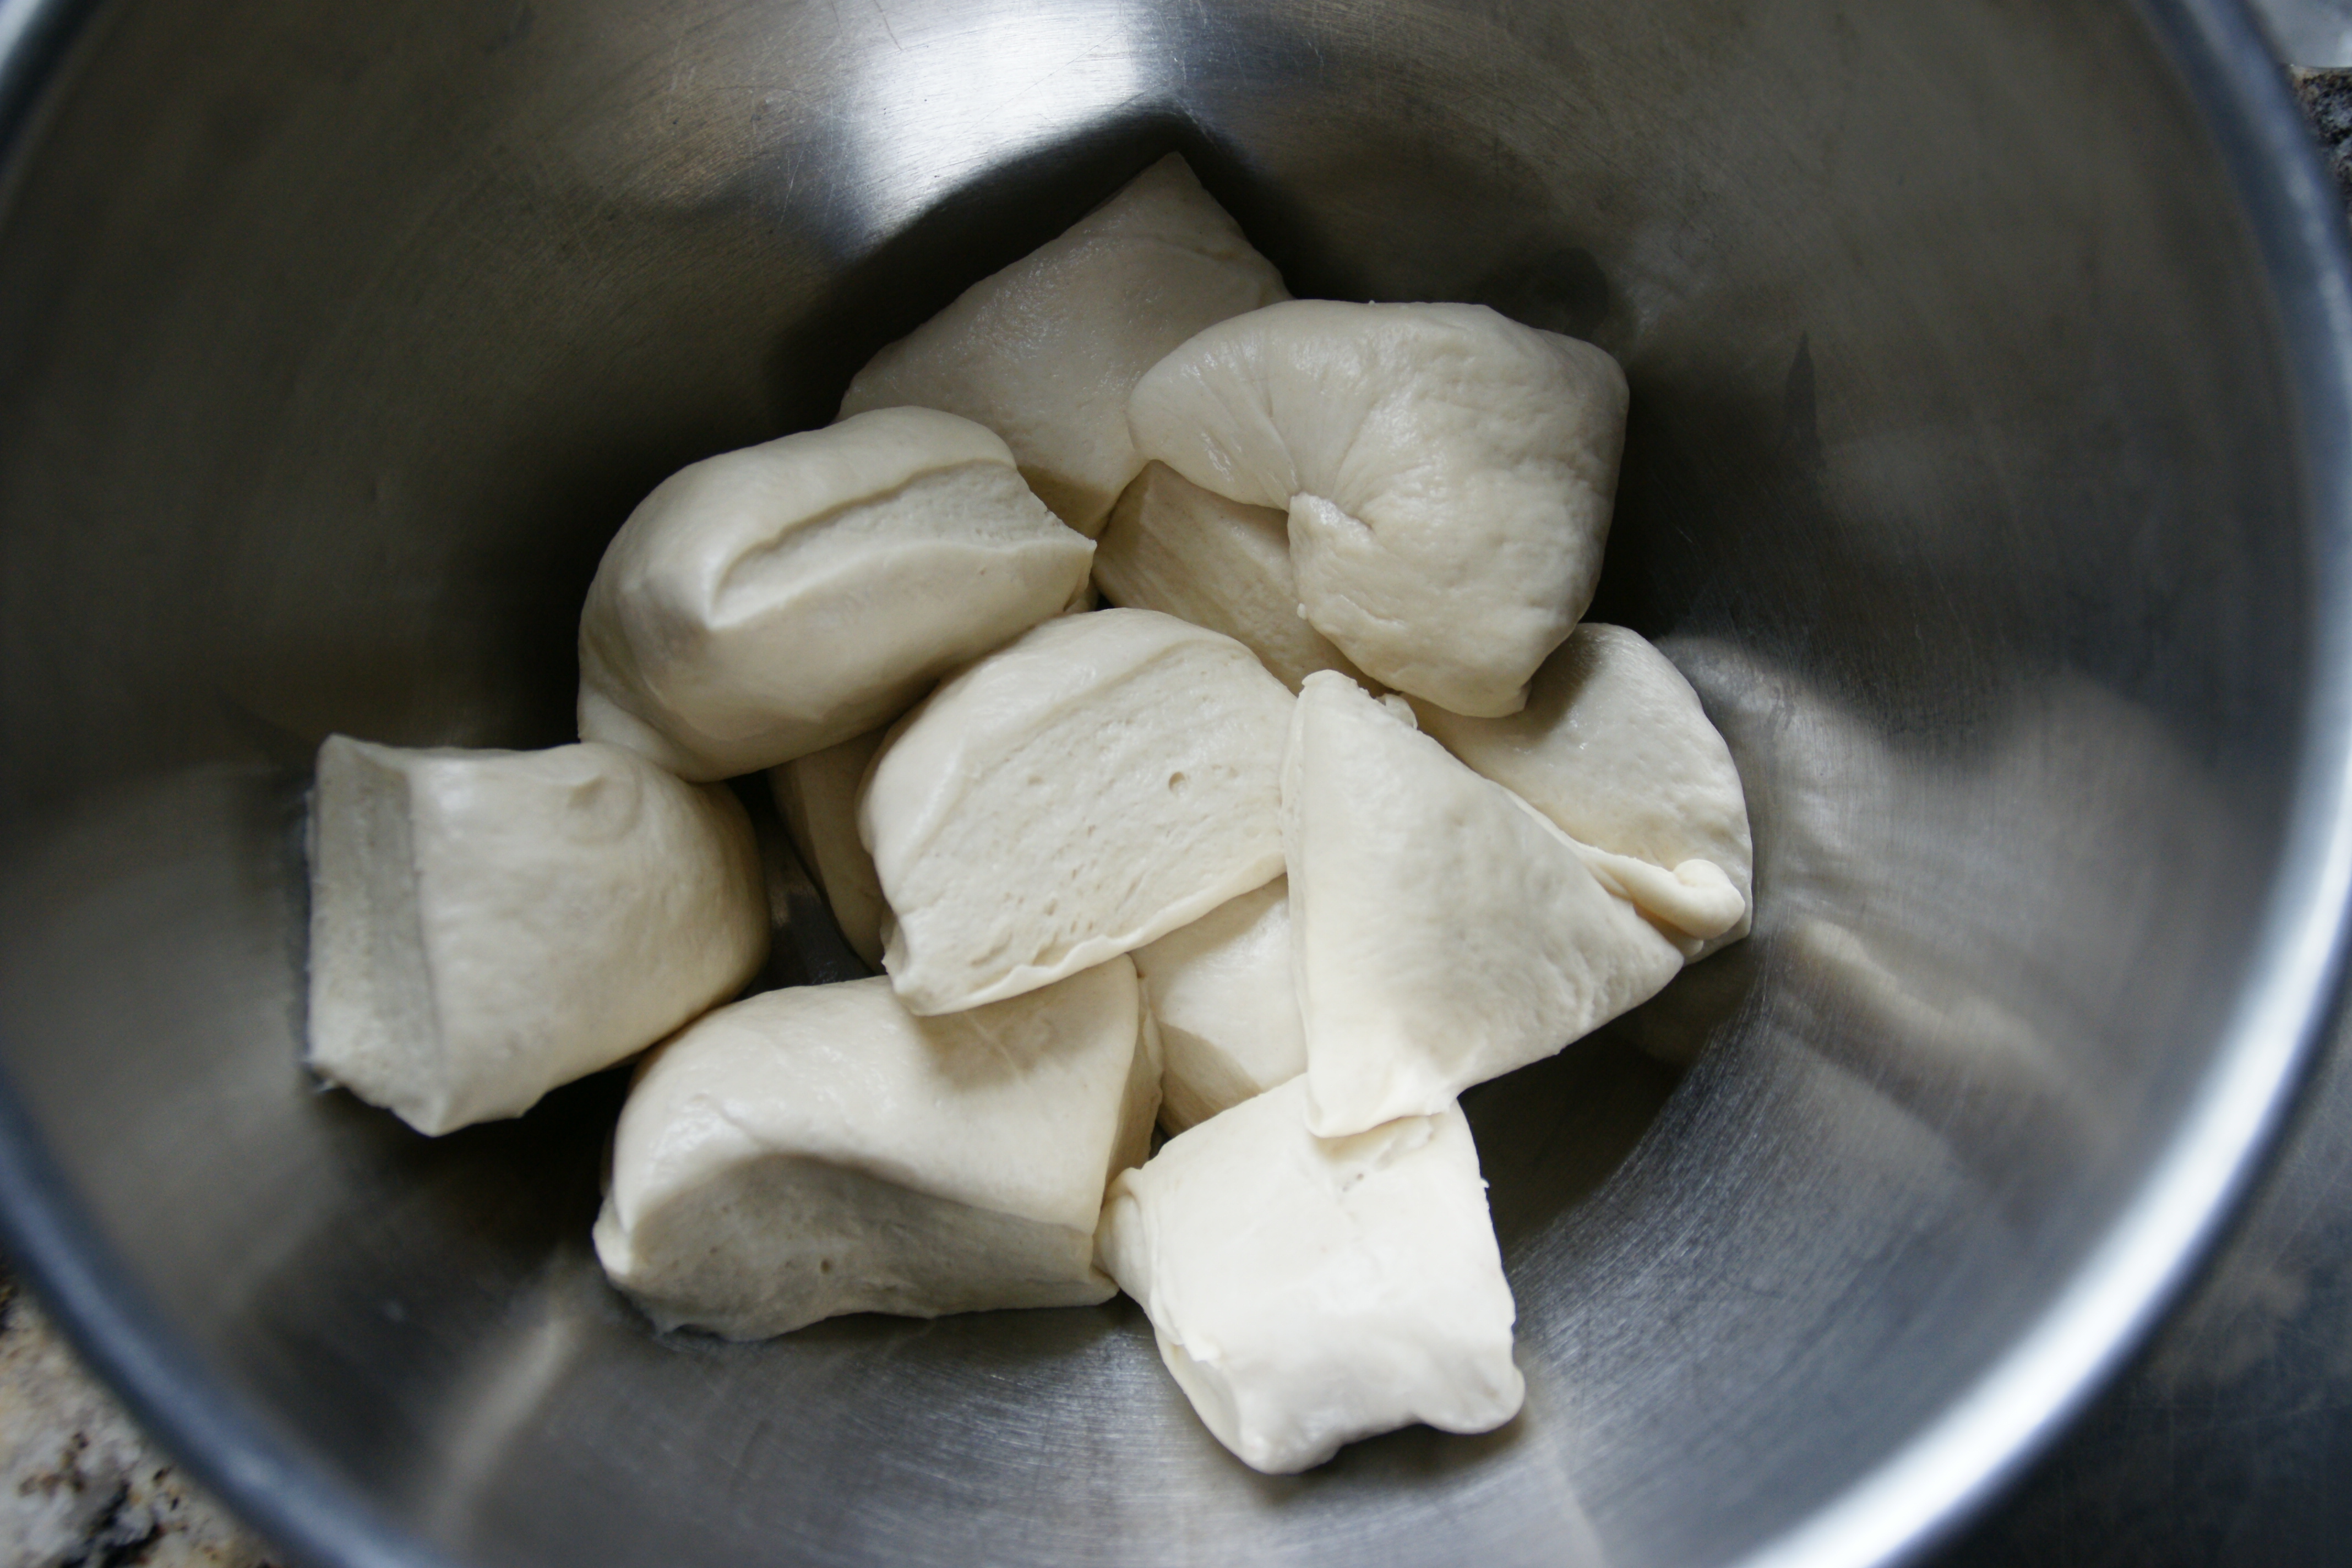
You’re just taking the chill off!
After an hour, measure (preferably weigh) the flours and toss them with the pieces of pre-ferment. Add the salt and yeast.
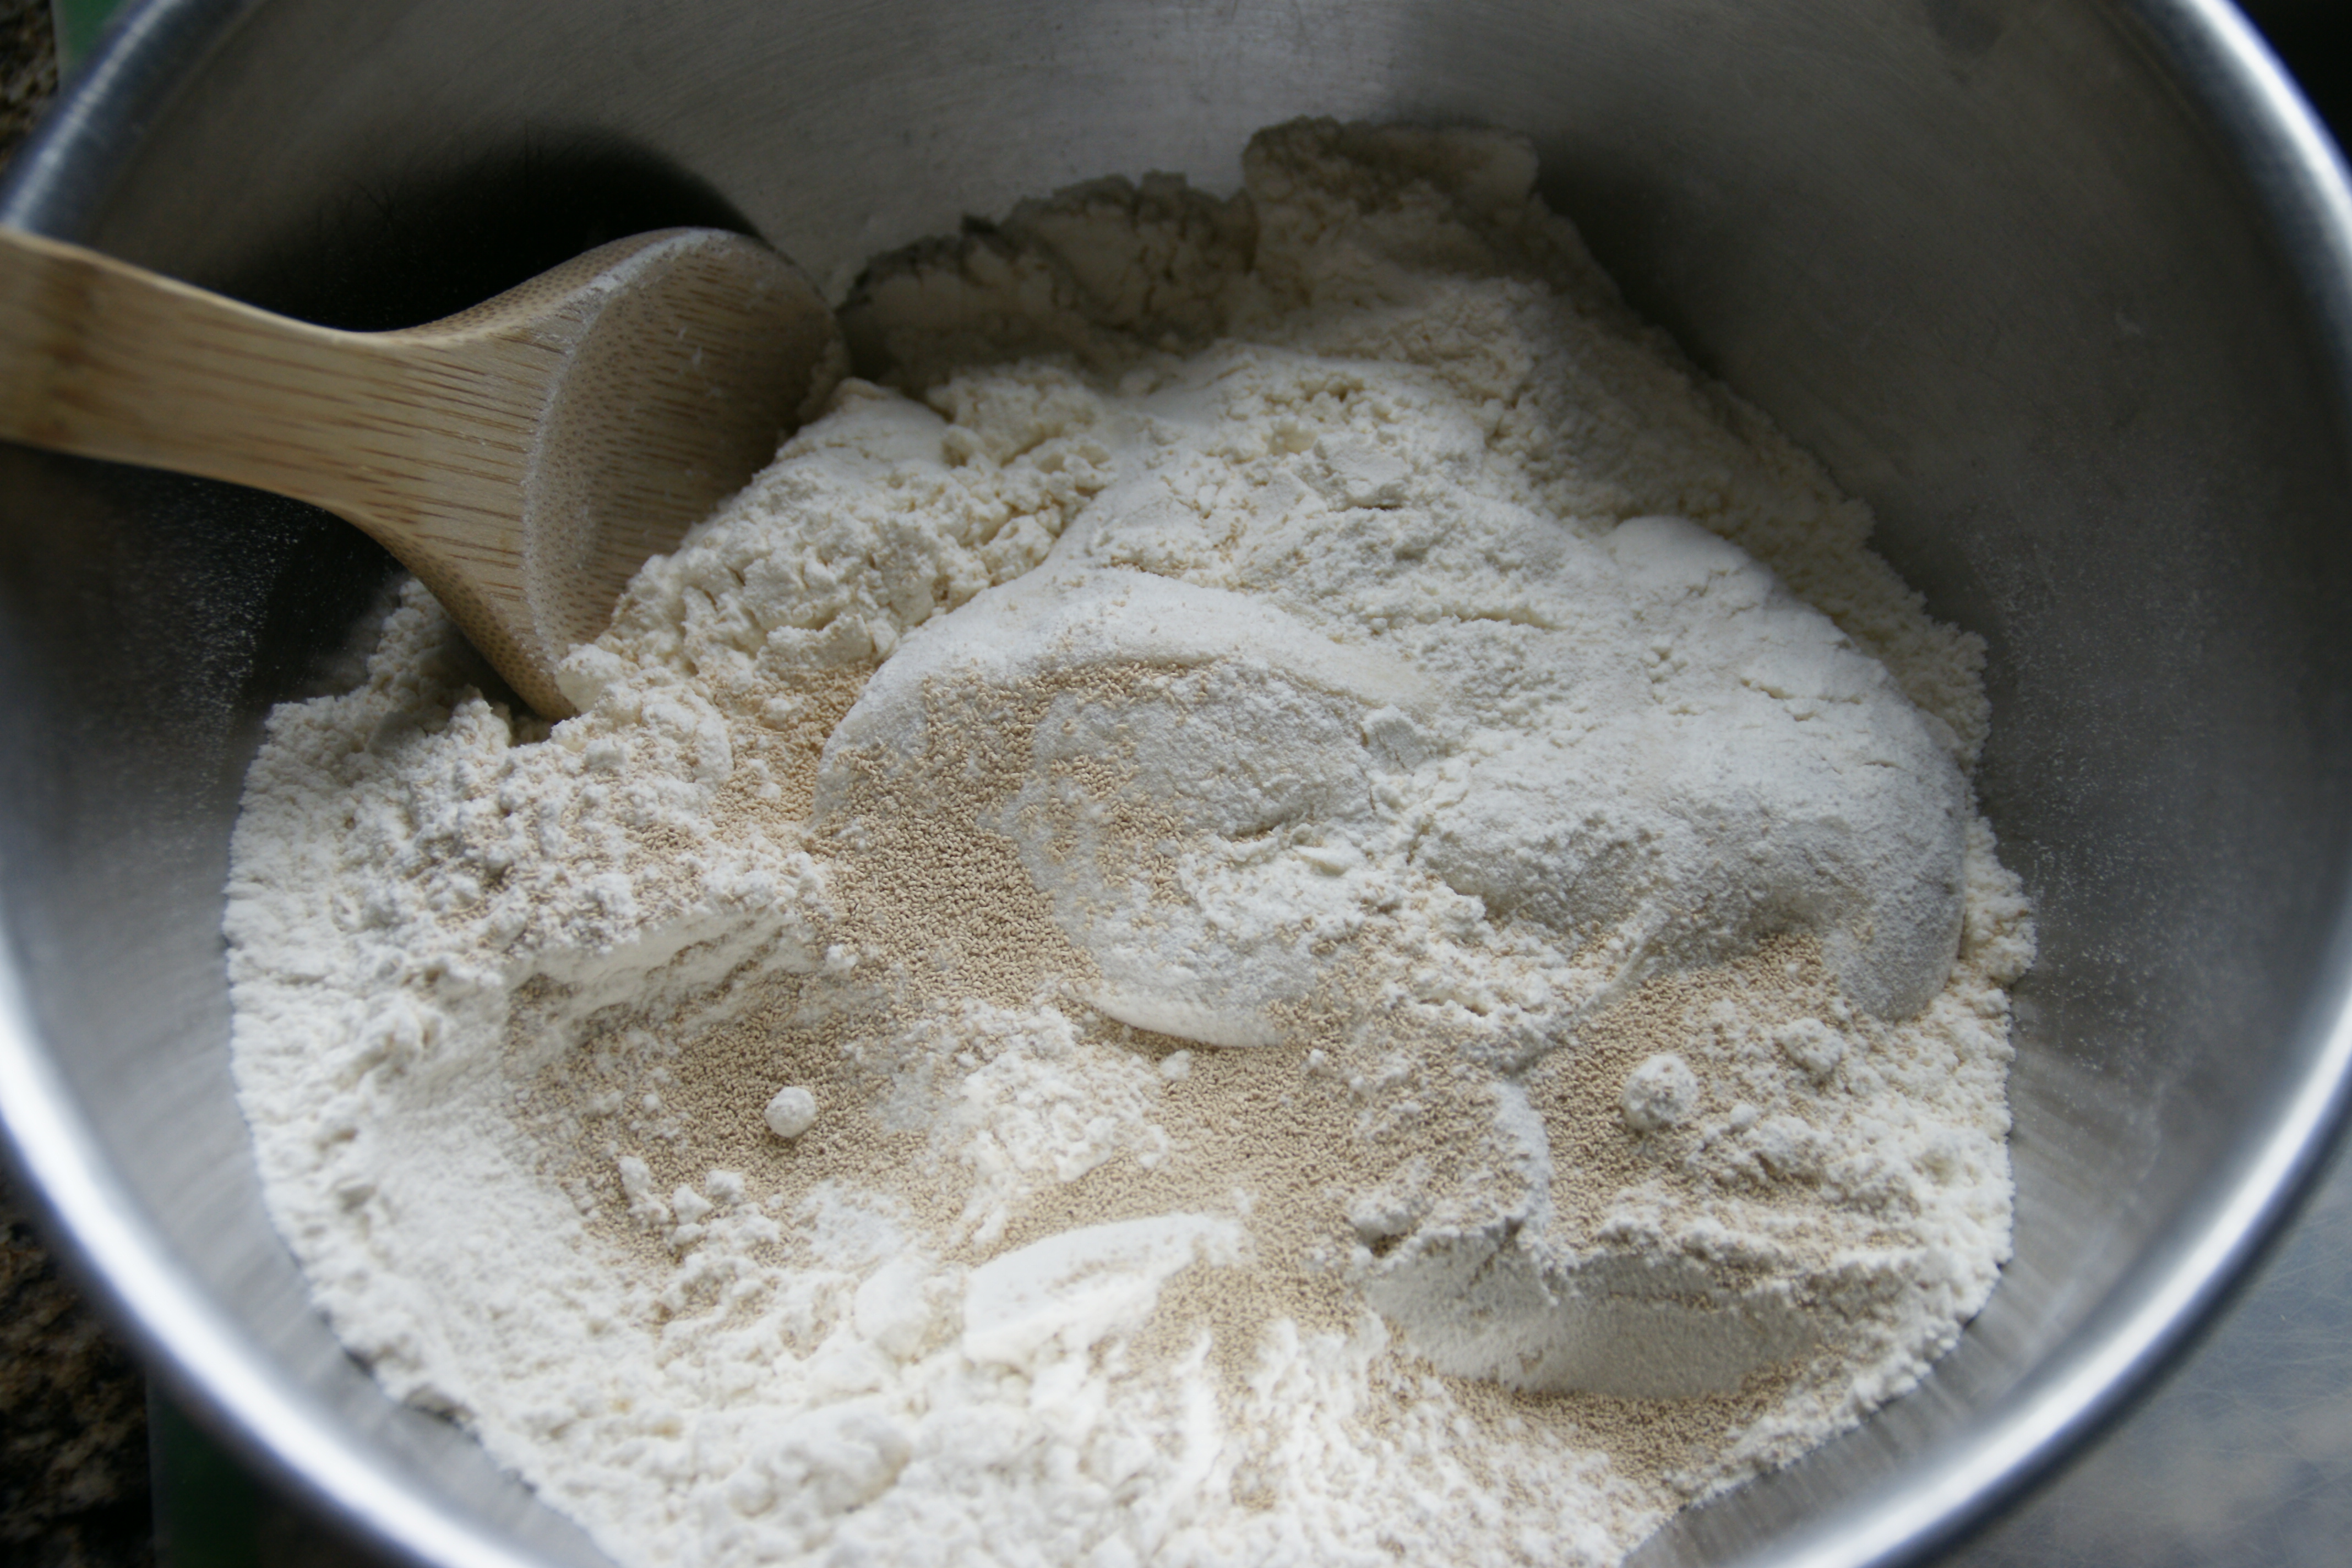
Same process as making the pre-ferment!
Measure the warm water and add gradually, just as you did with the pâte fermentée. You will not need as much water as for the pate, but it’s easier to measure a full cup.
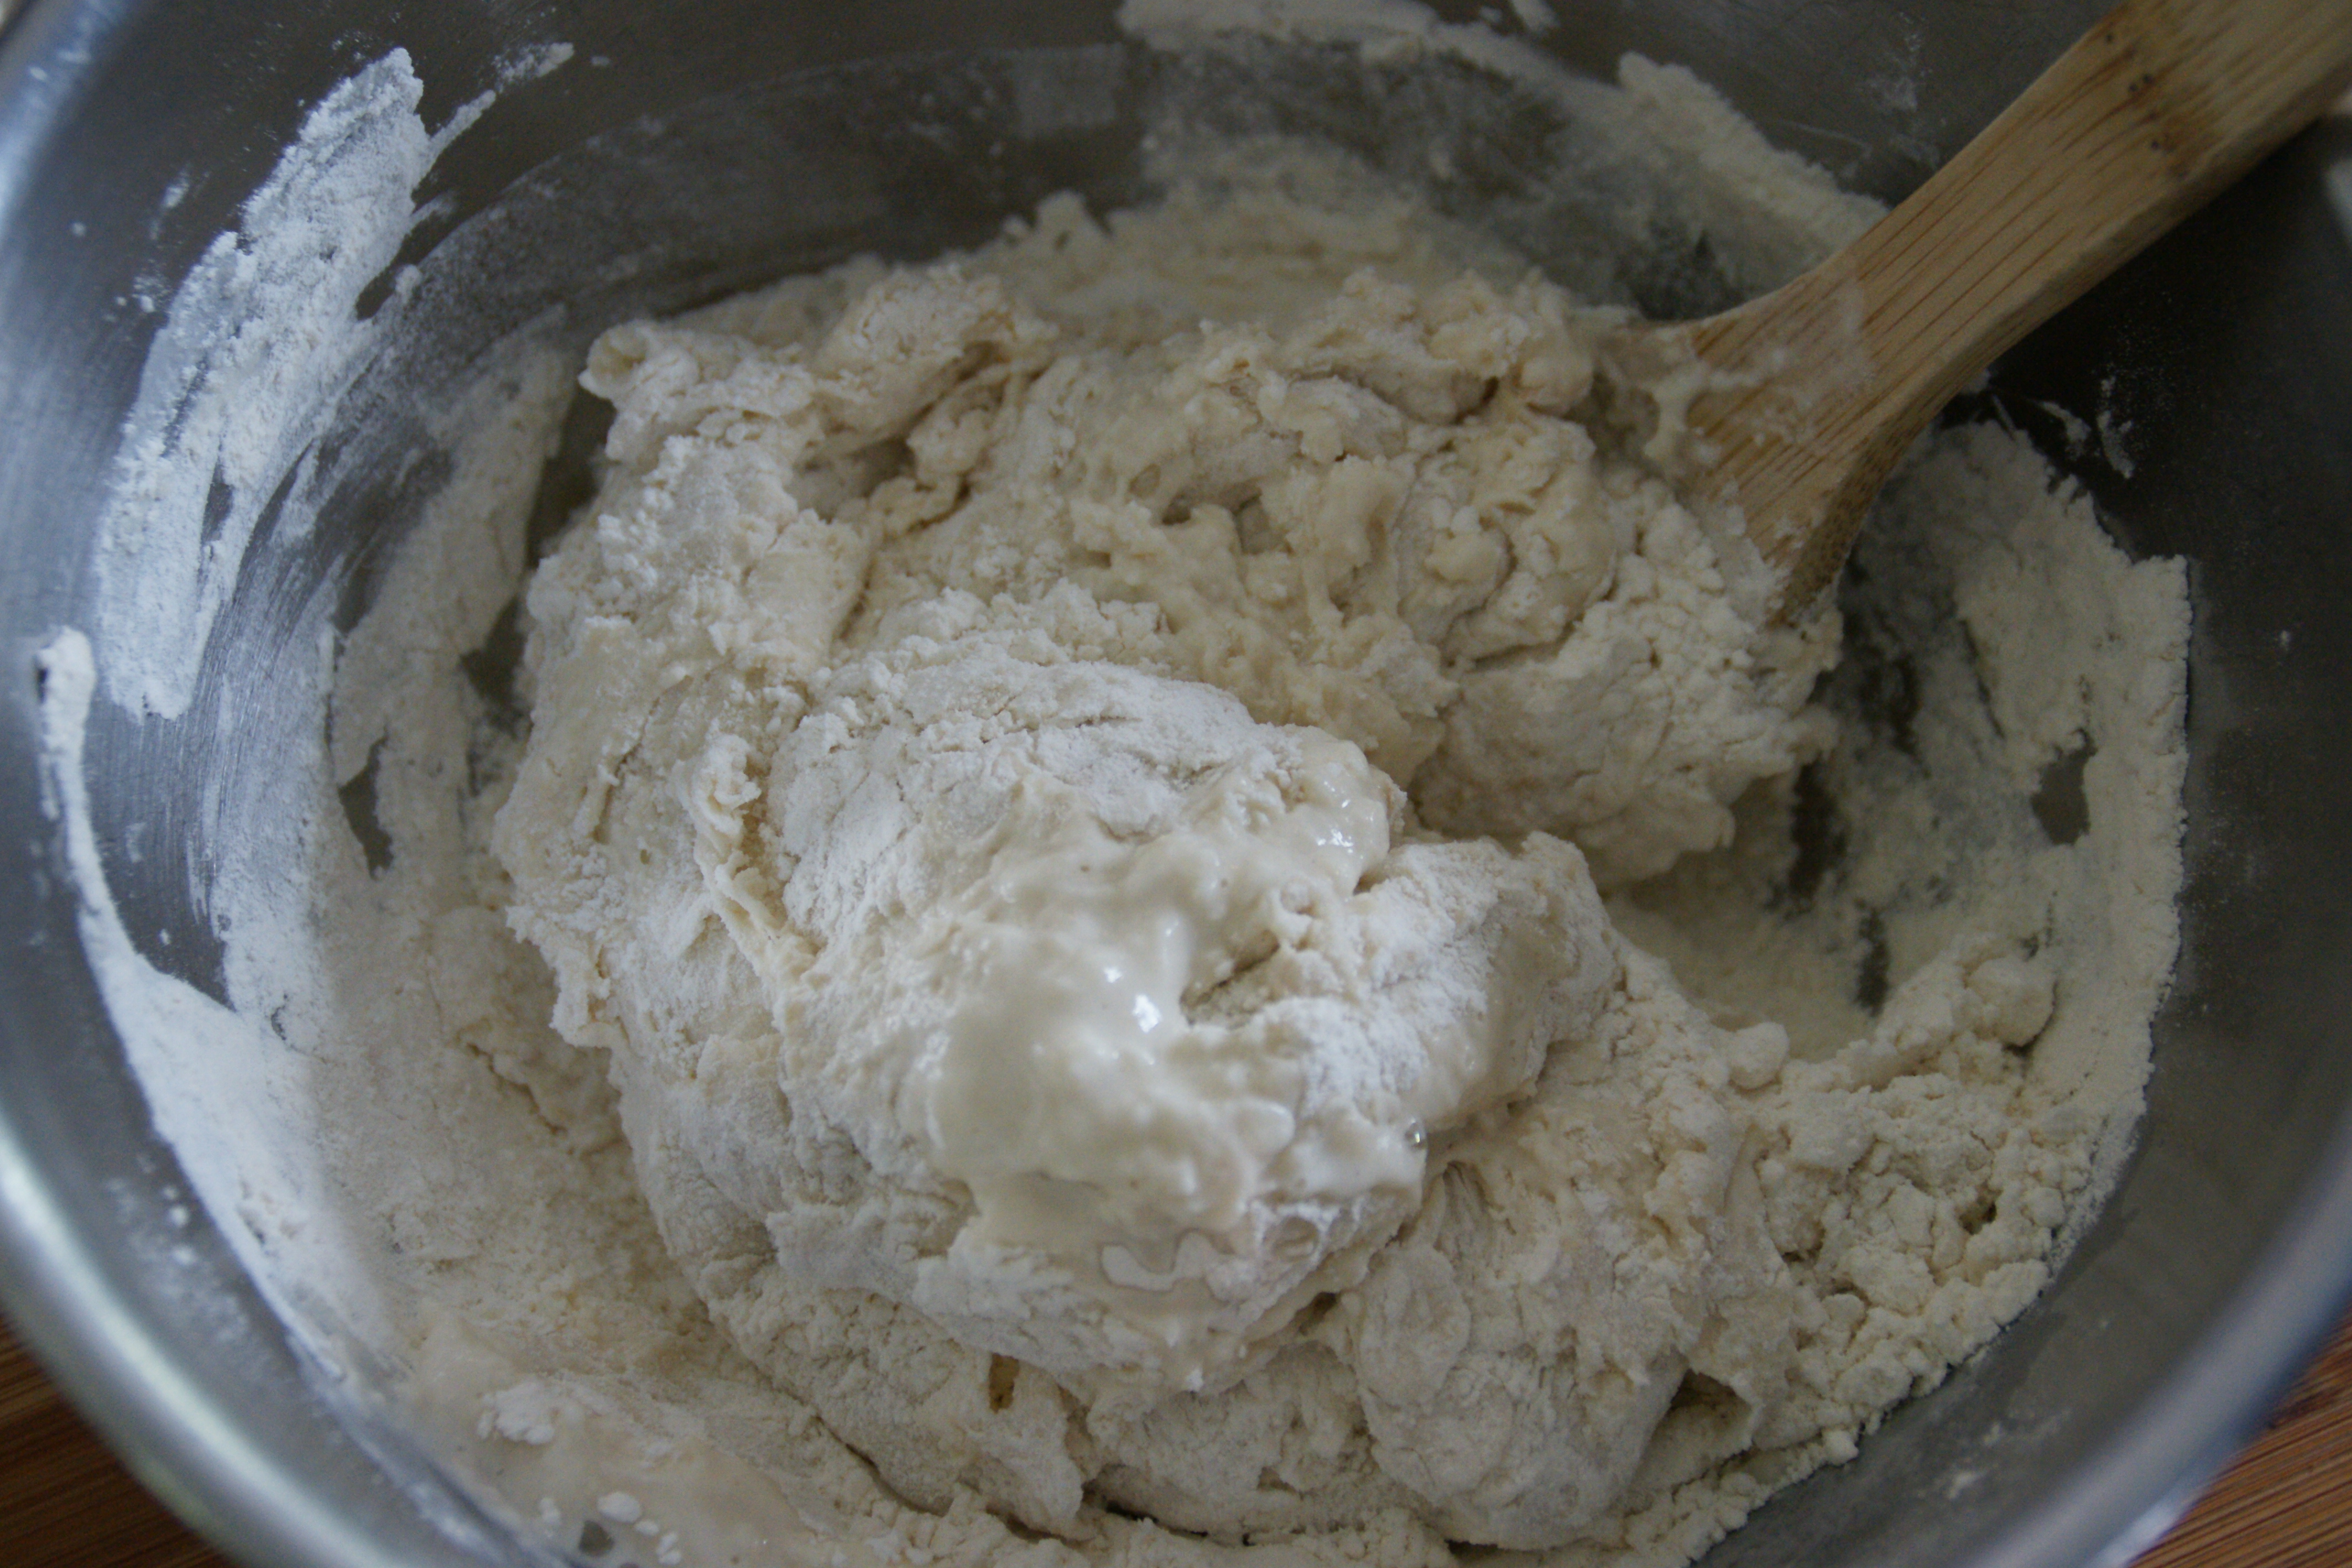
This mix will be a bit trickier because of the pieces of pre-ferment
I usually begin kneading the dough in the bowl because of the chunks of pre-ferment.
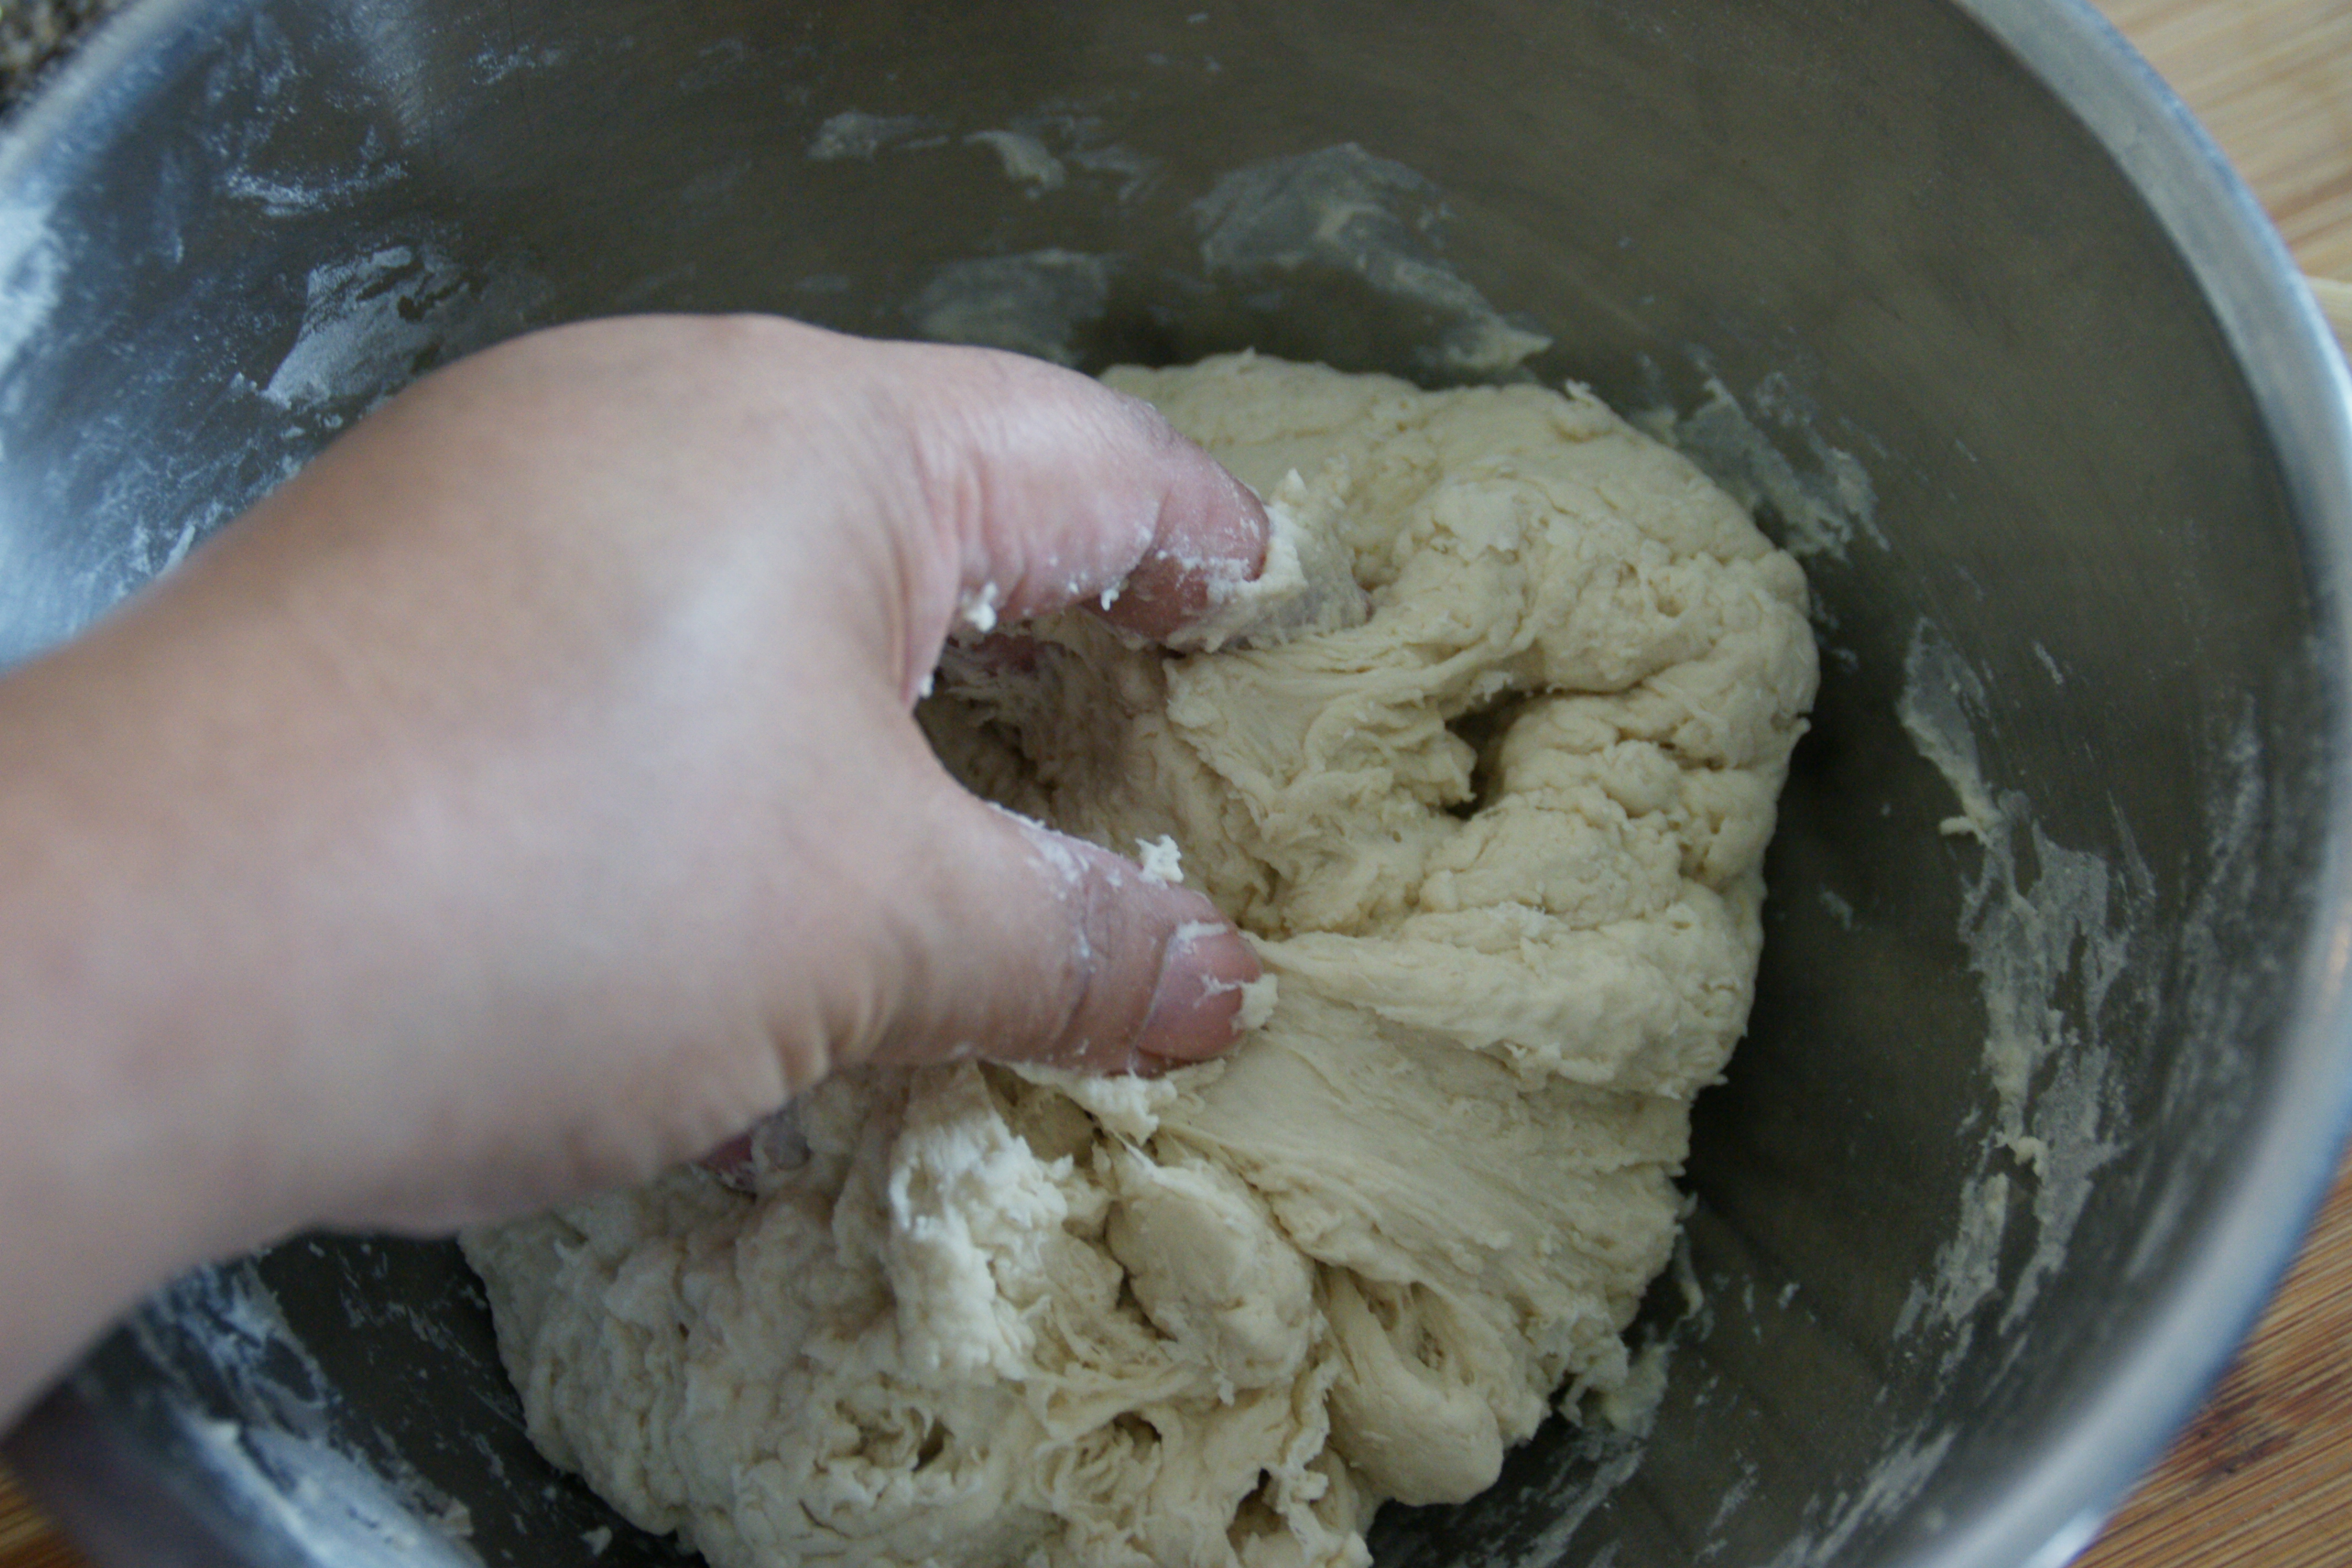
I lean towards stickier dough since I can correct that while kneading
When the dough comes together, scrape onto a floured board and begin the kneading process– again, just as before. After 1 1/2 minutes:
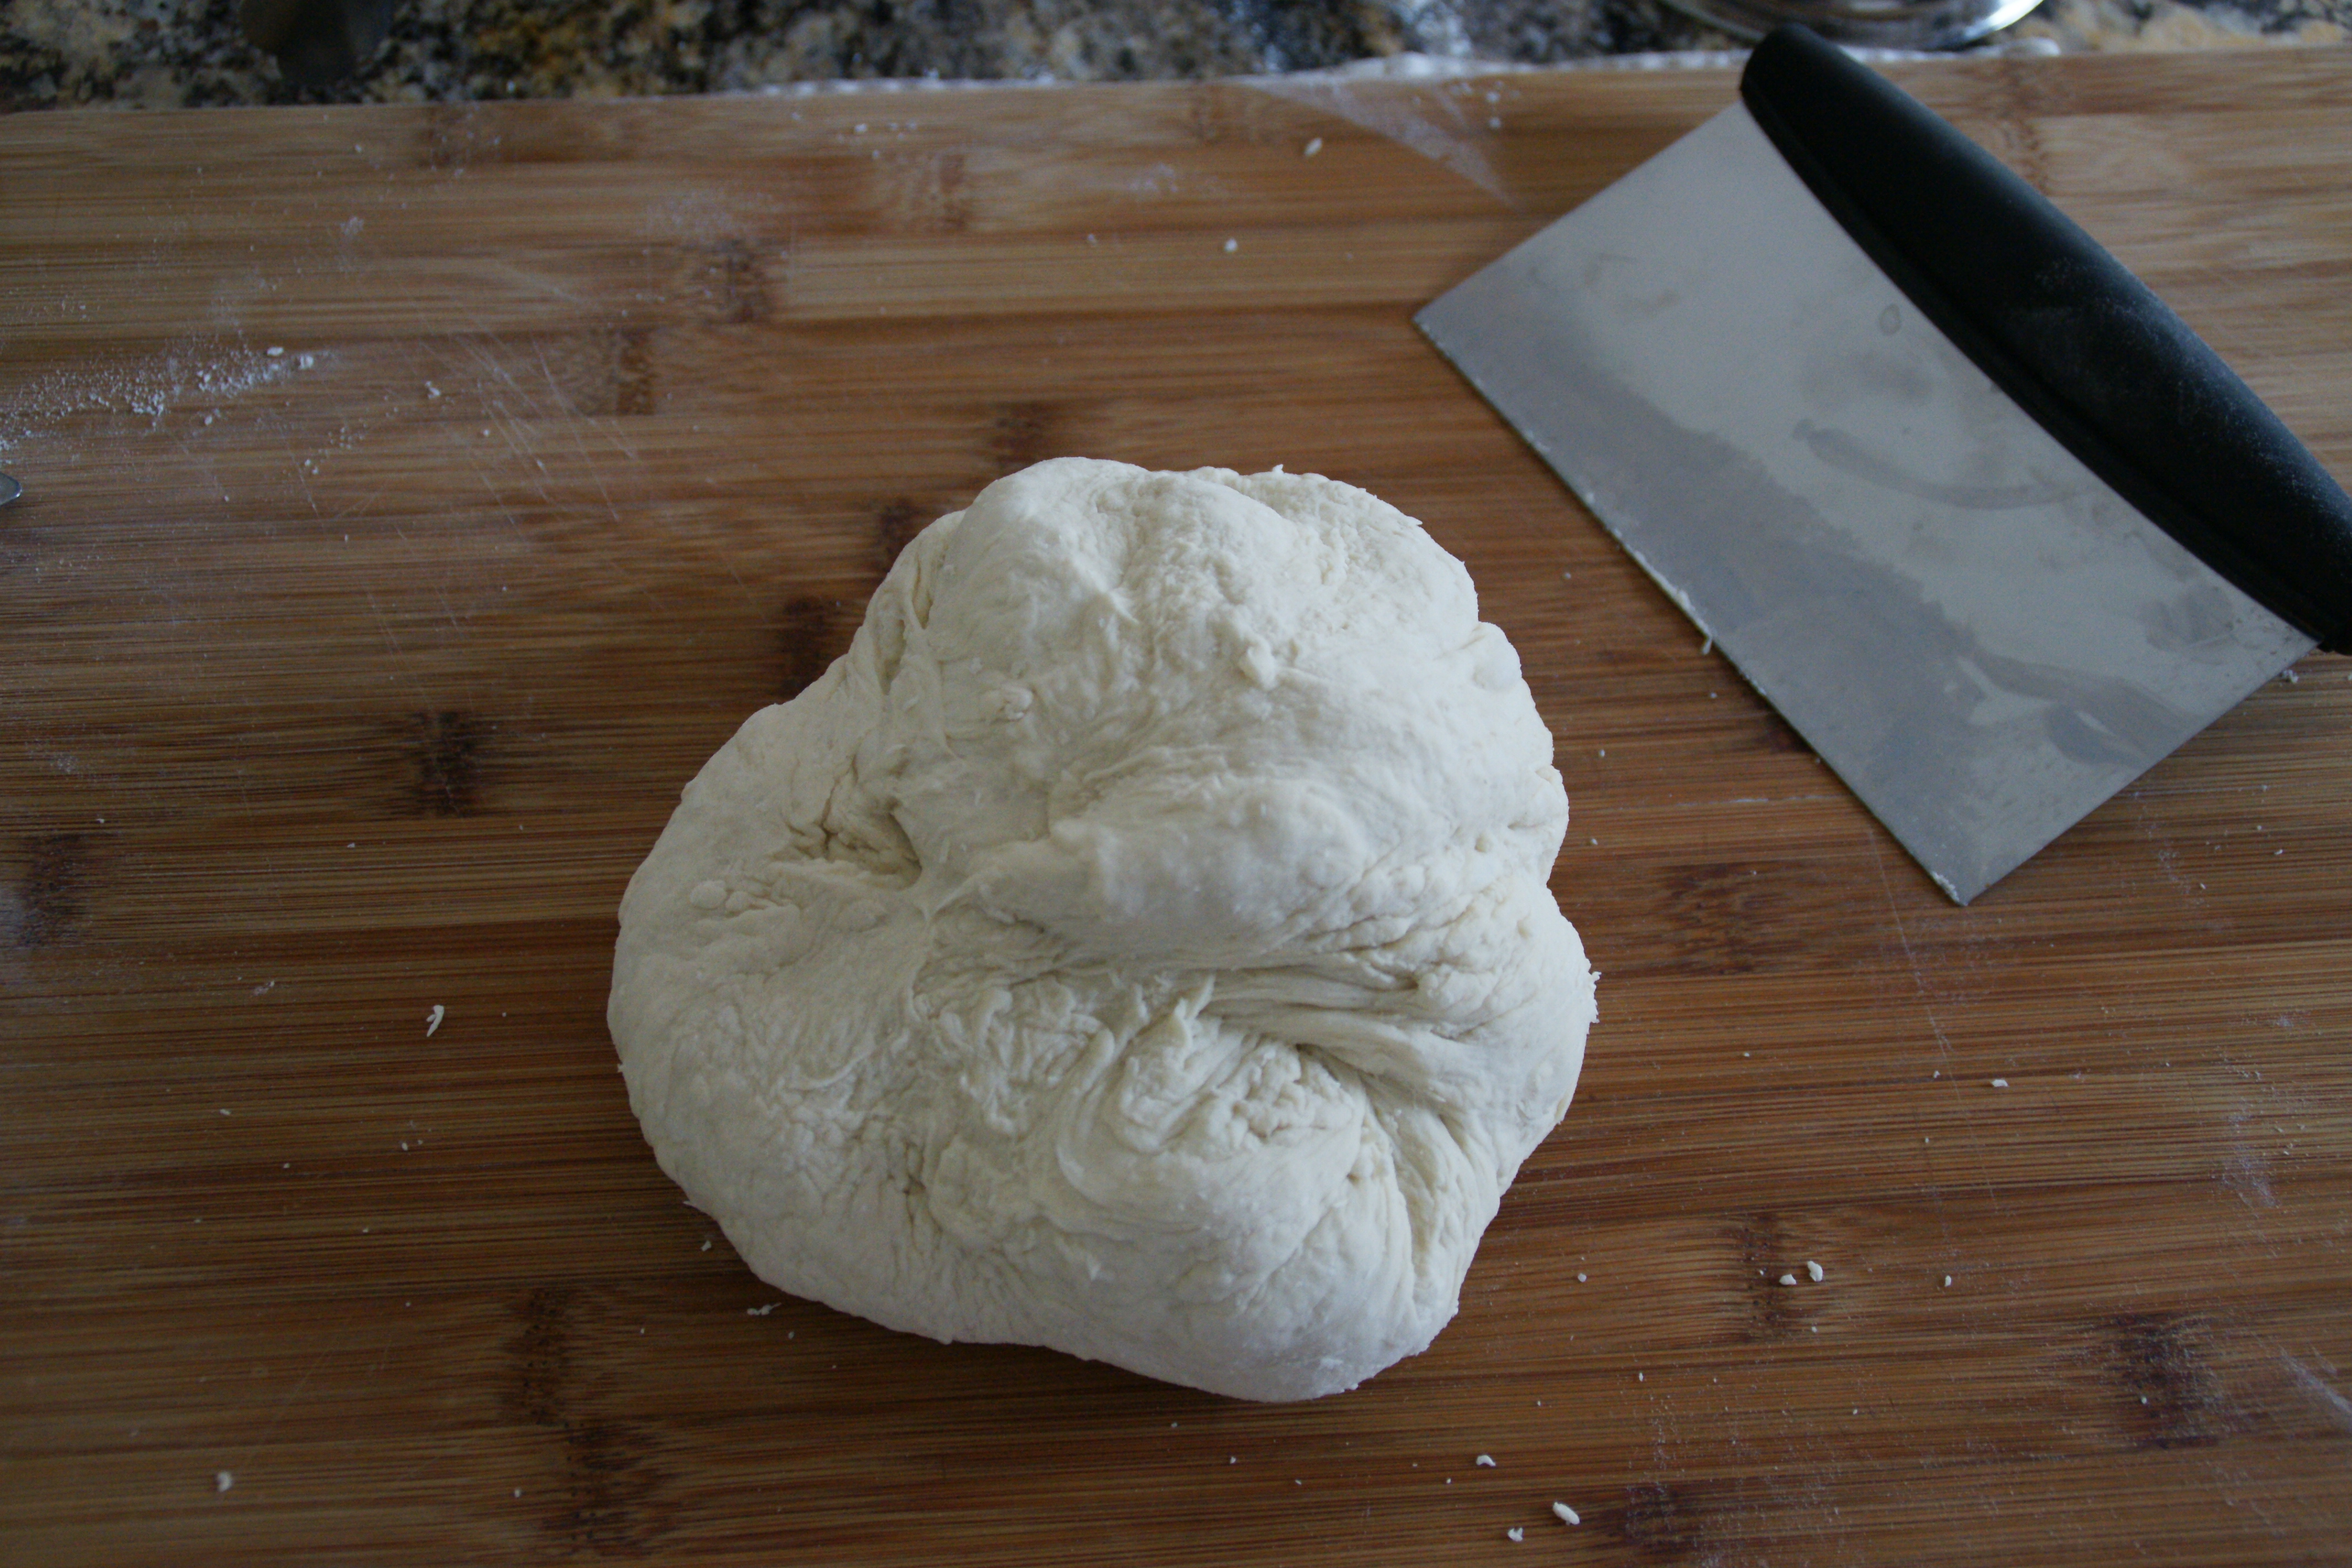
If the dough doesn’t stick to the surface, you don’t knead to keep flouring!
After 10 minutes (and I checked the temp this time since it’s the REAL loaf):
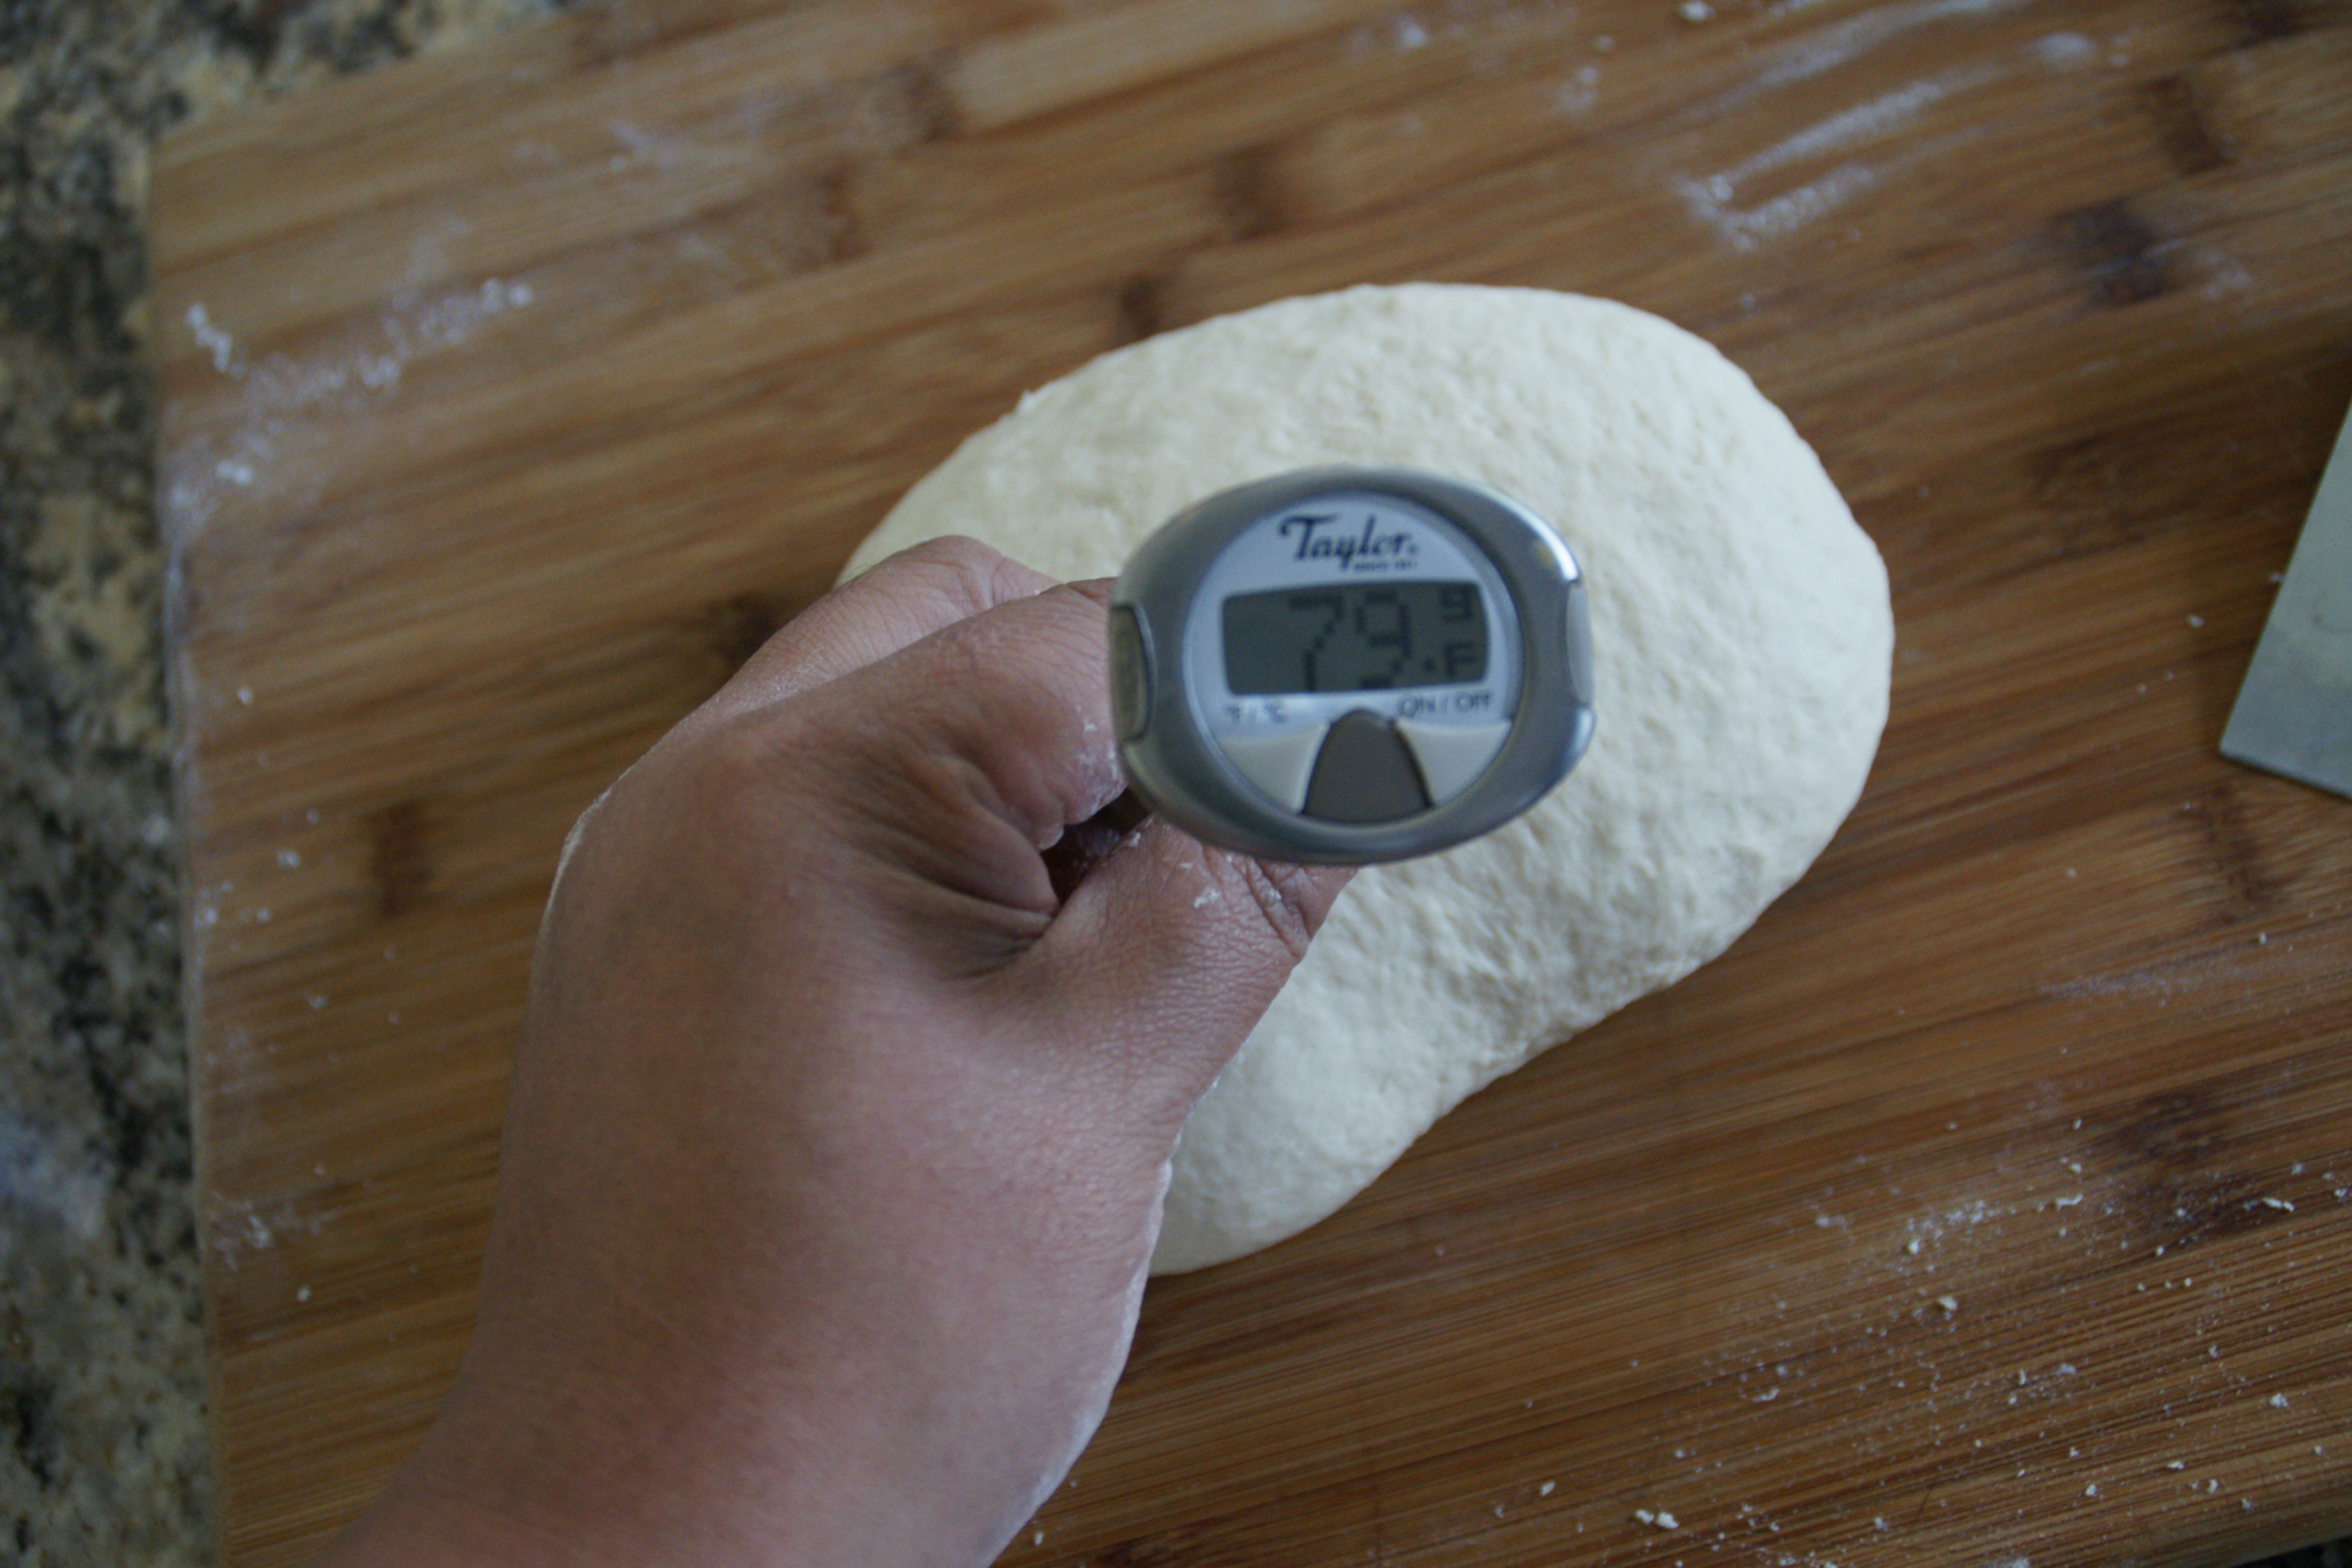
Internal temp between 77 and 81 degrees F
Oil a bowl or lidded plastic container. Add the dough and turn to coat with oil. Cover and let rise for 2 hours til double in size. Note: the dough should double not just increase by 1 1/2 times; this is why the rise time is longer.
While the dough is rising, make a “couche” in which your loaves will have their final rise. To do this, spread out a clean kitchen towel and sprinkle flour all across the surface.
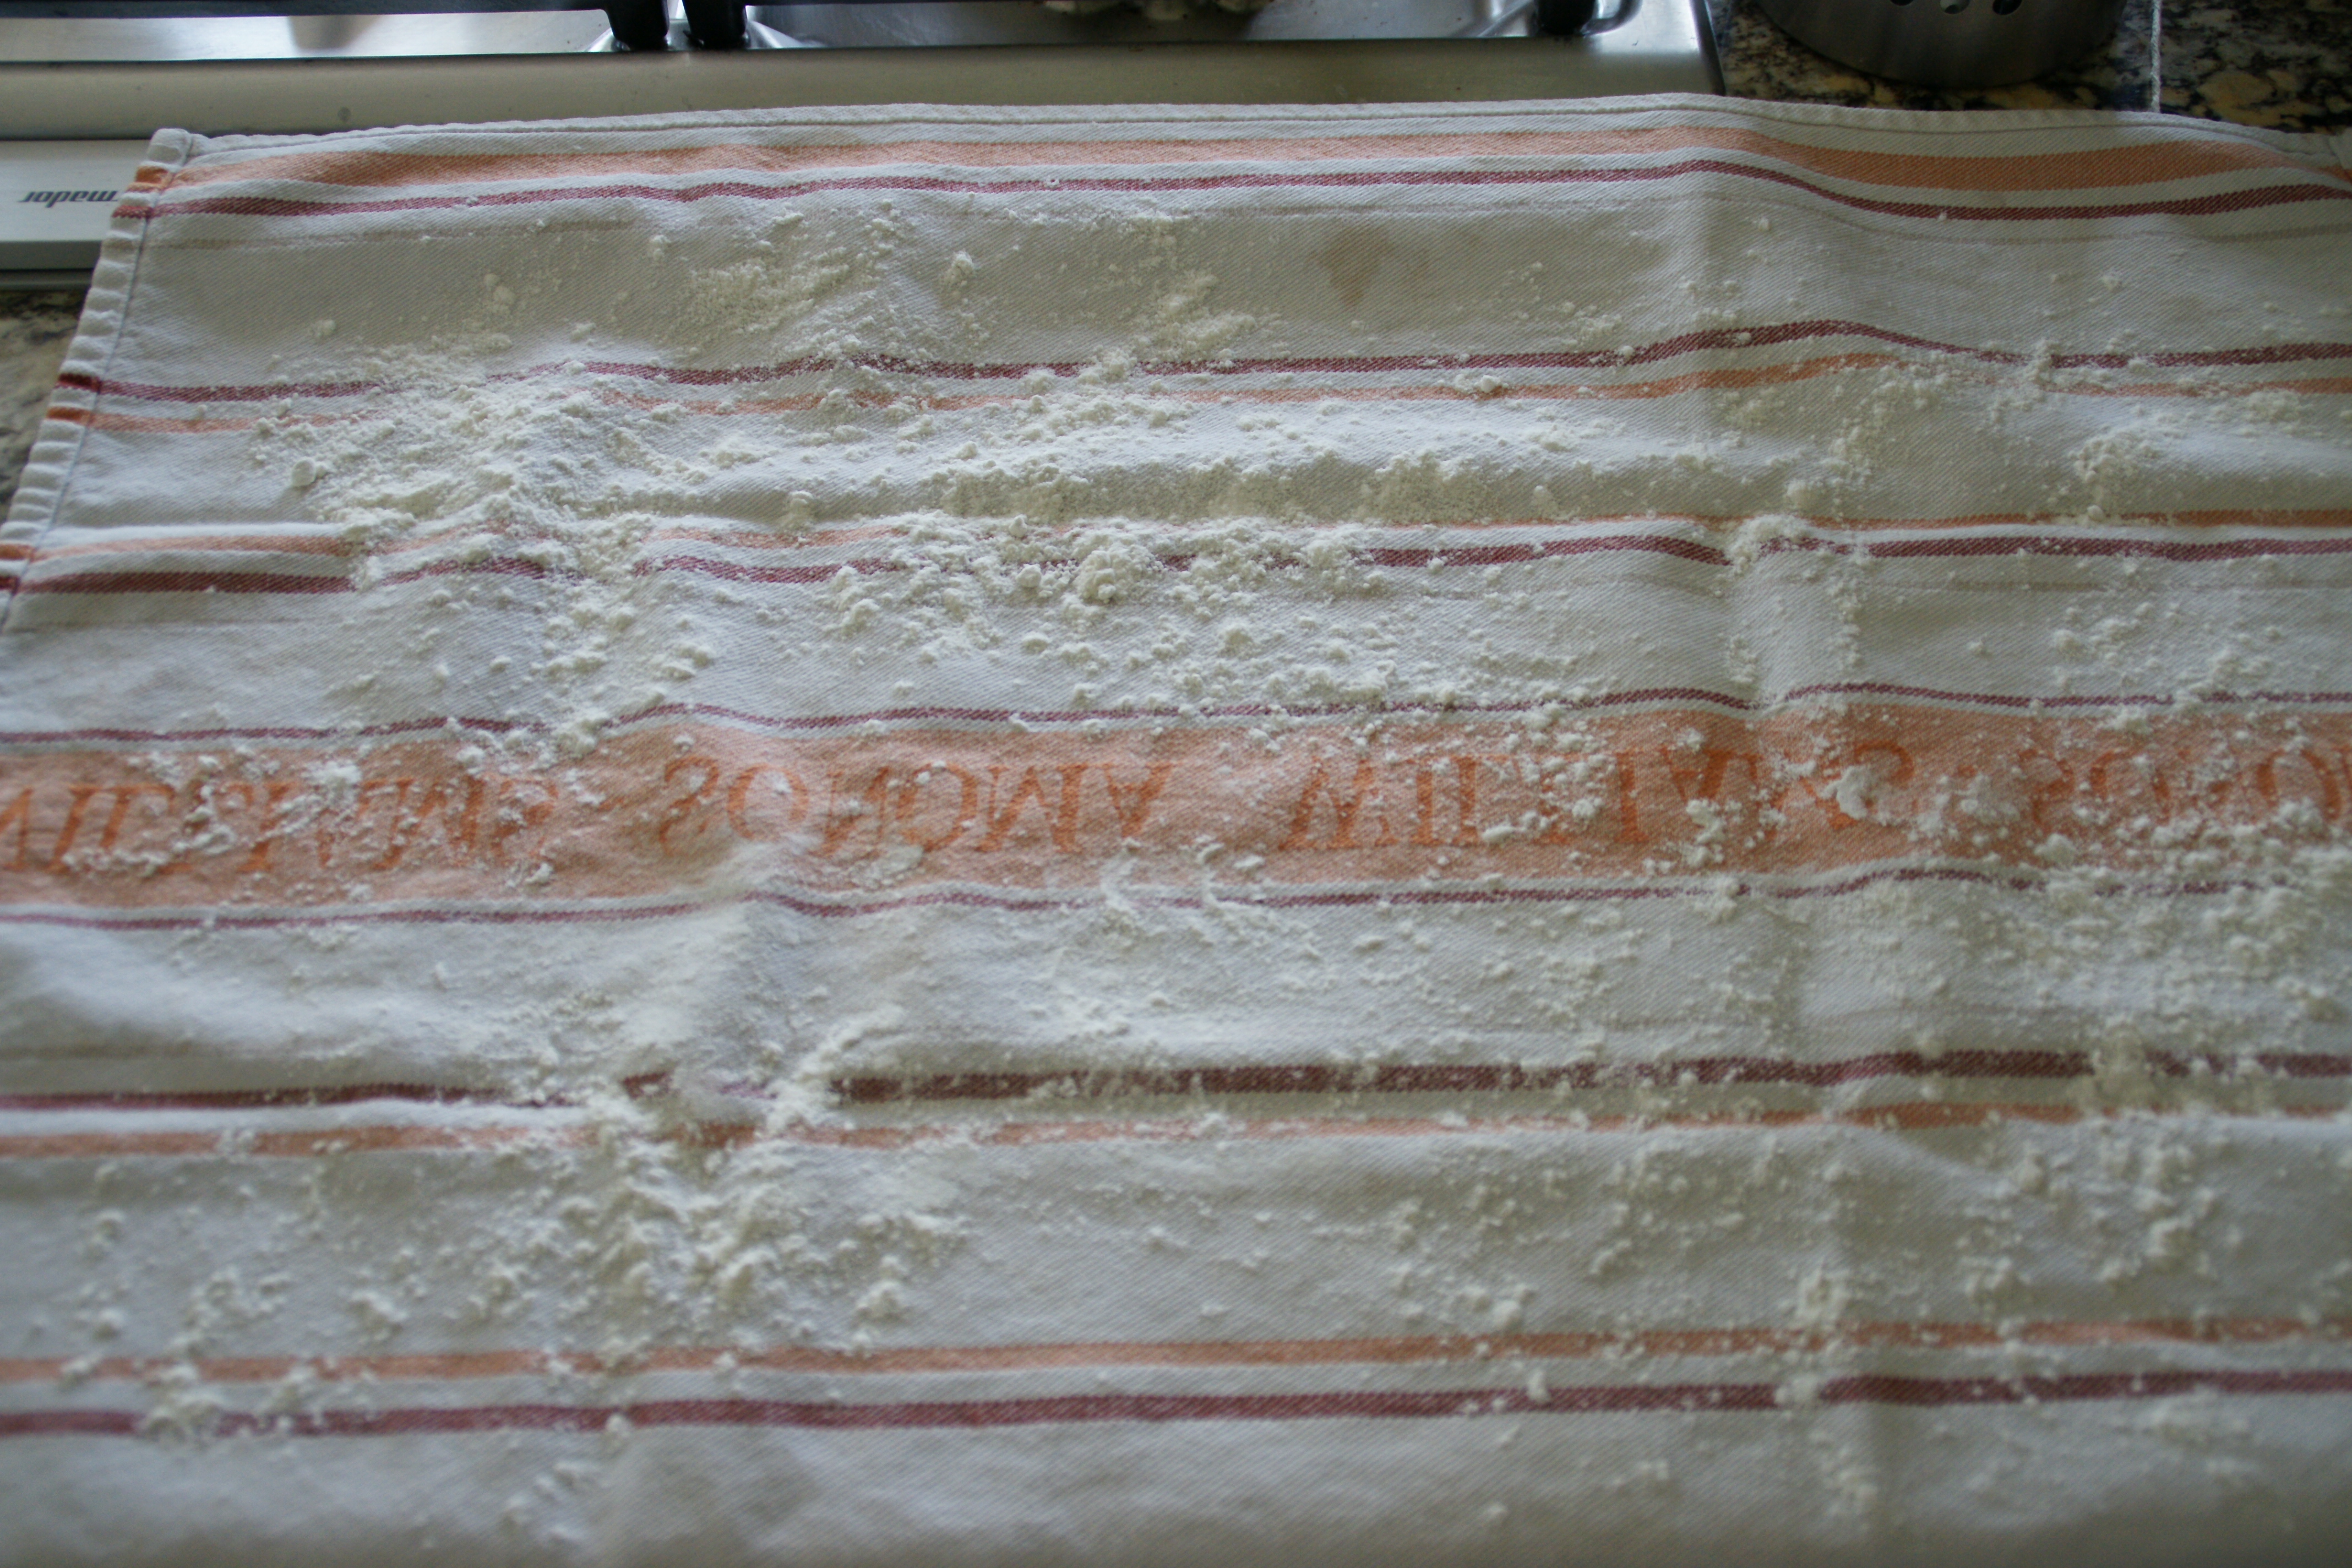
Flour the towel generously!
Create a lengthwise pleat close to the edge of the towel. This will be your first “wall” for your loaf. Once you place the first loaf to rise, you’ll pleat again, add the second loaf and pleat a third time.
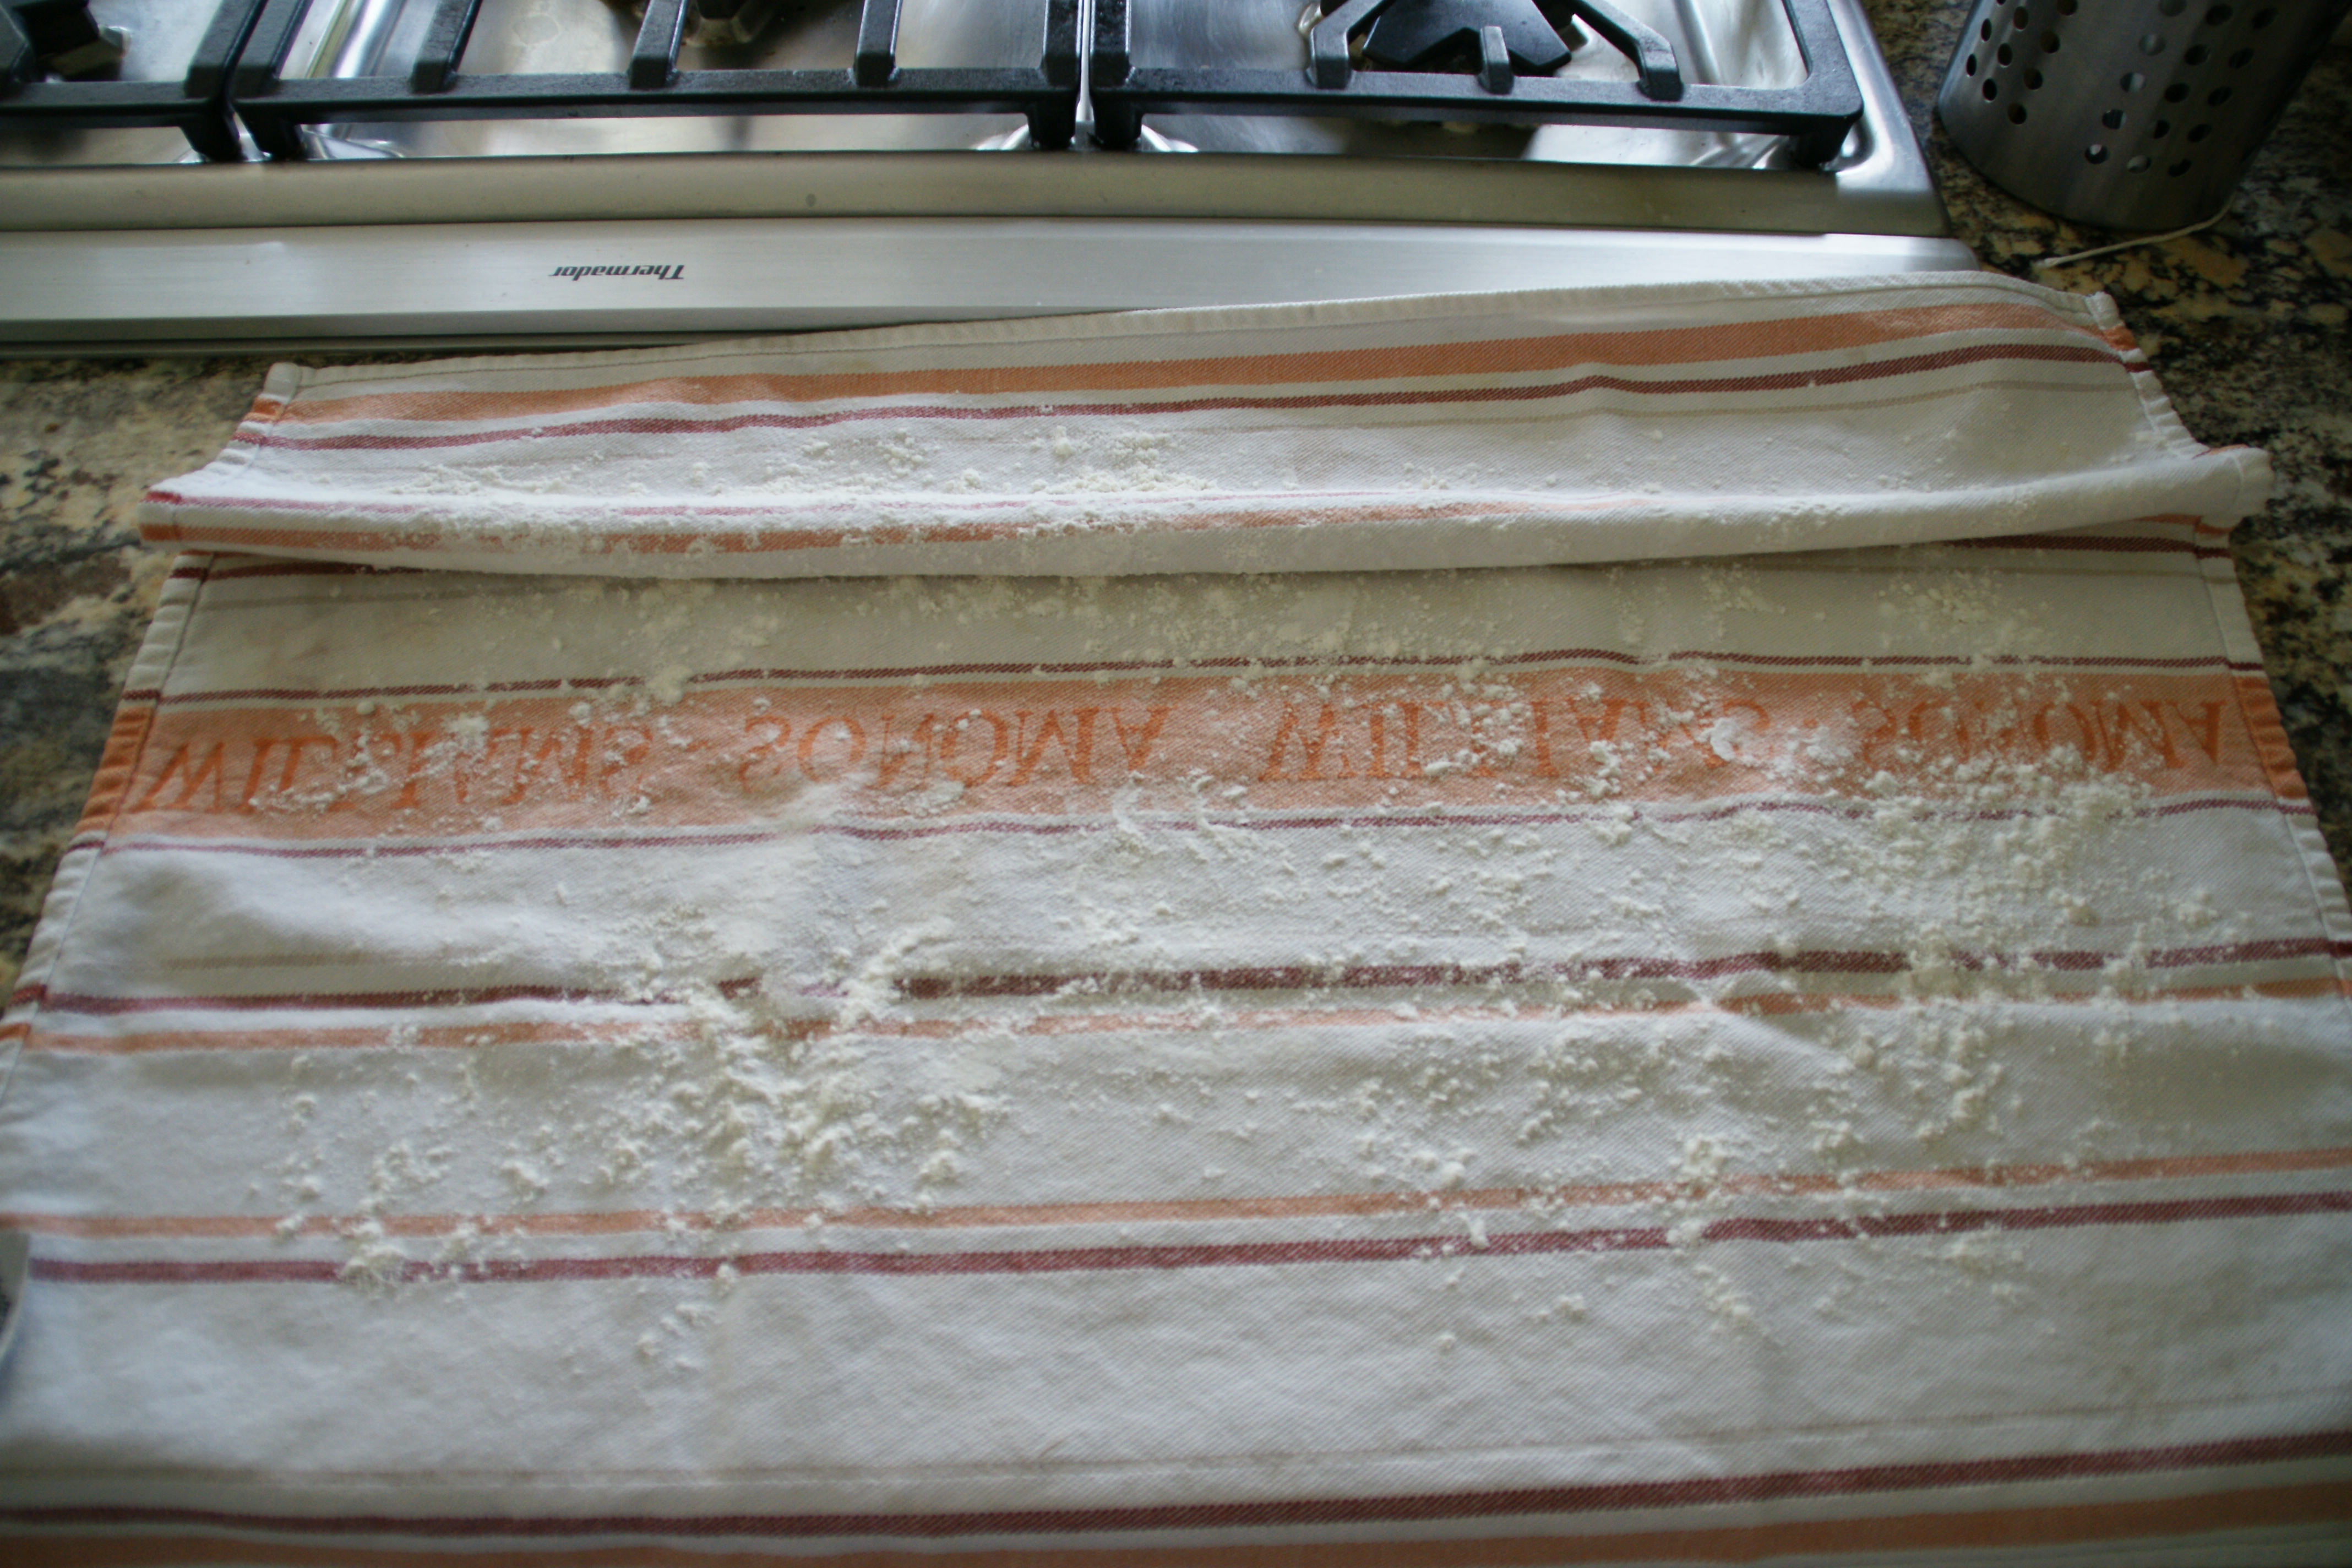
First “wall” of the couche
Remove the dough to your board once again. Shape the dough into a rectangle as best you can.
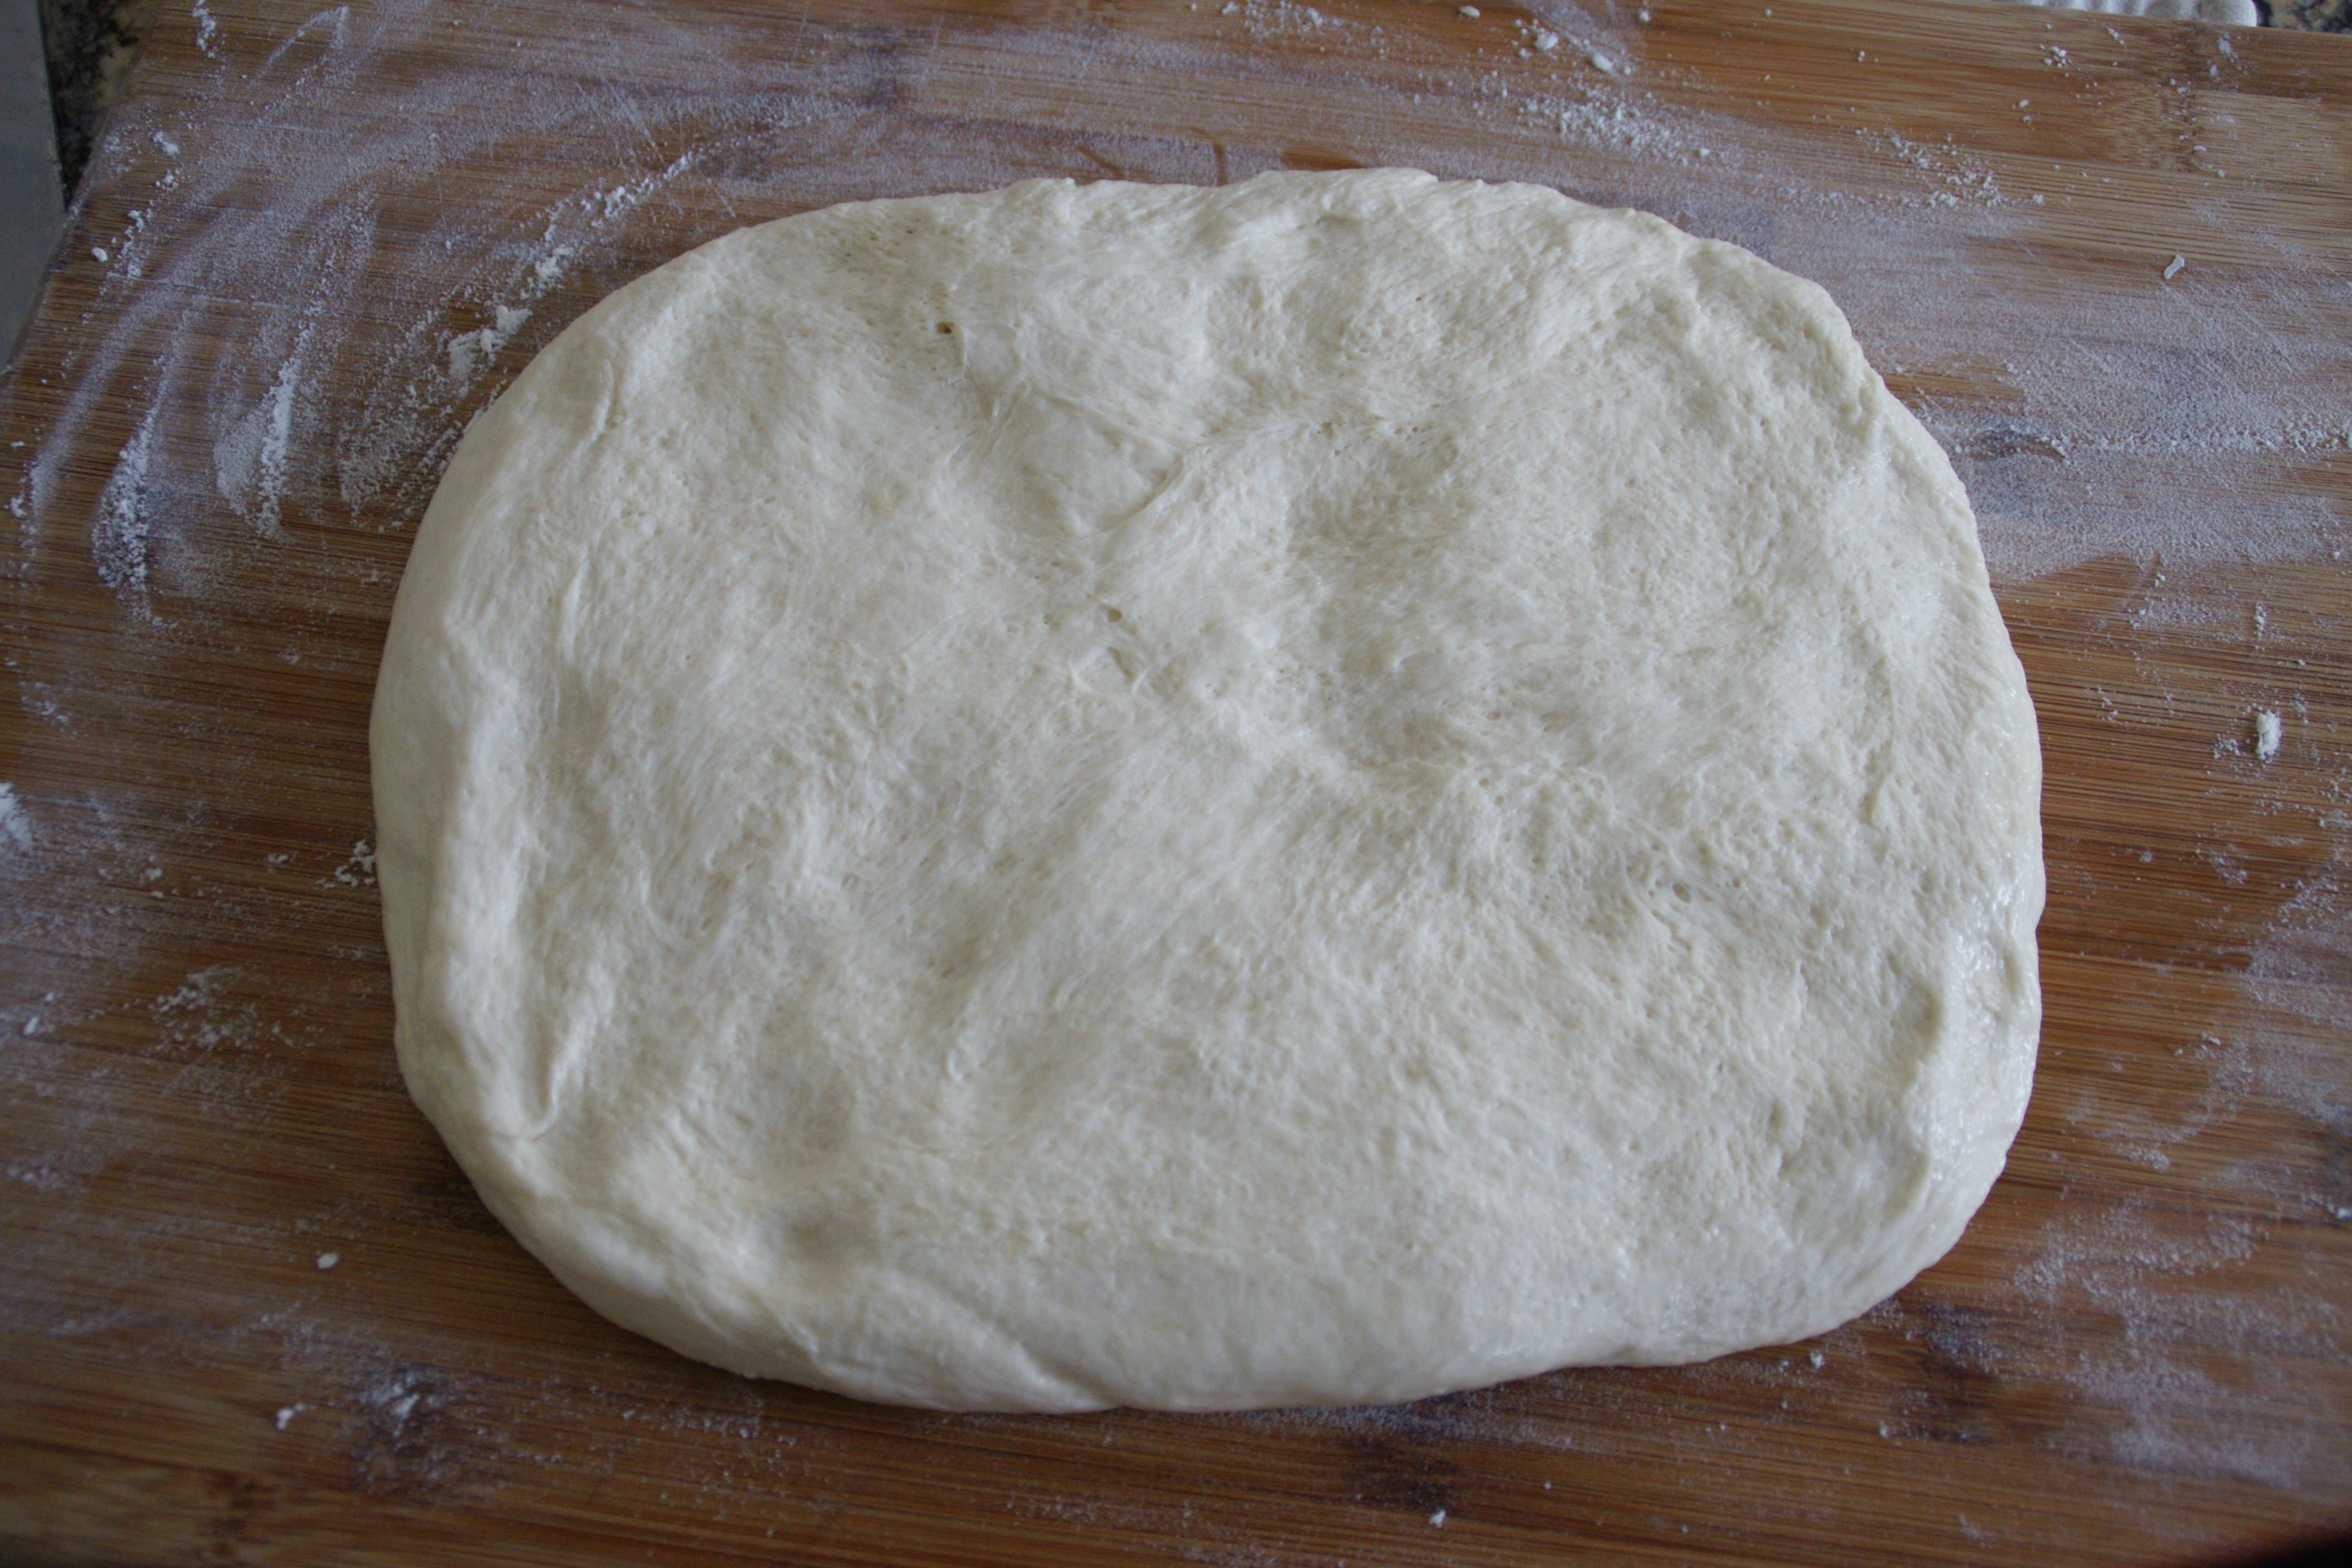
GENTLY shape into a rectangle. Try not to de-gas the dough too much!
Using your scraper, cut the dough rectangle in half, lengthwise. You’re know ready to shape the loaves; do one at a time! (I clearly didn’t cut this evenly)!
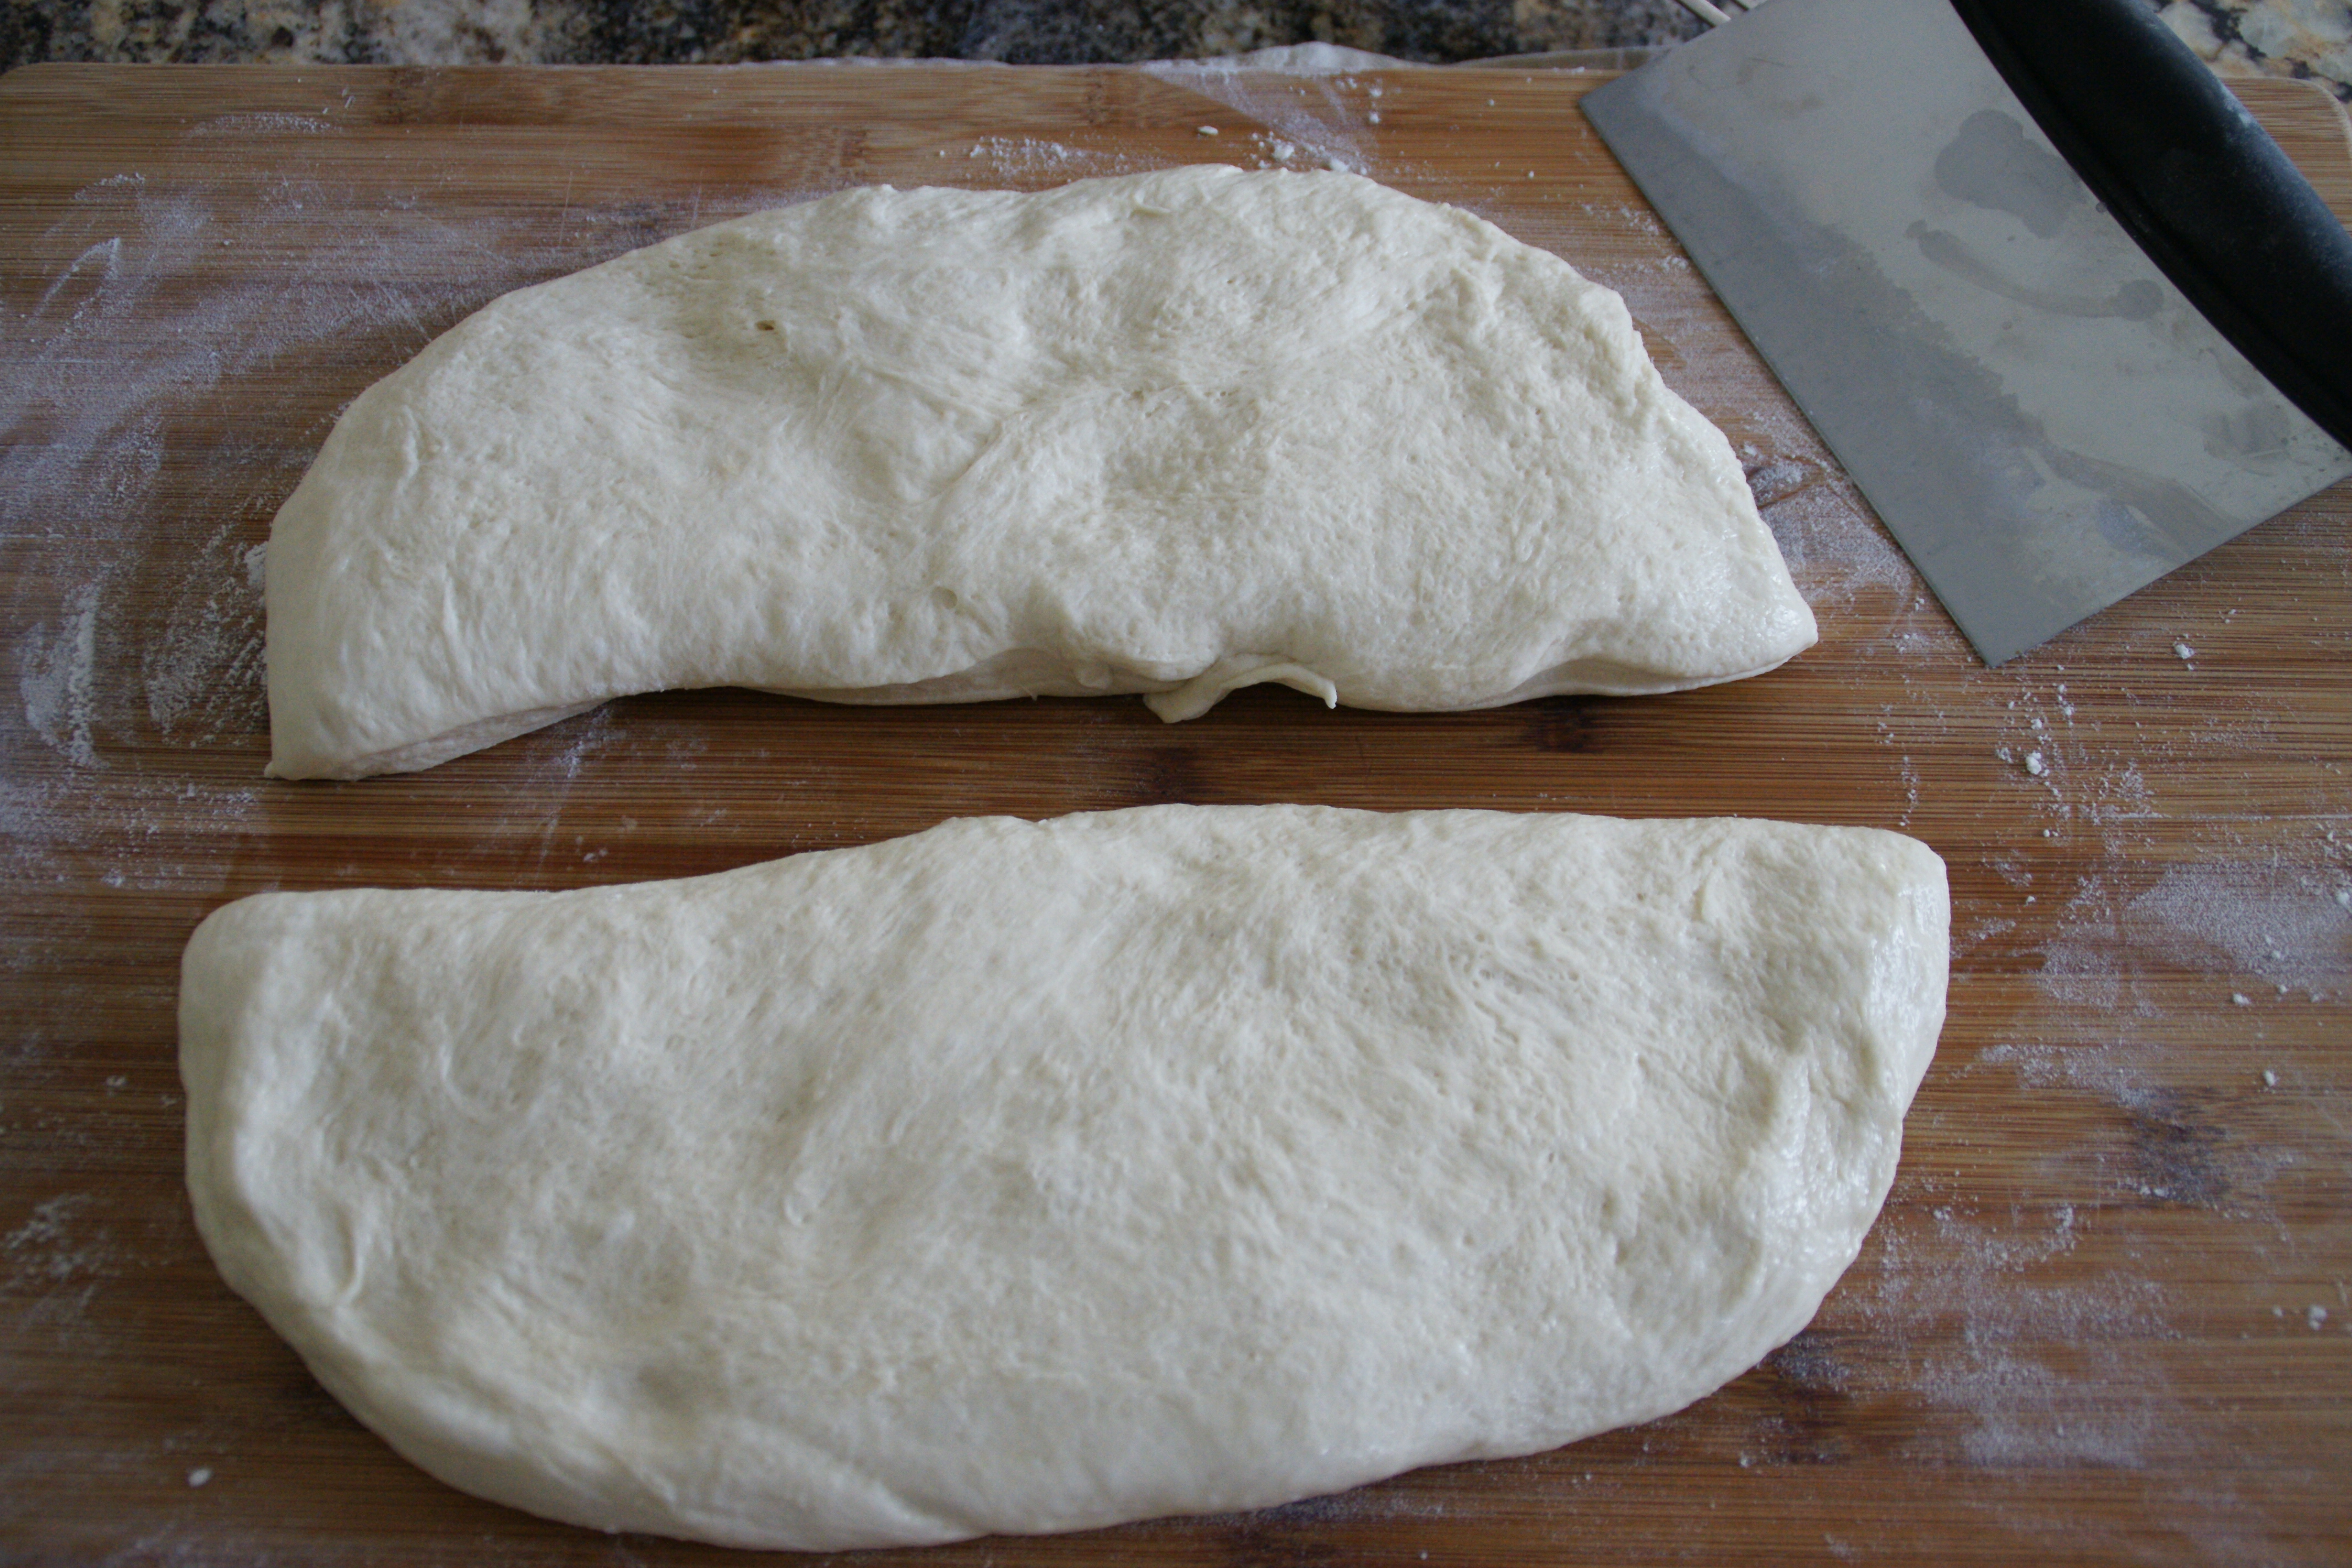
Cut the dough lengthwise
Square off the corners of your first loaf by folding in any dough that sticks out; you’re trying to replicate the rectangle shape.
They’re rectangles again! (sort of)
Once you’re satisfied with the rectangle, use your fingers to press a line lengthwise down the center of the dough.
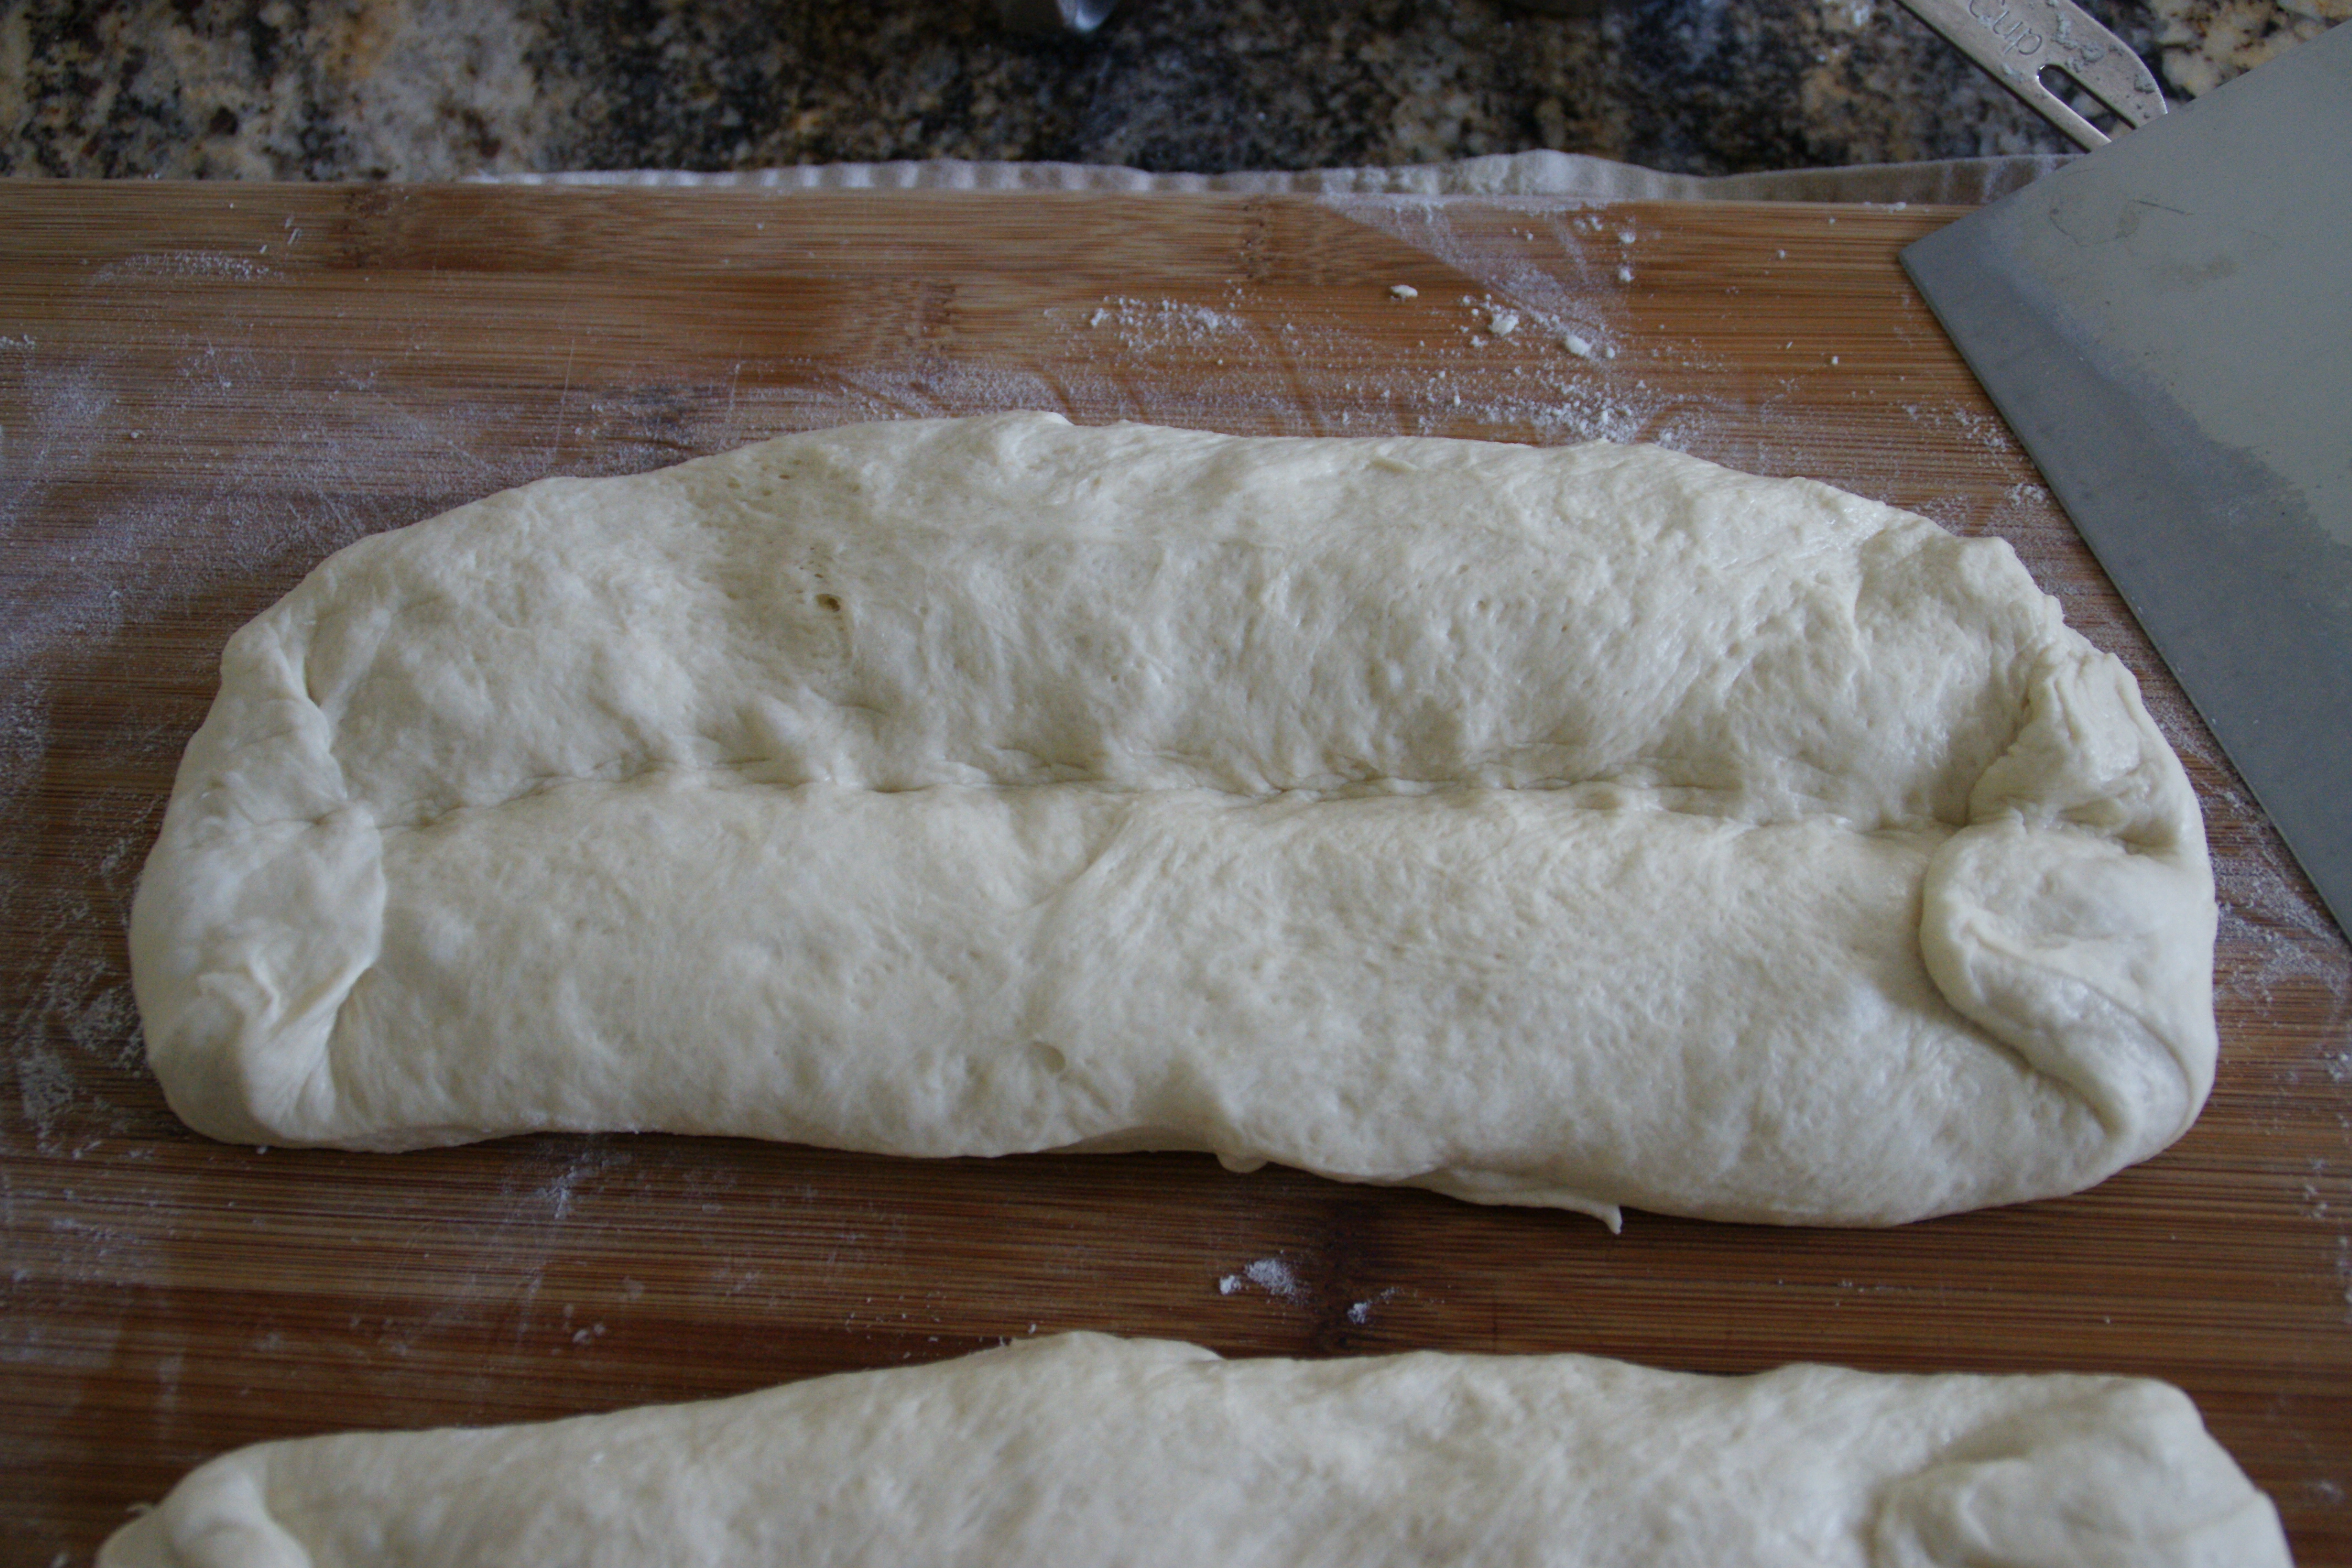
The center line is really just a guideline for when you fold the dough on itself
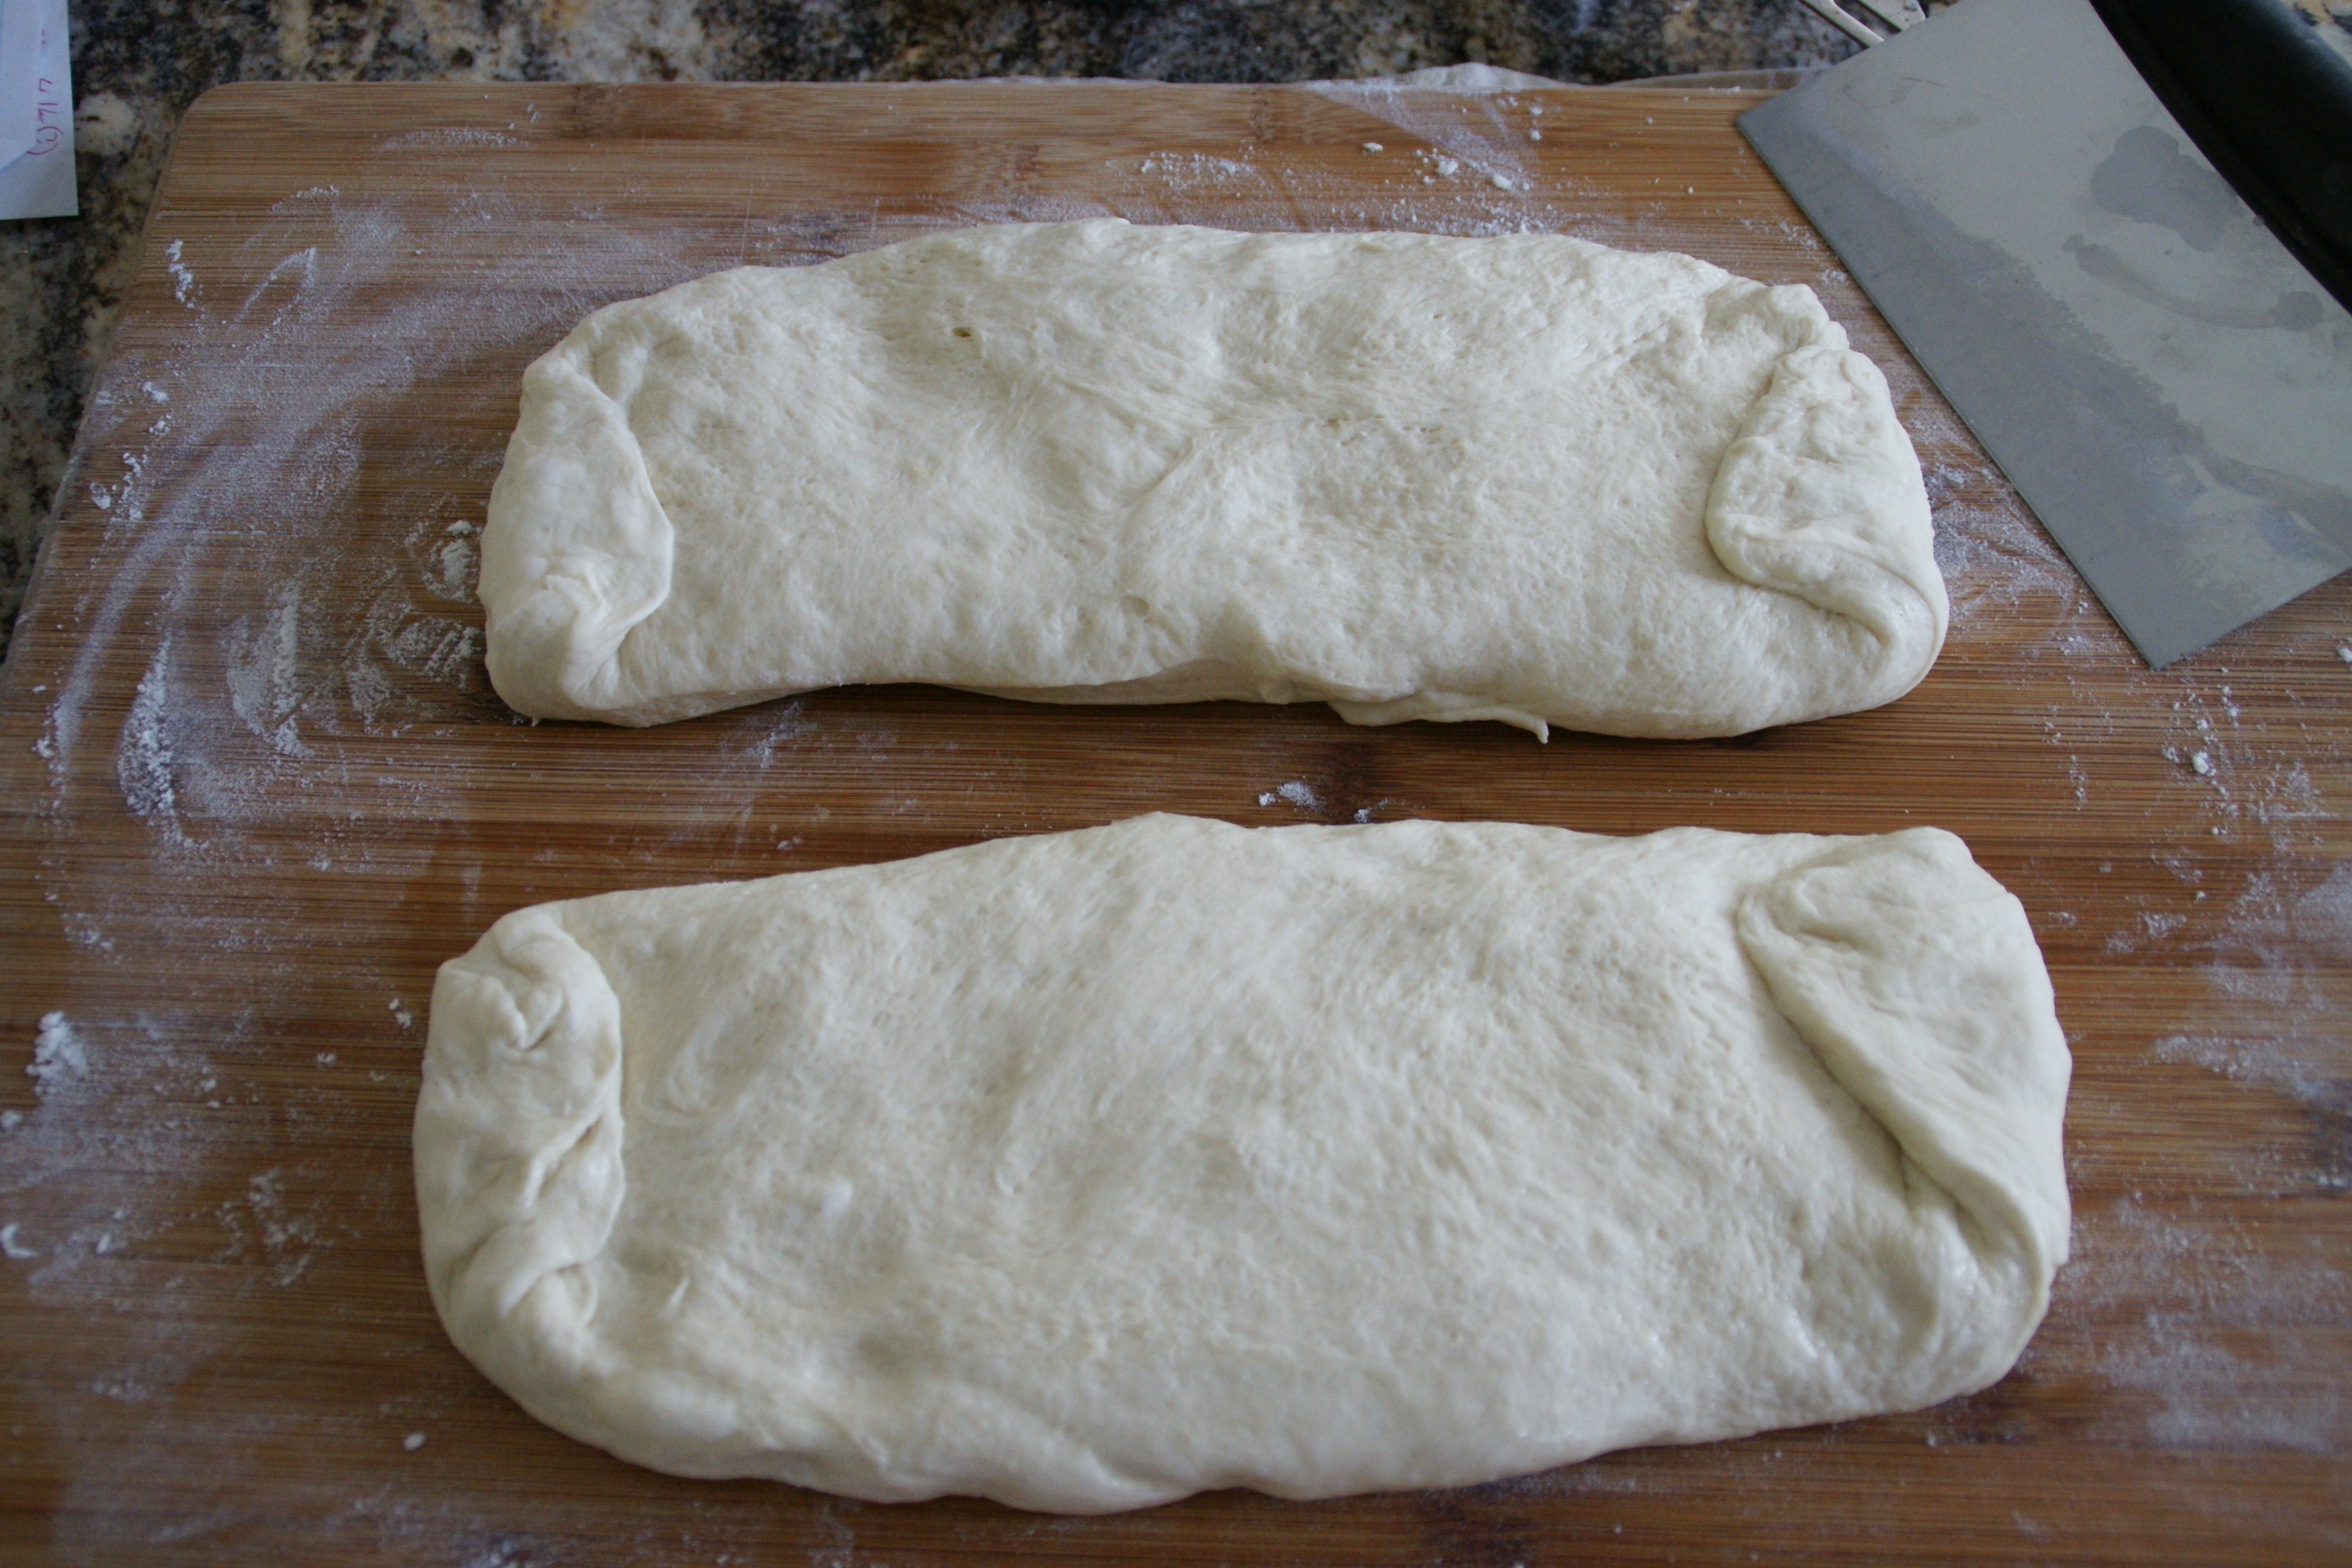
Fold one long edge of the dough edge to the center line you just made. I started with the side closest to the edge of the board (top of photo). When you fold the dough toward the middle, you should feel some surface tension as you stretch the dough to the center line. YOU WANT THIS! Surface tension helps the dough retain its structure and rise well.
I started with the edge at the top of the photo
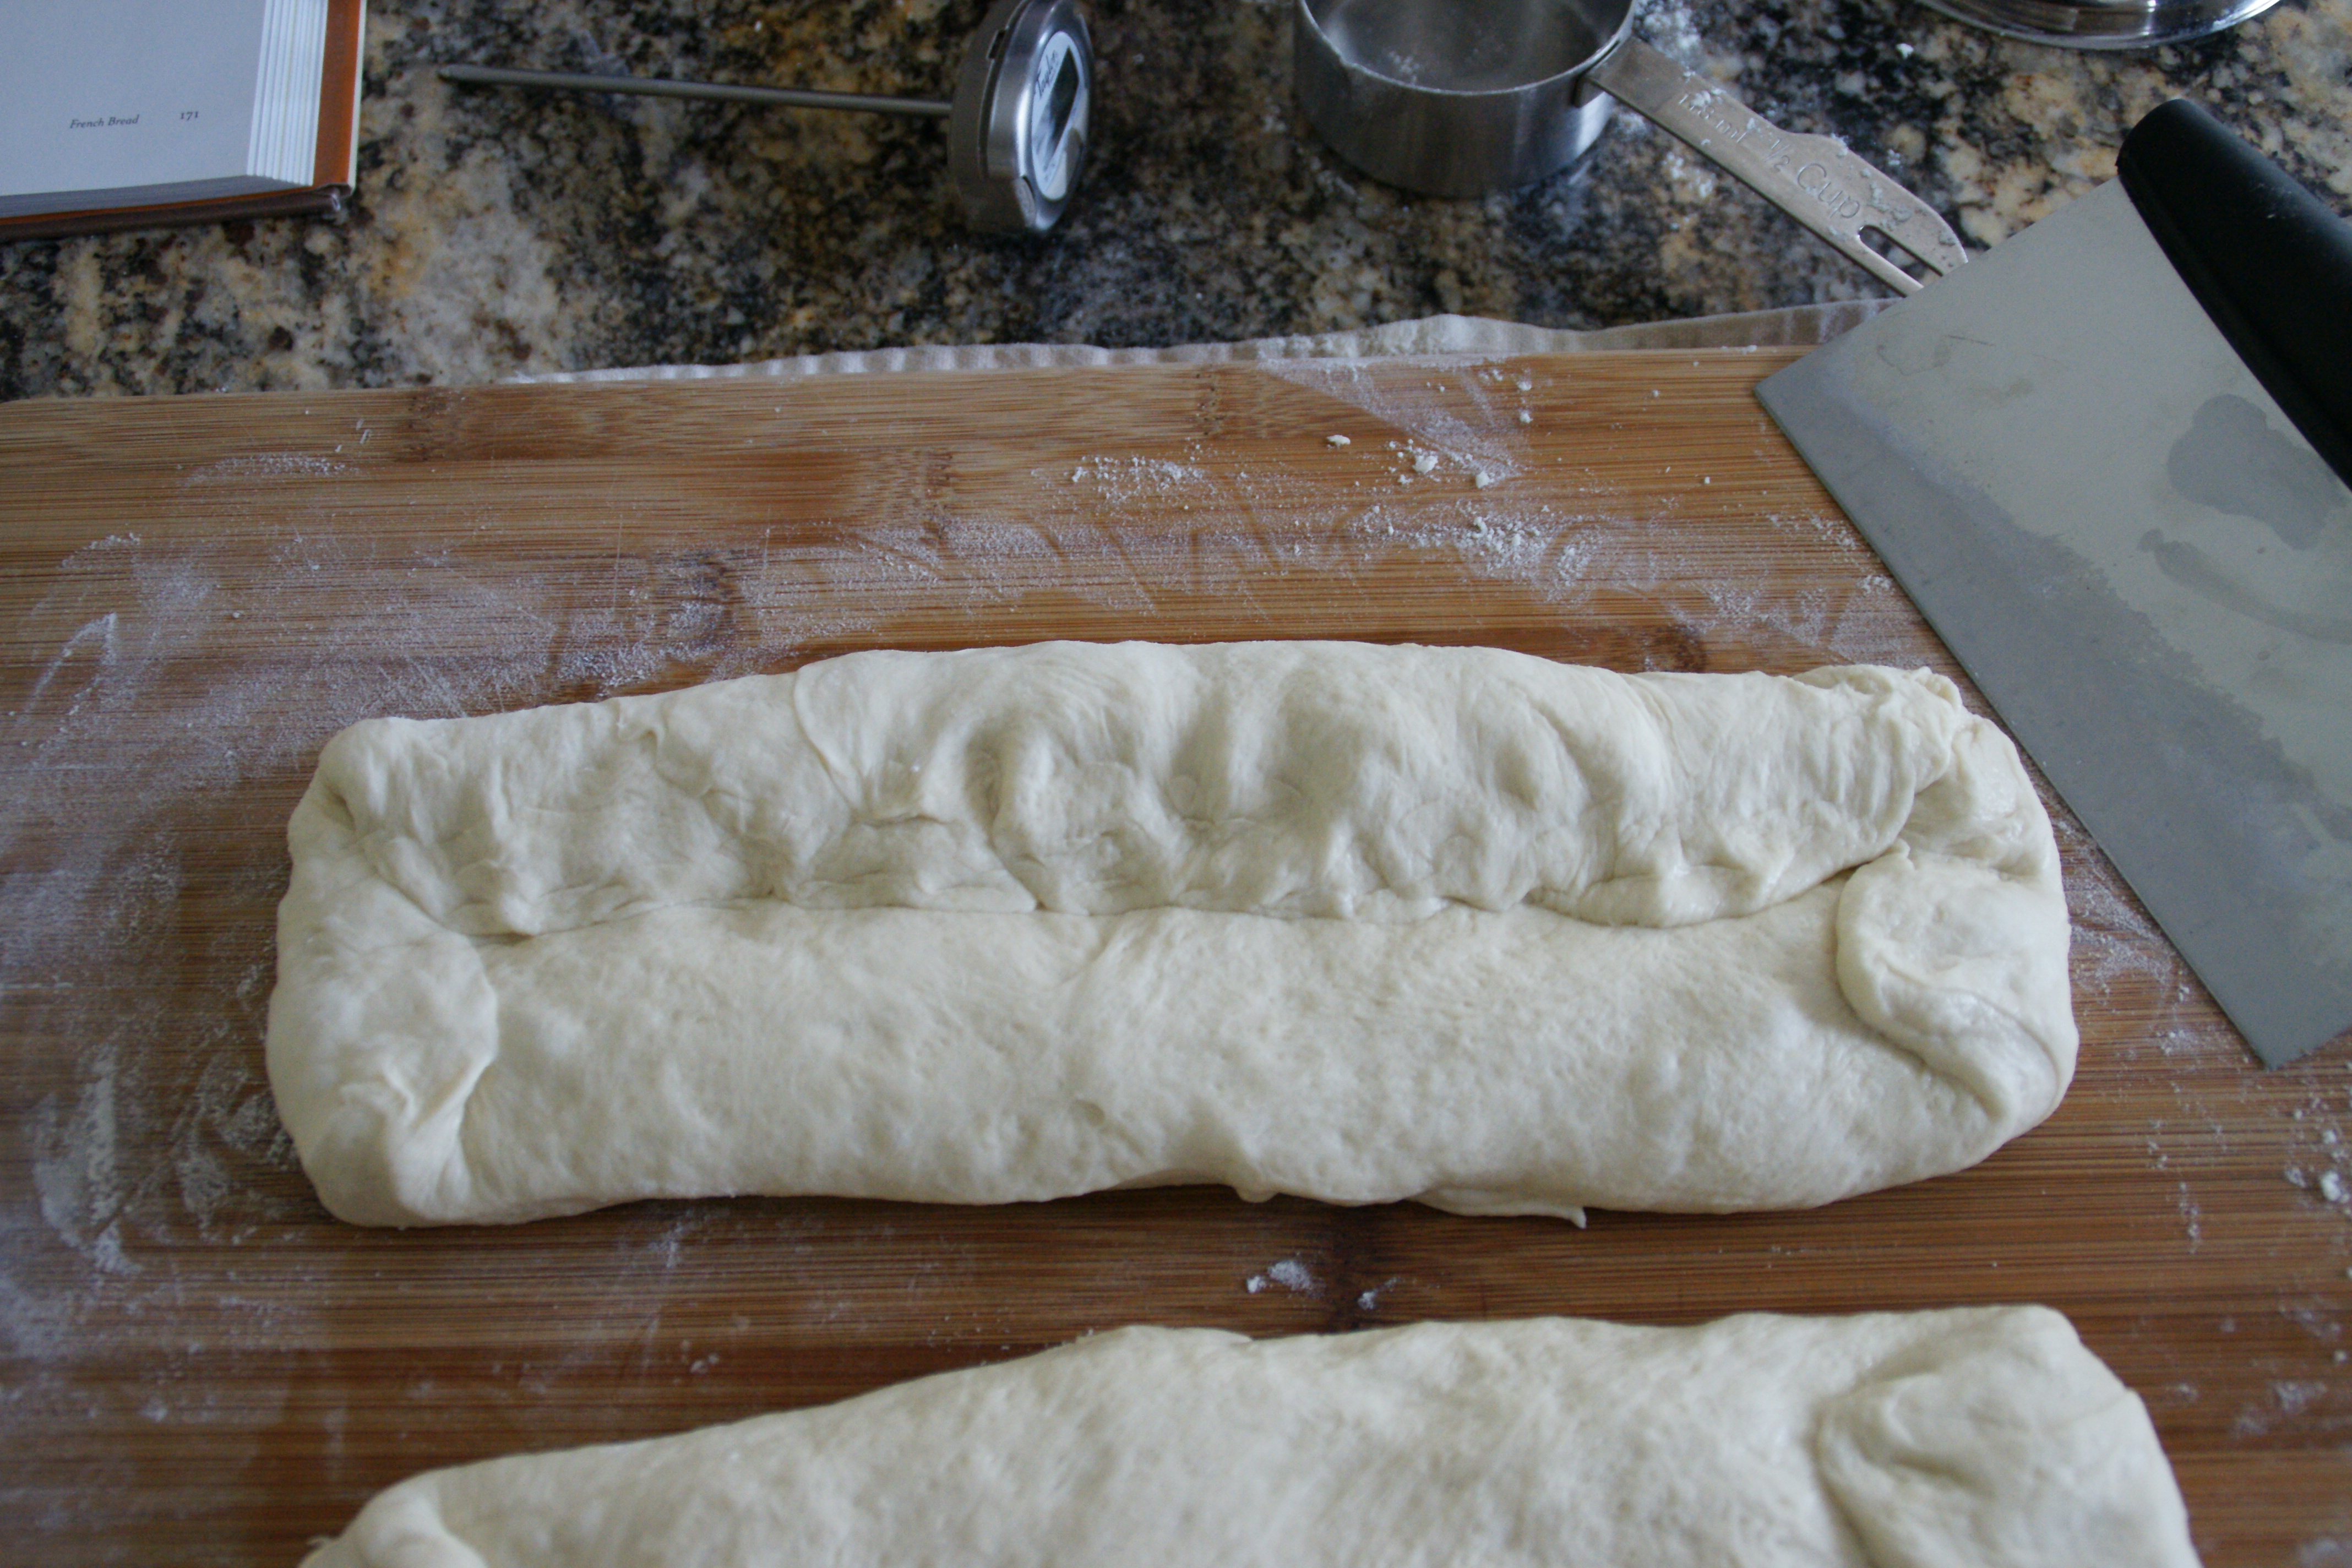
Do the same on the the other side.
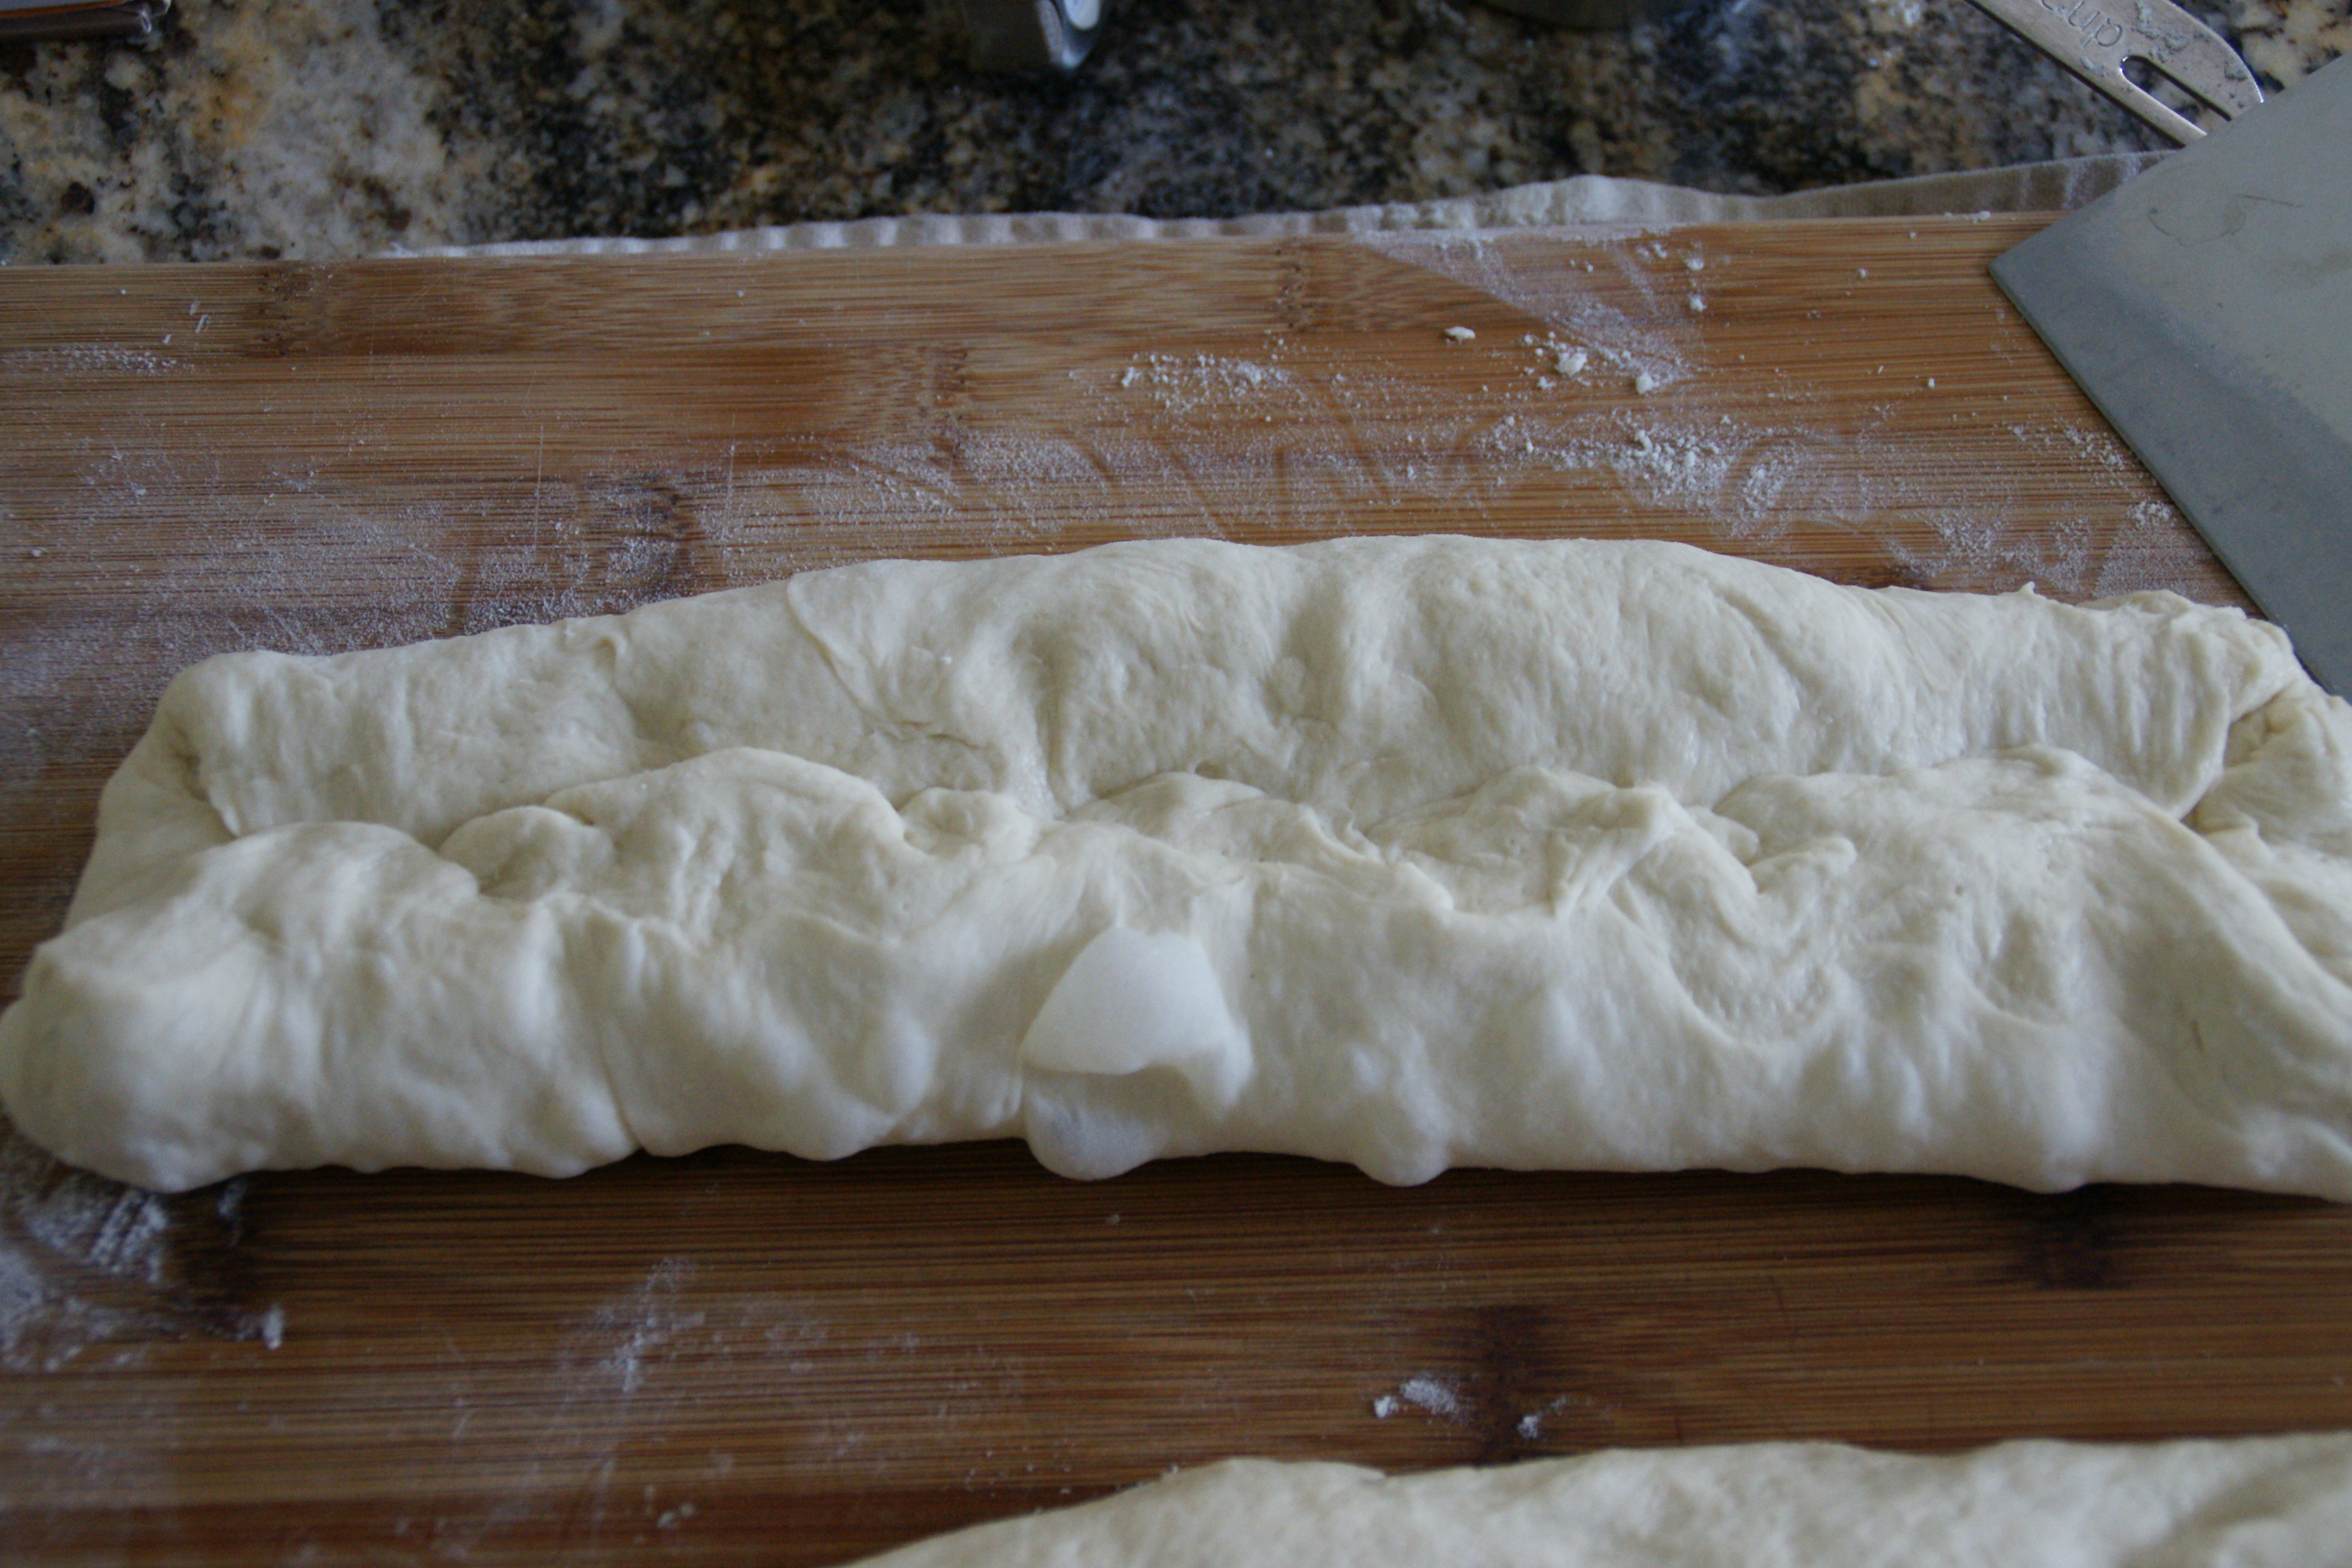
See that air bubble in the middle of the second fold? If that happens, do not pop it or smush it down!
At this point, I will usually fold in the ends to round the loaf. Finally, I pinch the dough together along the center seam.
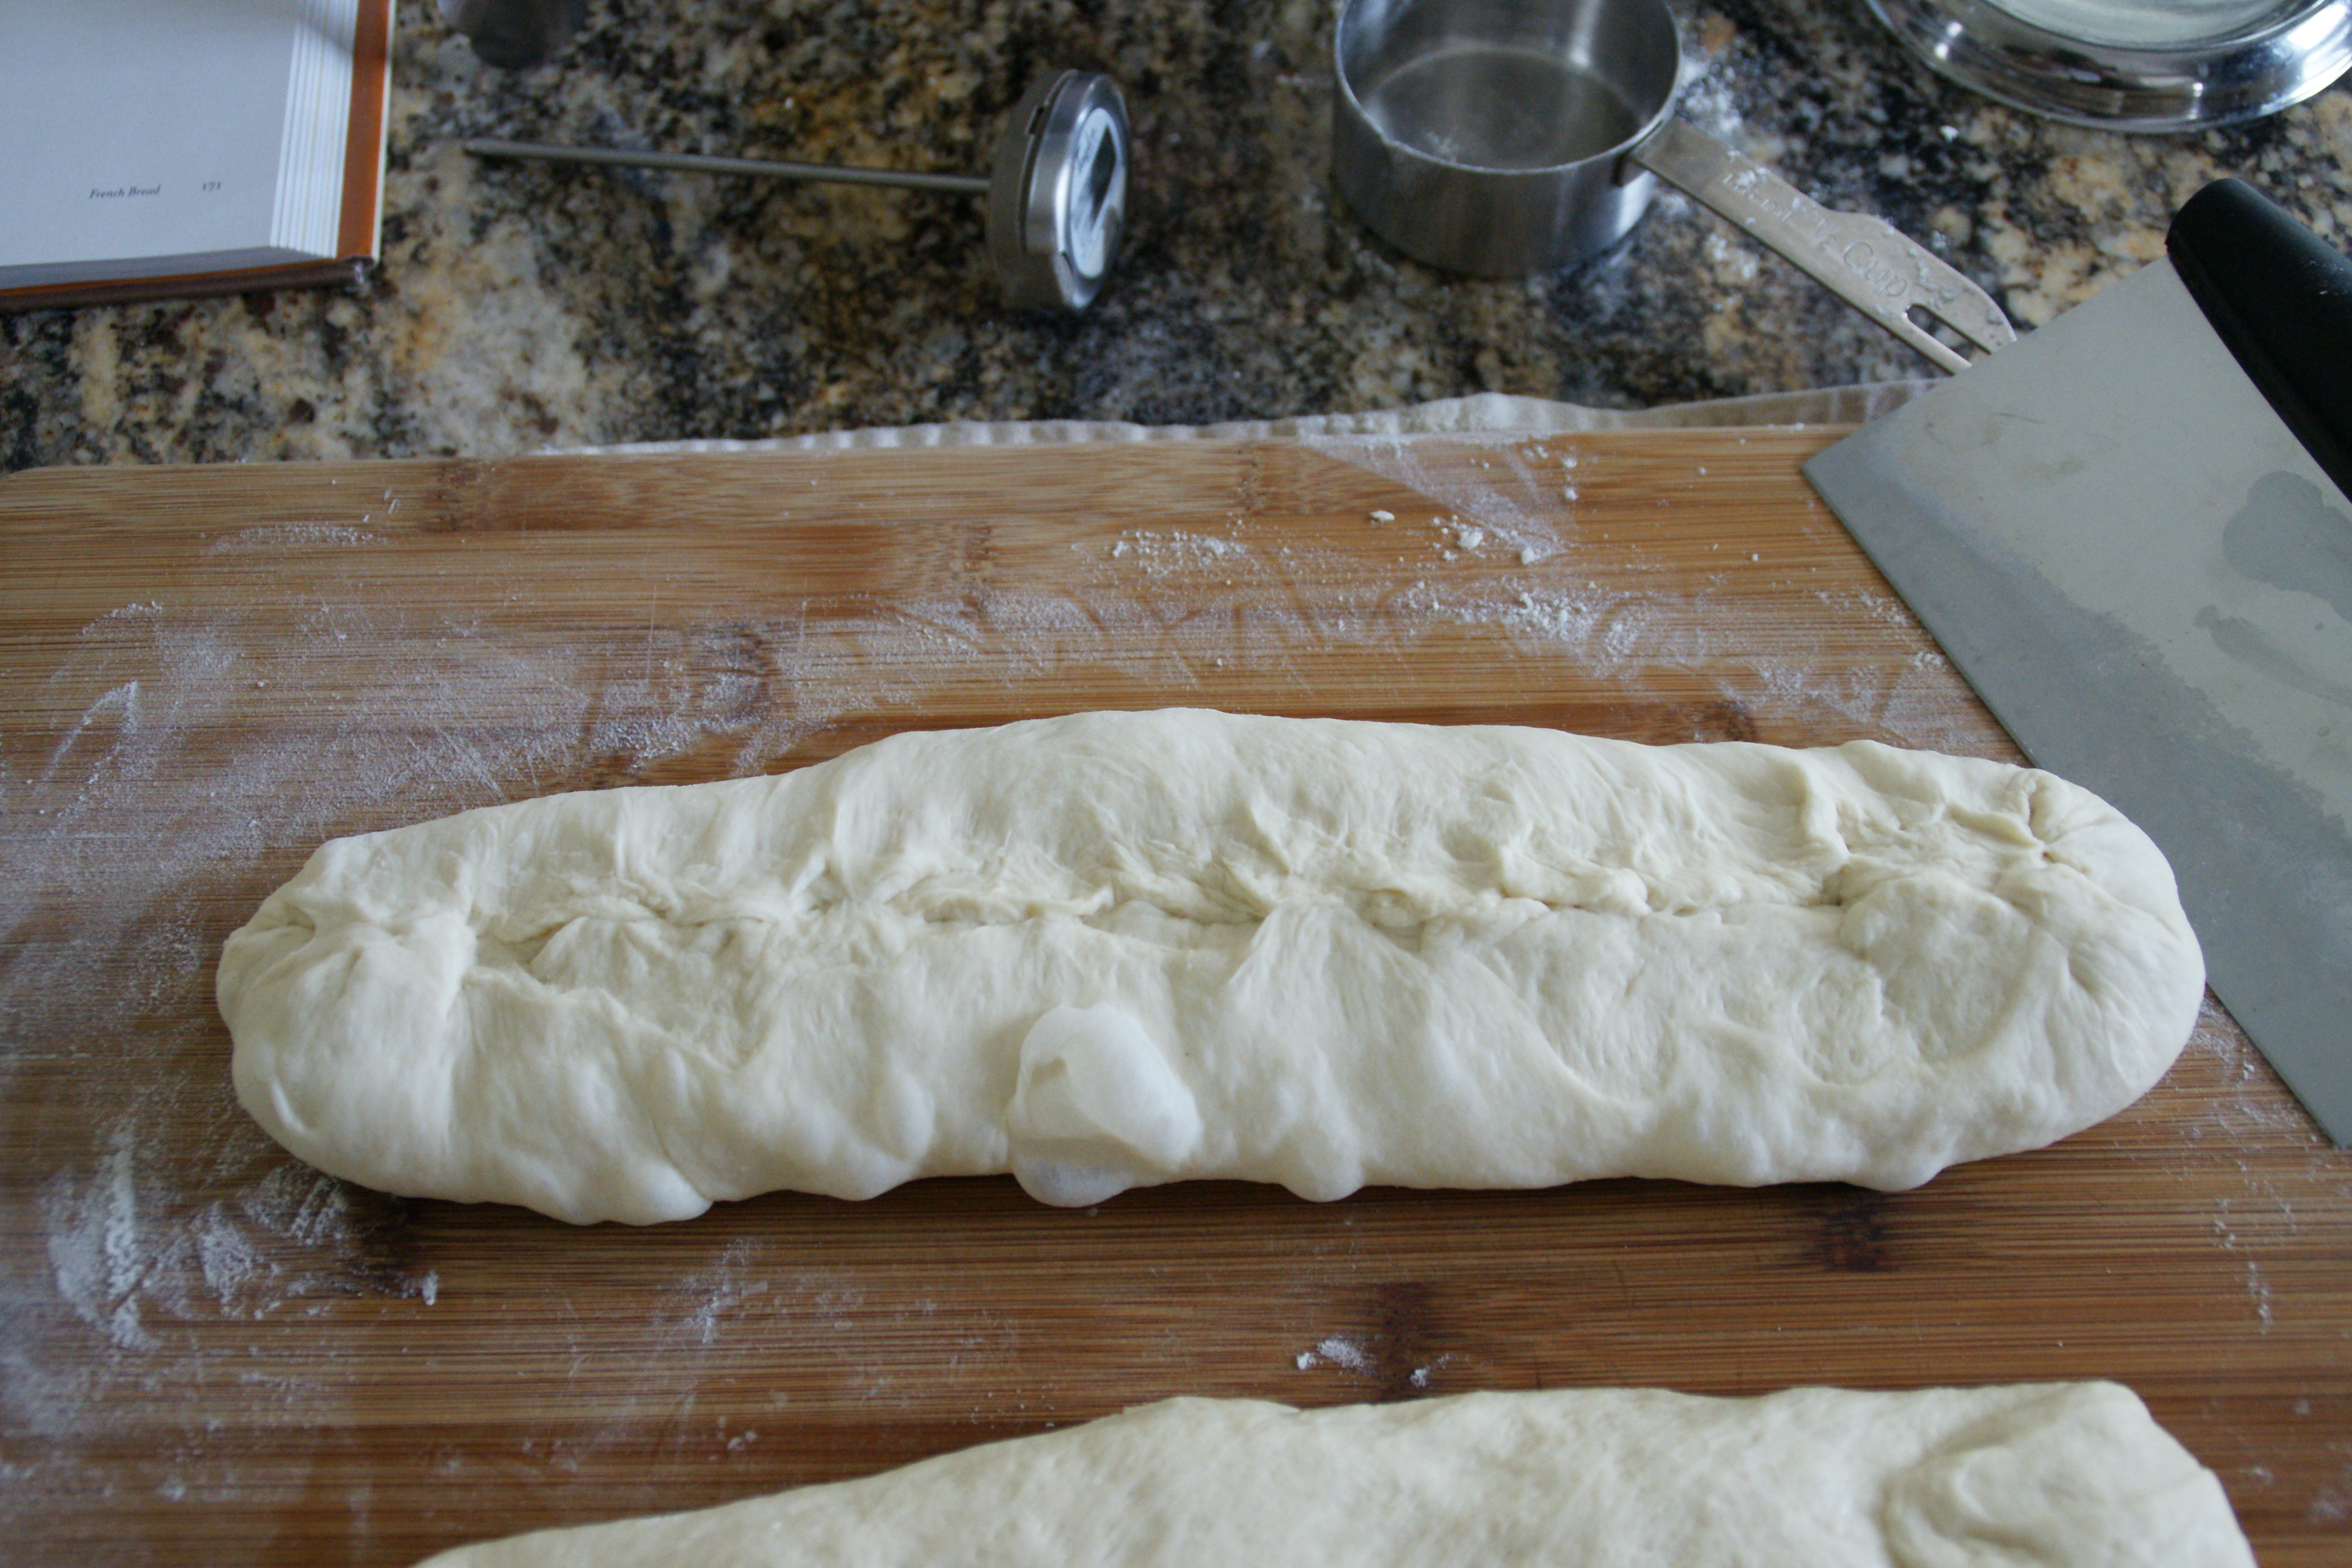
The loaf is soft and puffy– ready for the final rise!
Gently lift the loaf and place it upside down on the couche. It might get slightly mangled, but that’s ok. Try not to deflate the dough too much. Once the loaf has been placed, make a second pleat; your first loaf is now safely tucked in and ready to rise.
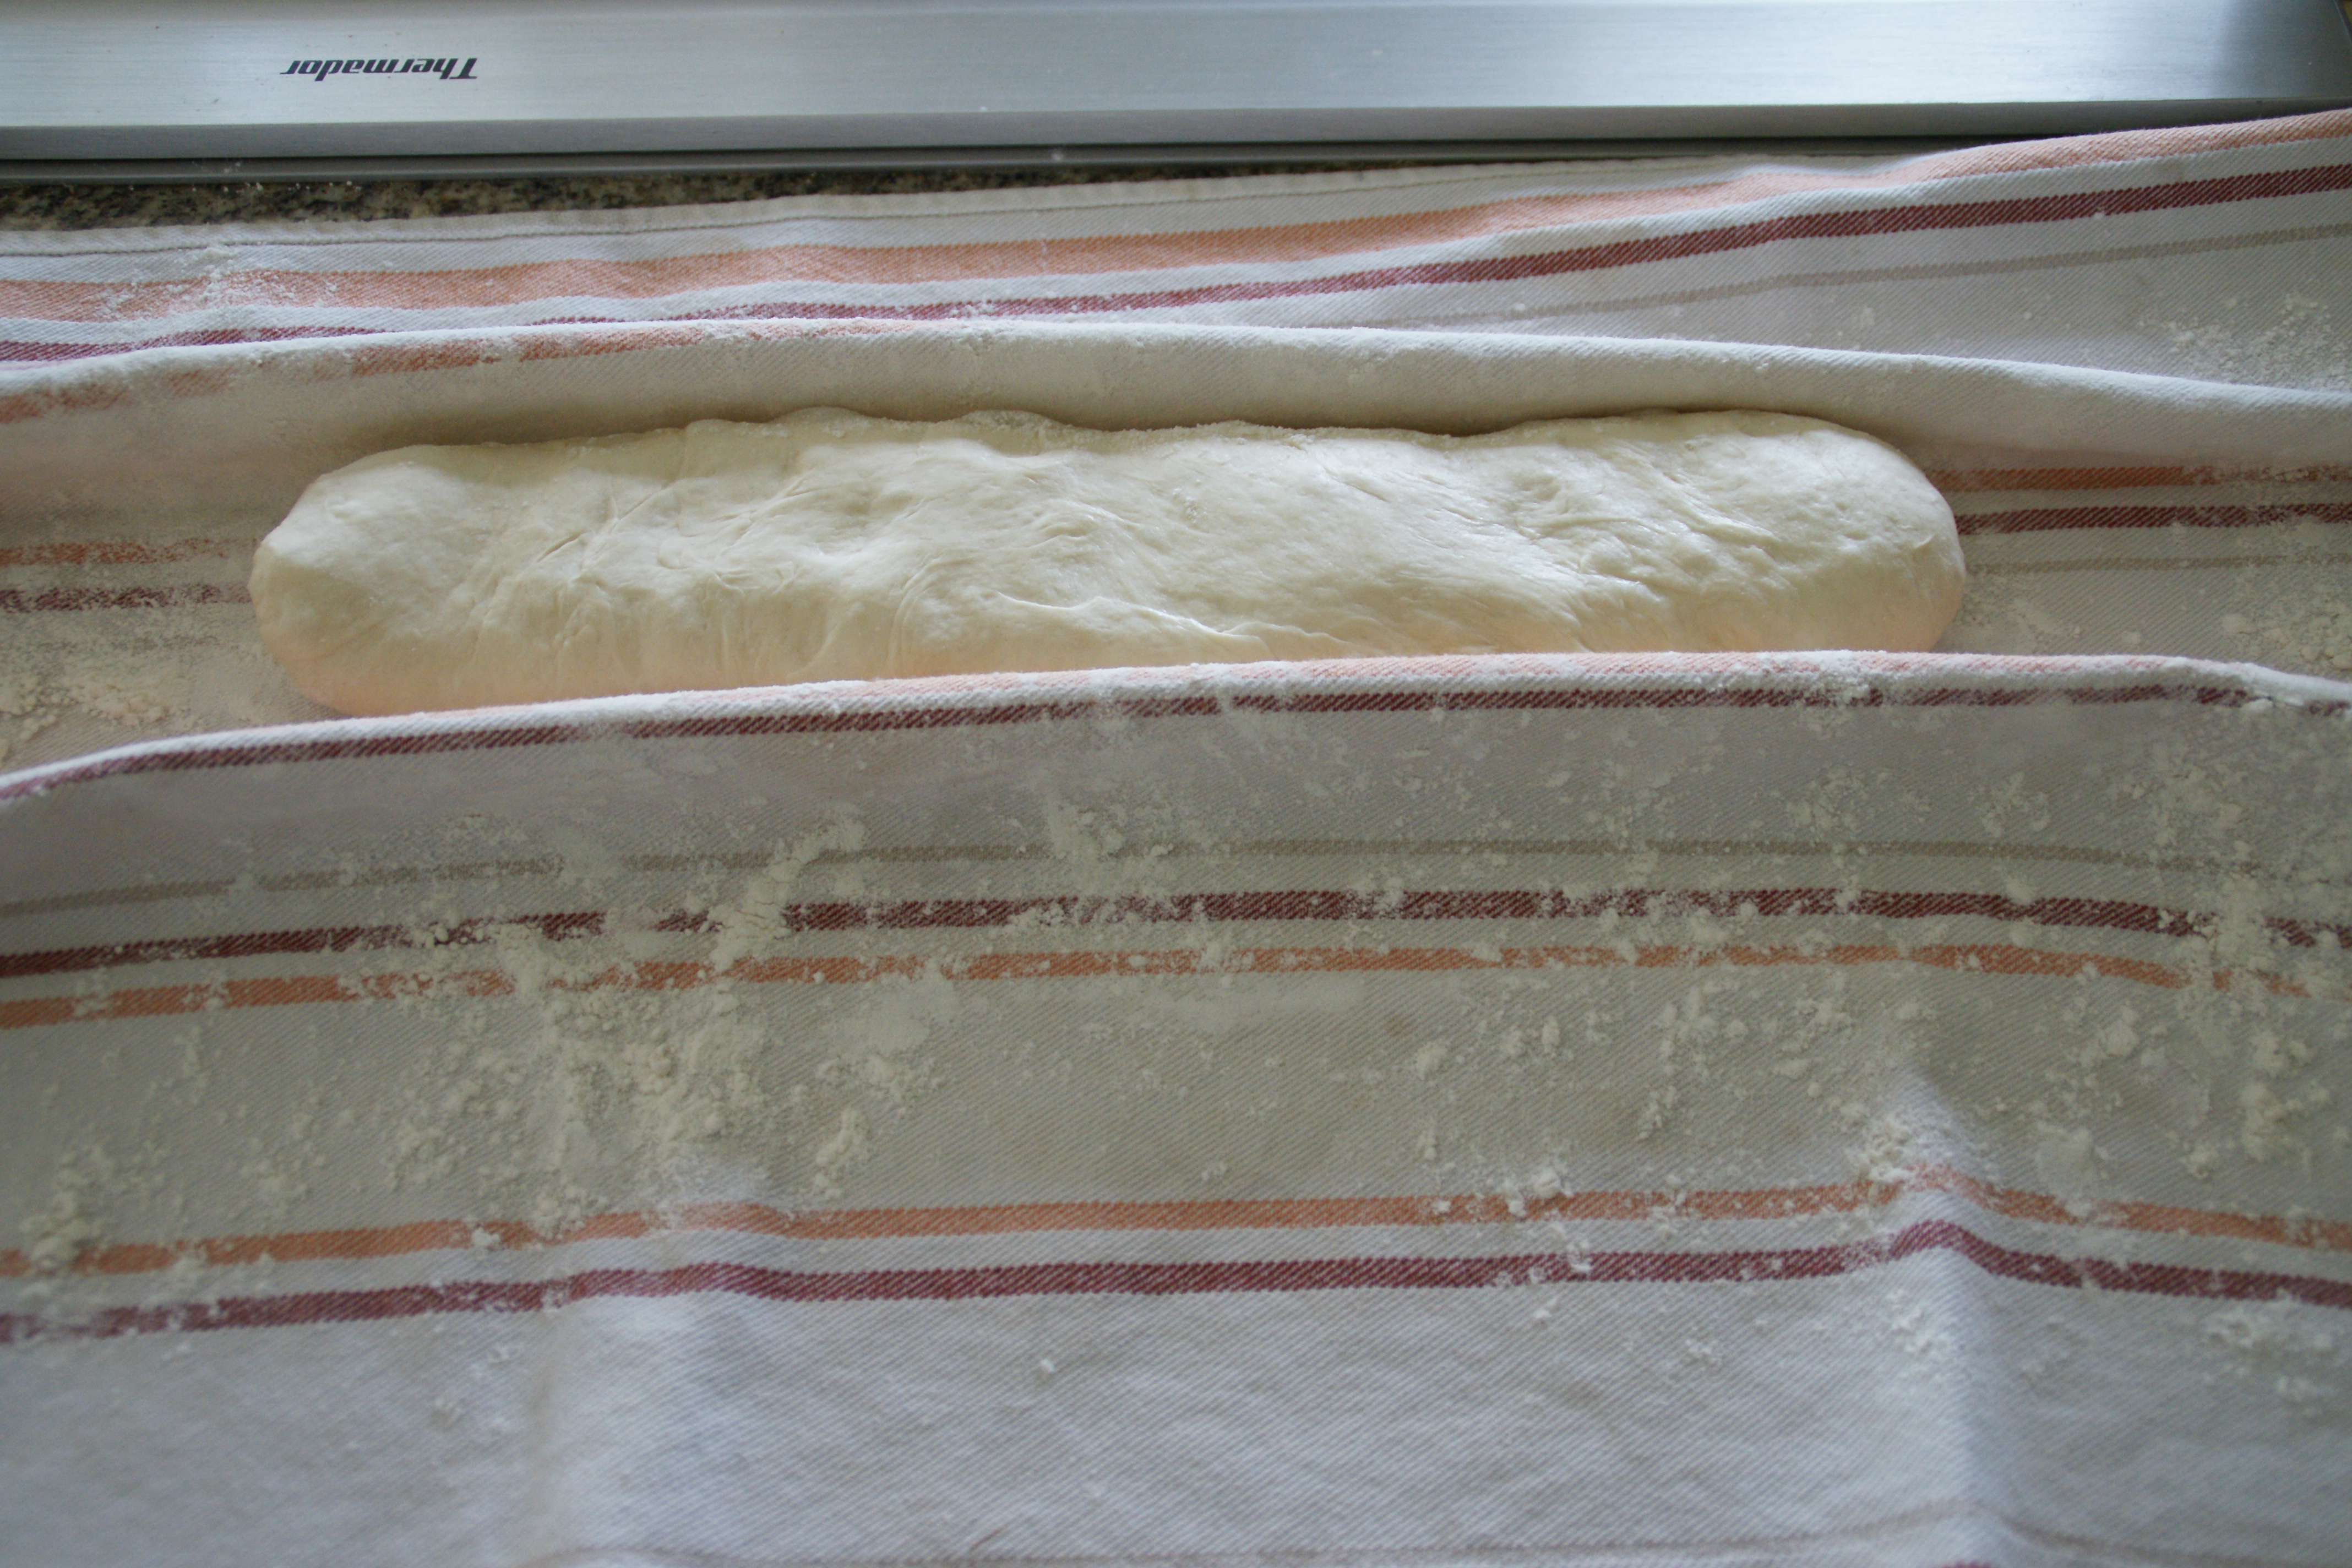
The “walls” support the loaf while it rises
Repeat for the second loaf; don’t forget to create the third pleat. Cover with a dishtowel that you’ve sprinkled with flour and let rise for 90 minutes until loaves have risen 1 1/2 times their size.
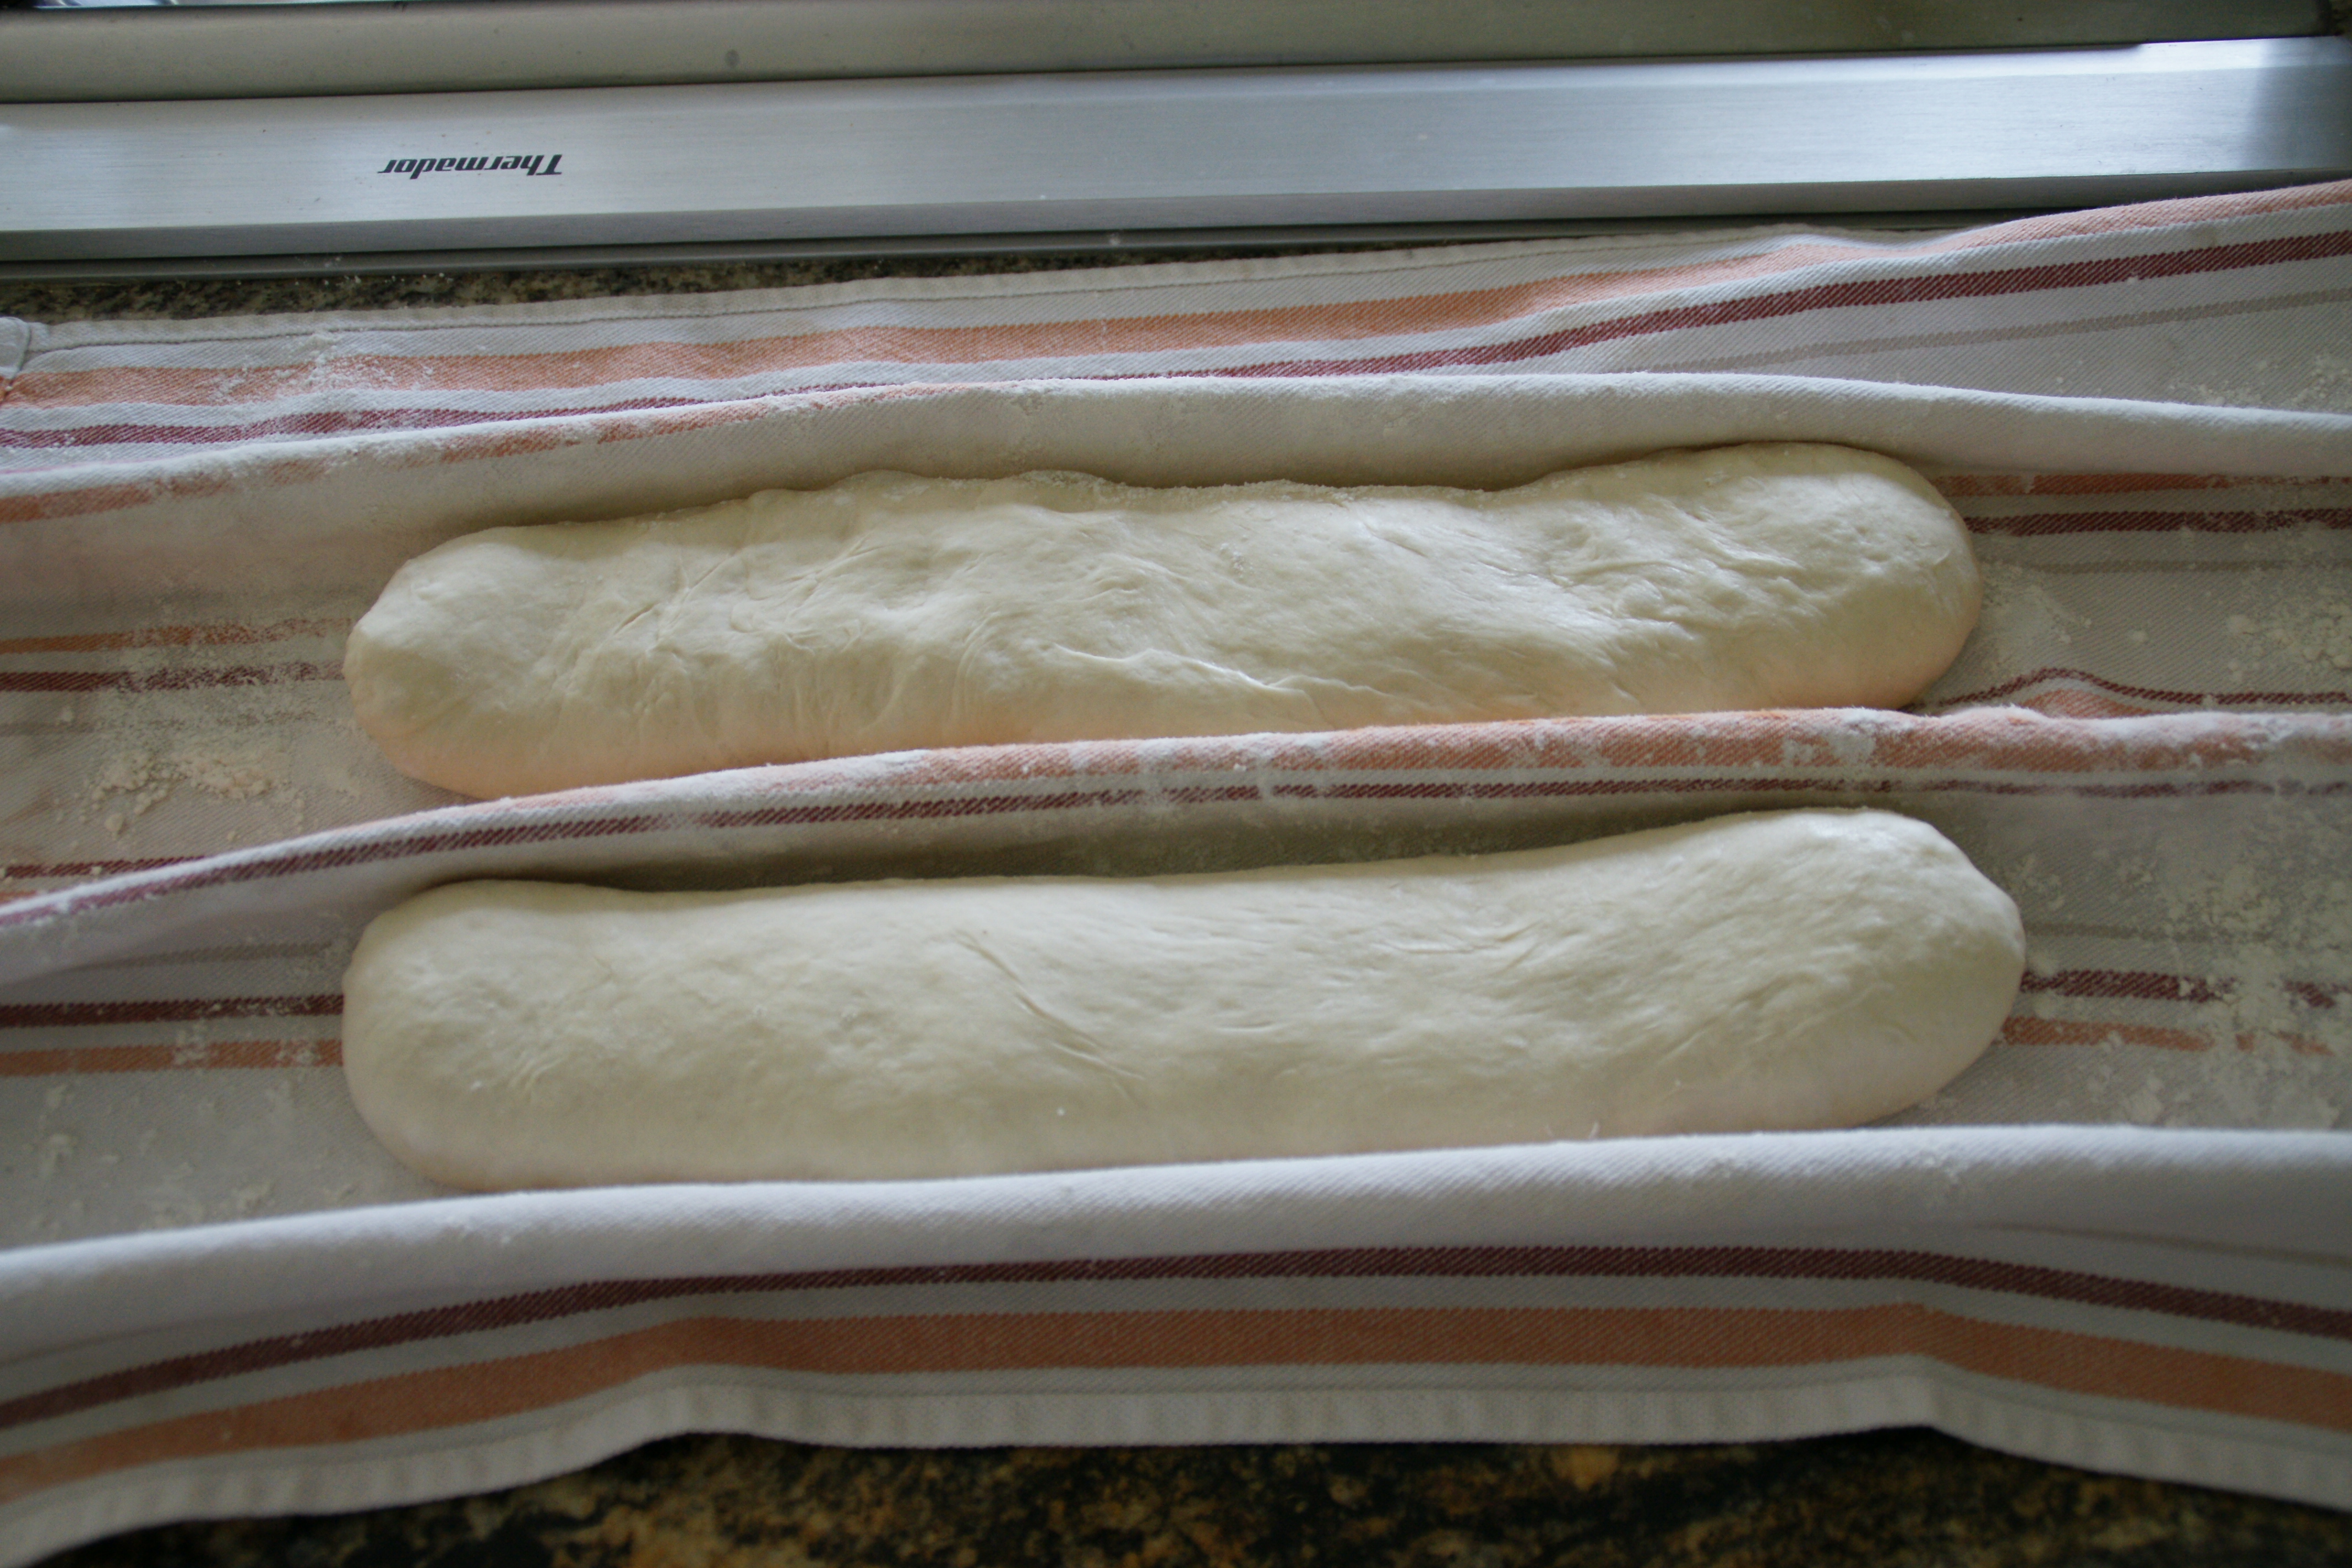
These are ready for their final rise
While the loaves are rising, place your baking stone in the oven on top of the middle rack. Preheat the oven to 500 degrees F. You want to heat the stone for at least an hour, so that’s why the oven goes on so early! Make sure your spray bottle is filled with water.
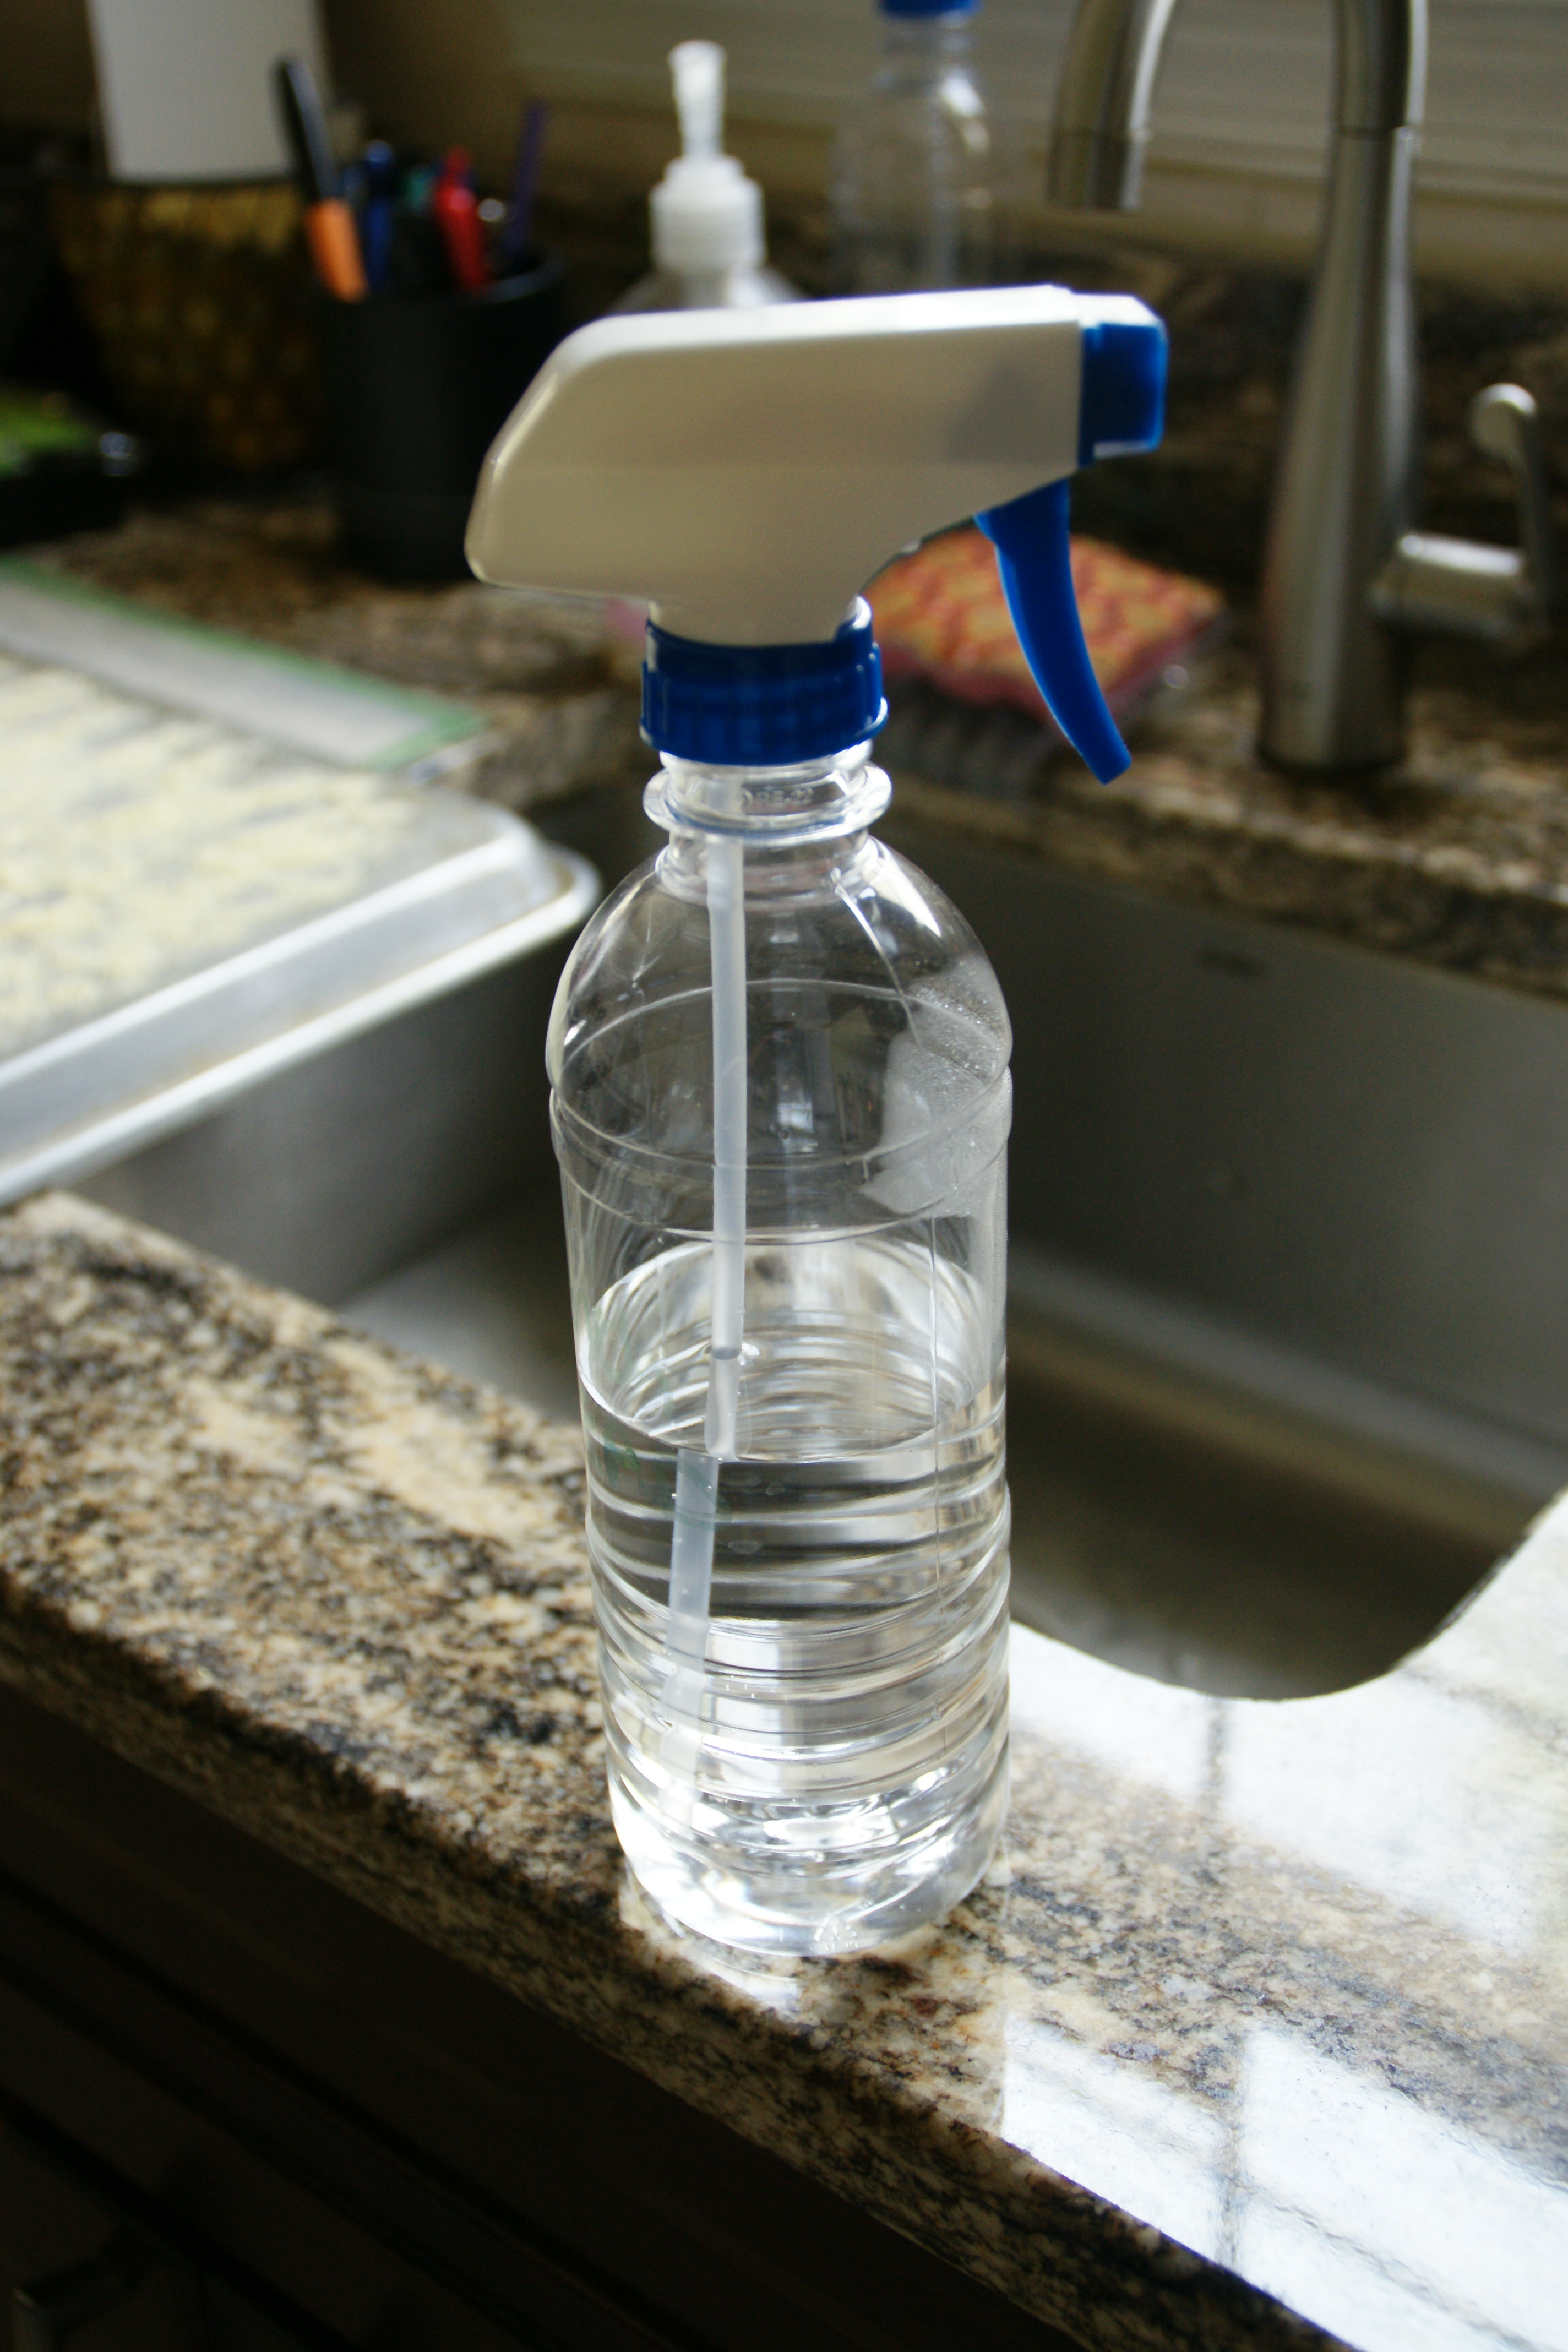
Plain old tap water– it’s just going on the oven walls!
When the loaves and oven are ready, take a rimmed cookie sheet and turn it over. Generously sprinkle the surface with cornmeal.
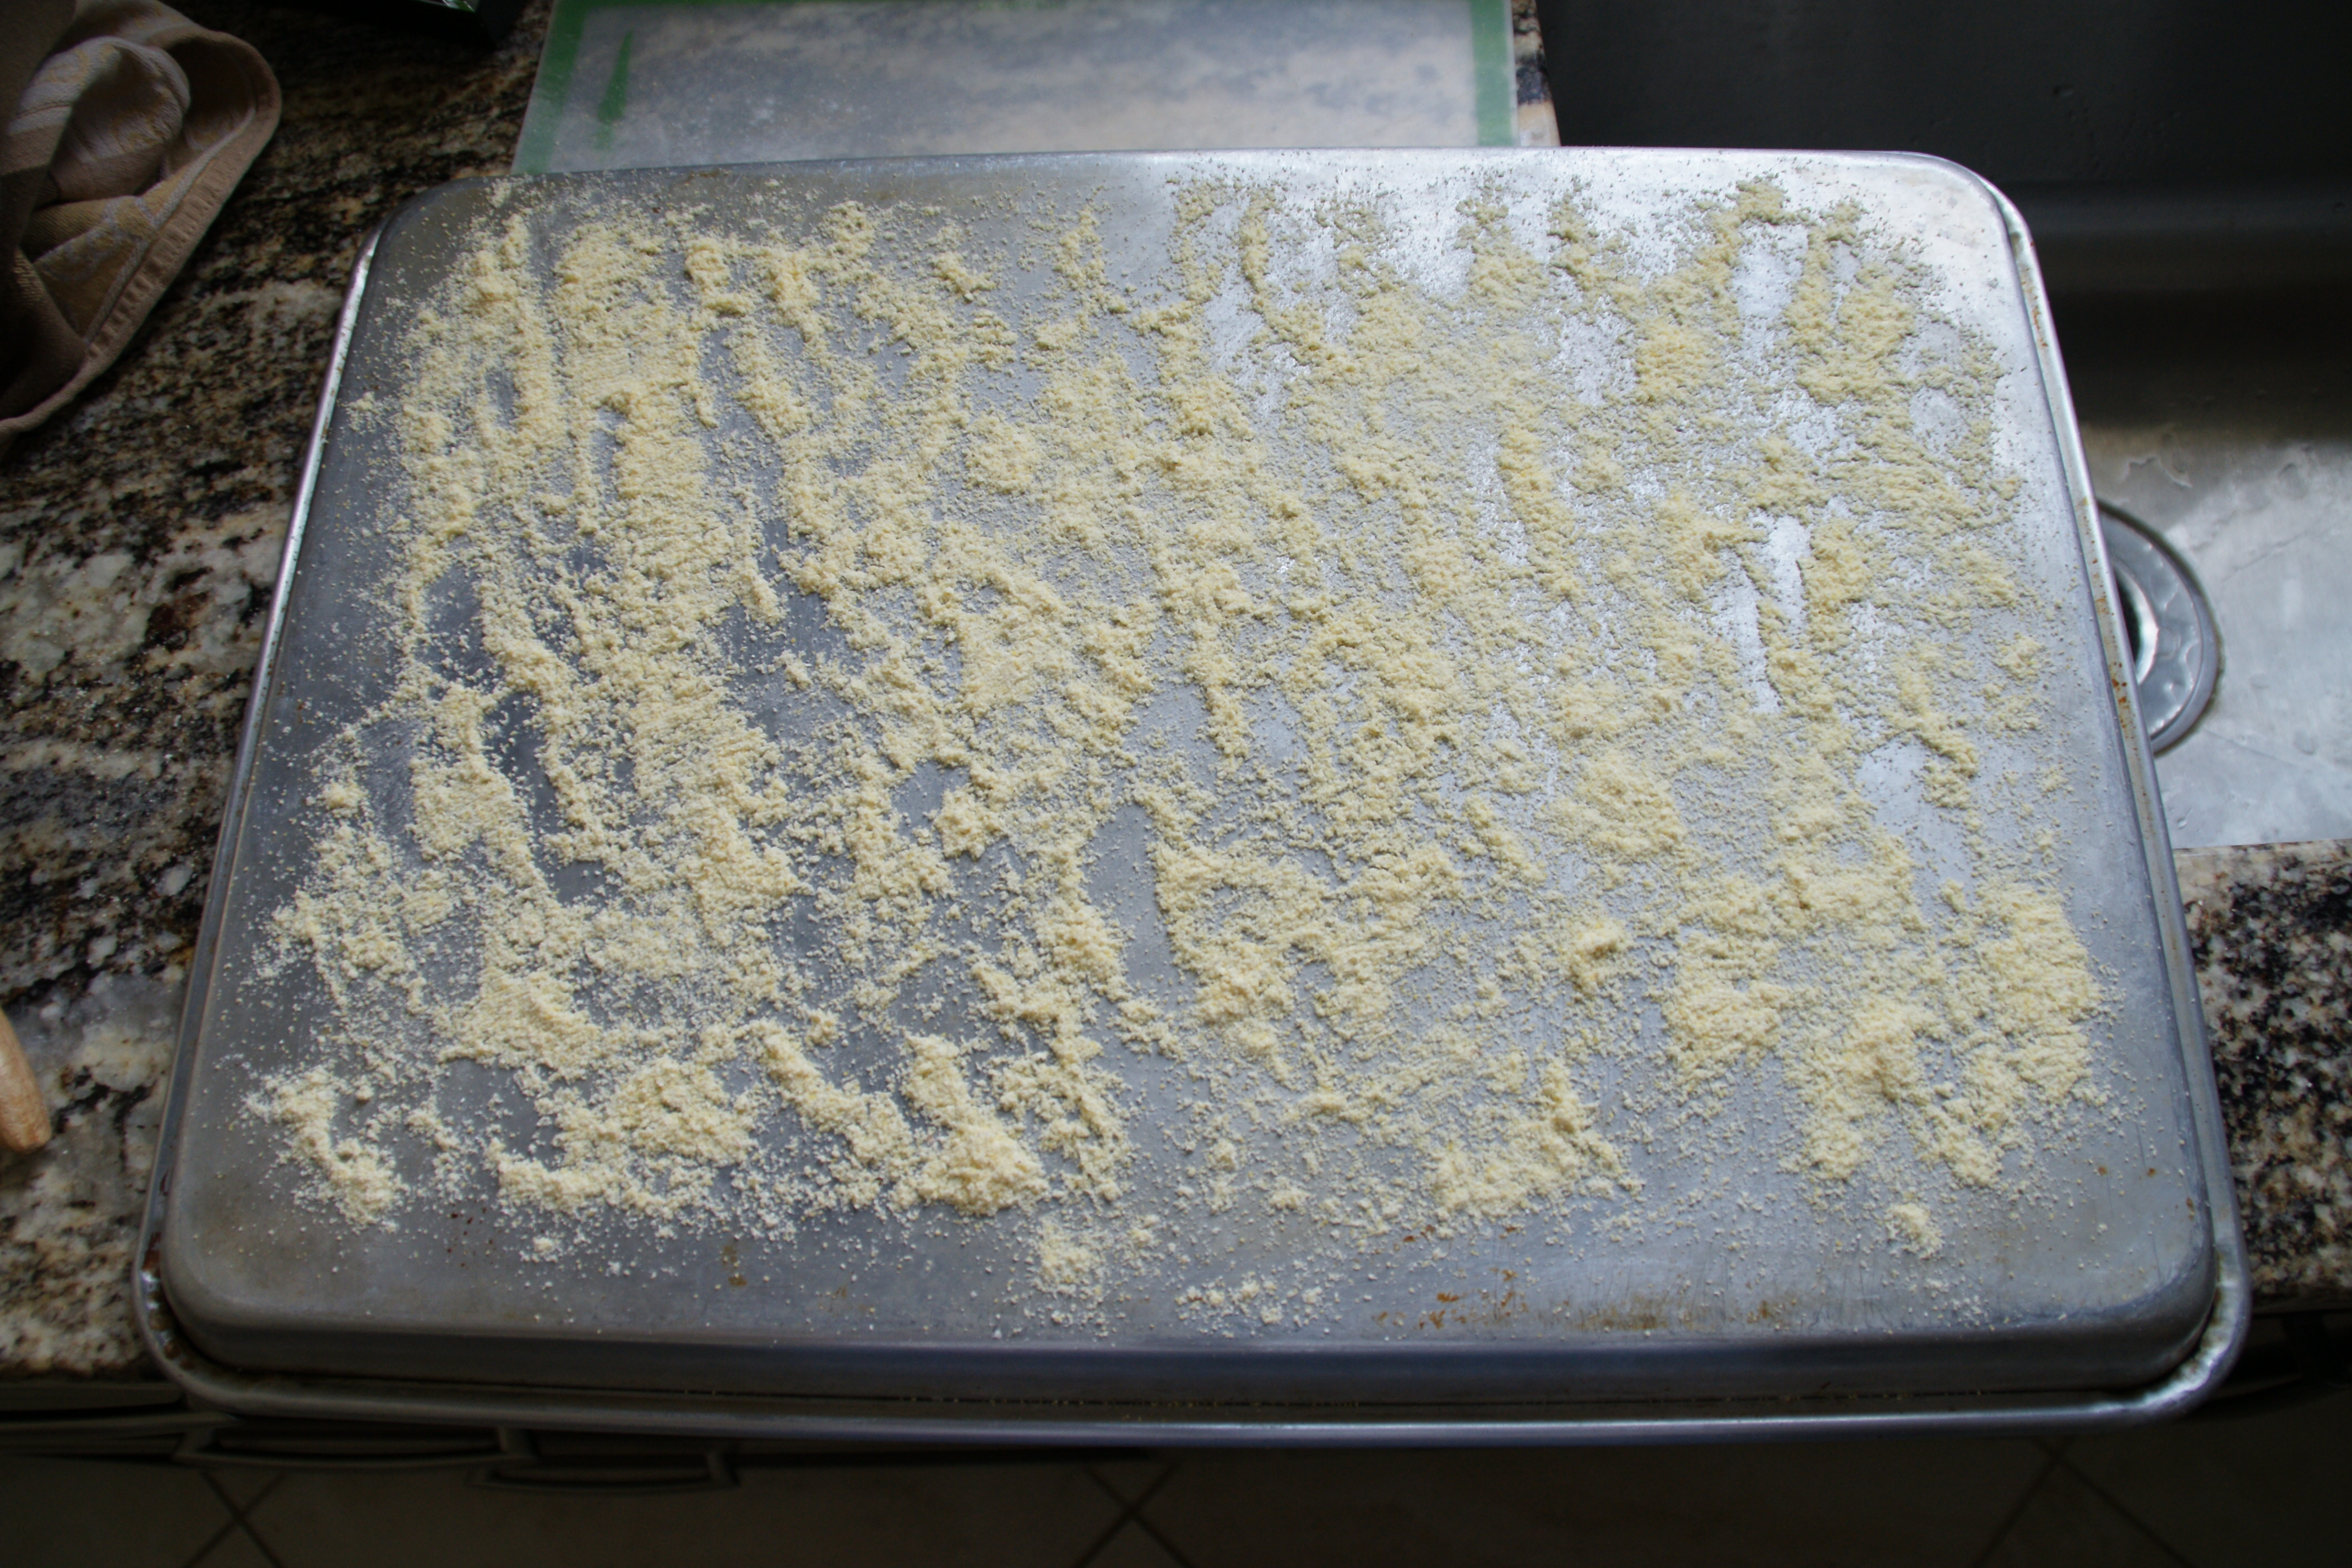
This is my makeshift bread peel!
Remove your loaves carefully and place them on the baking sheet– again, you might malform them a bit, but you can straighten them out gently.
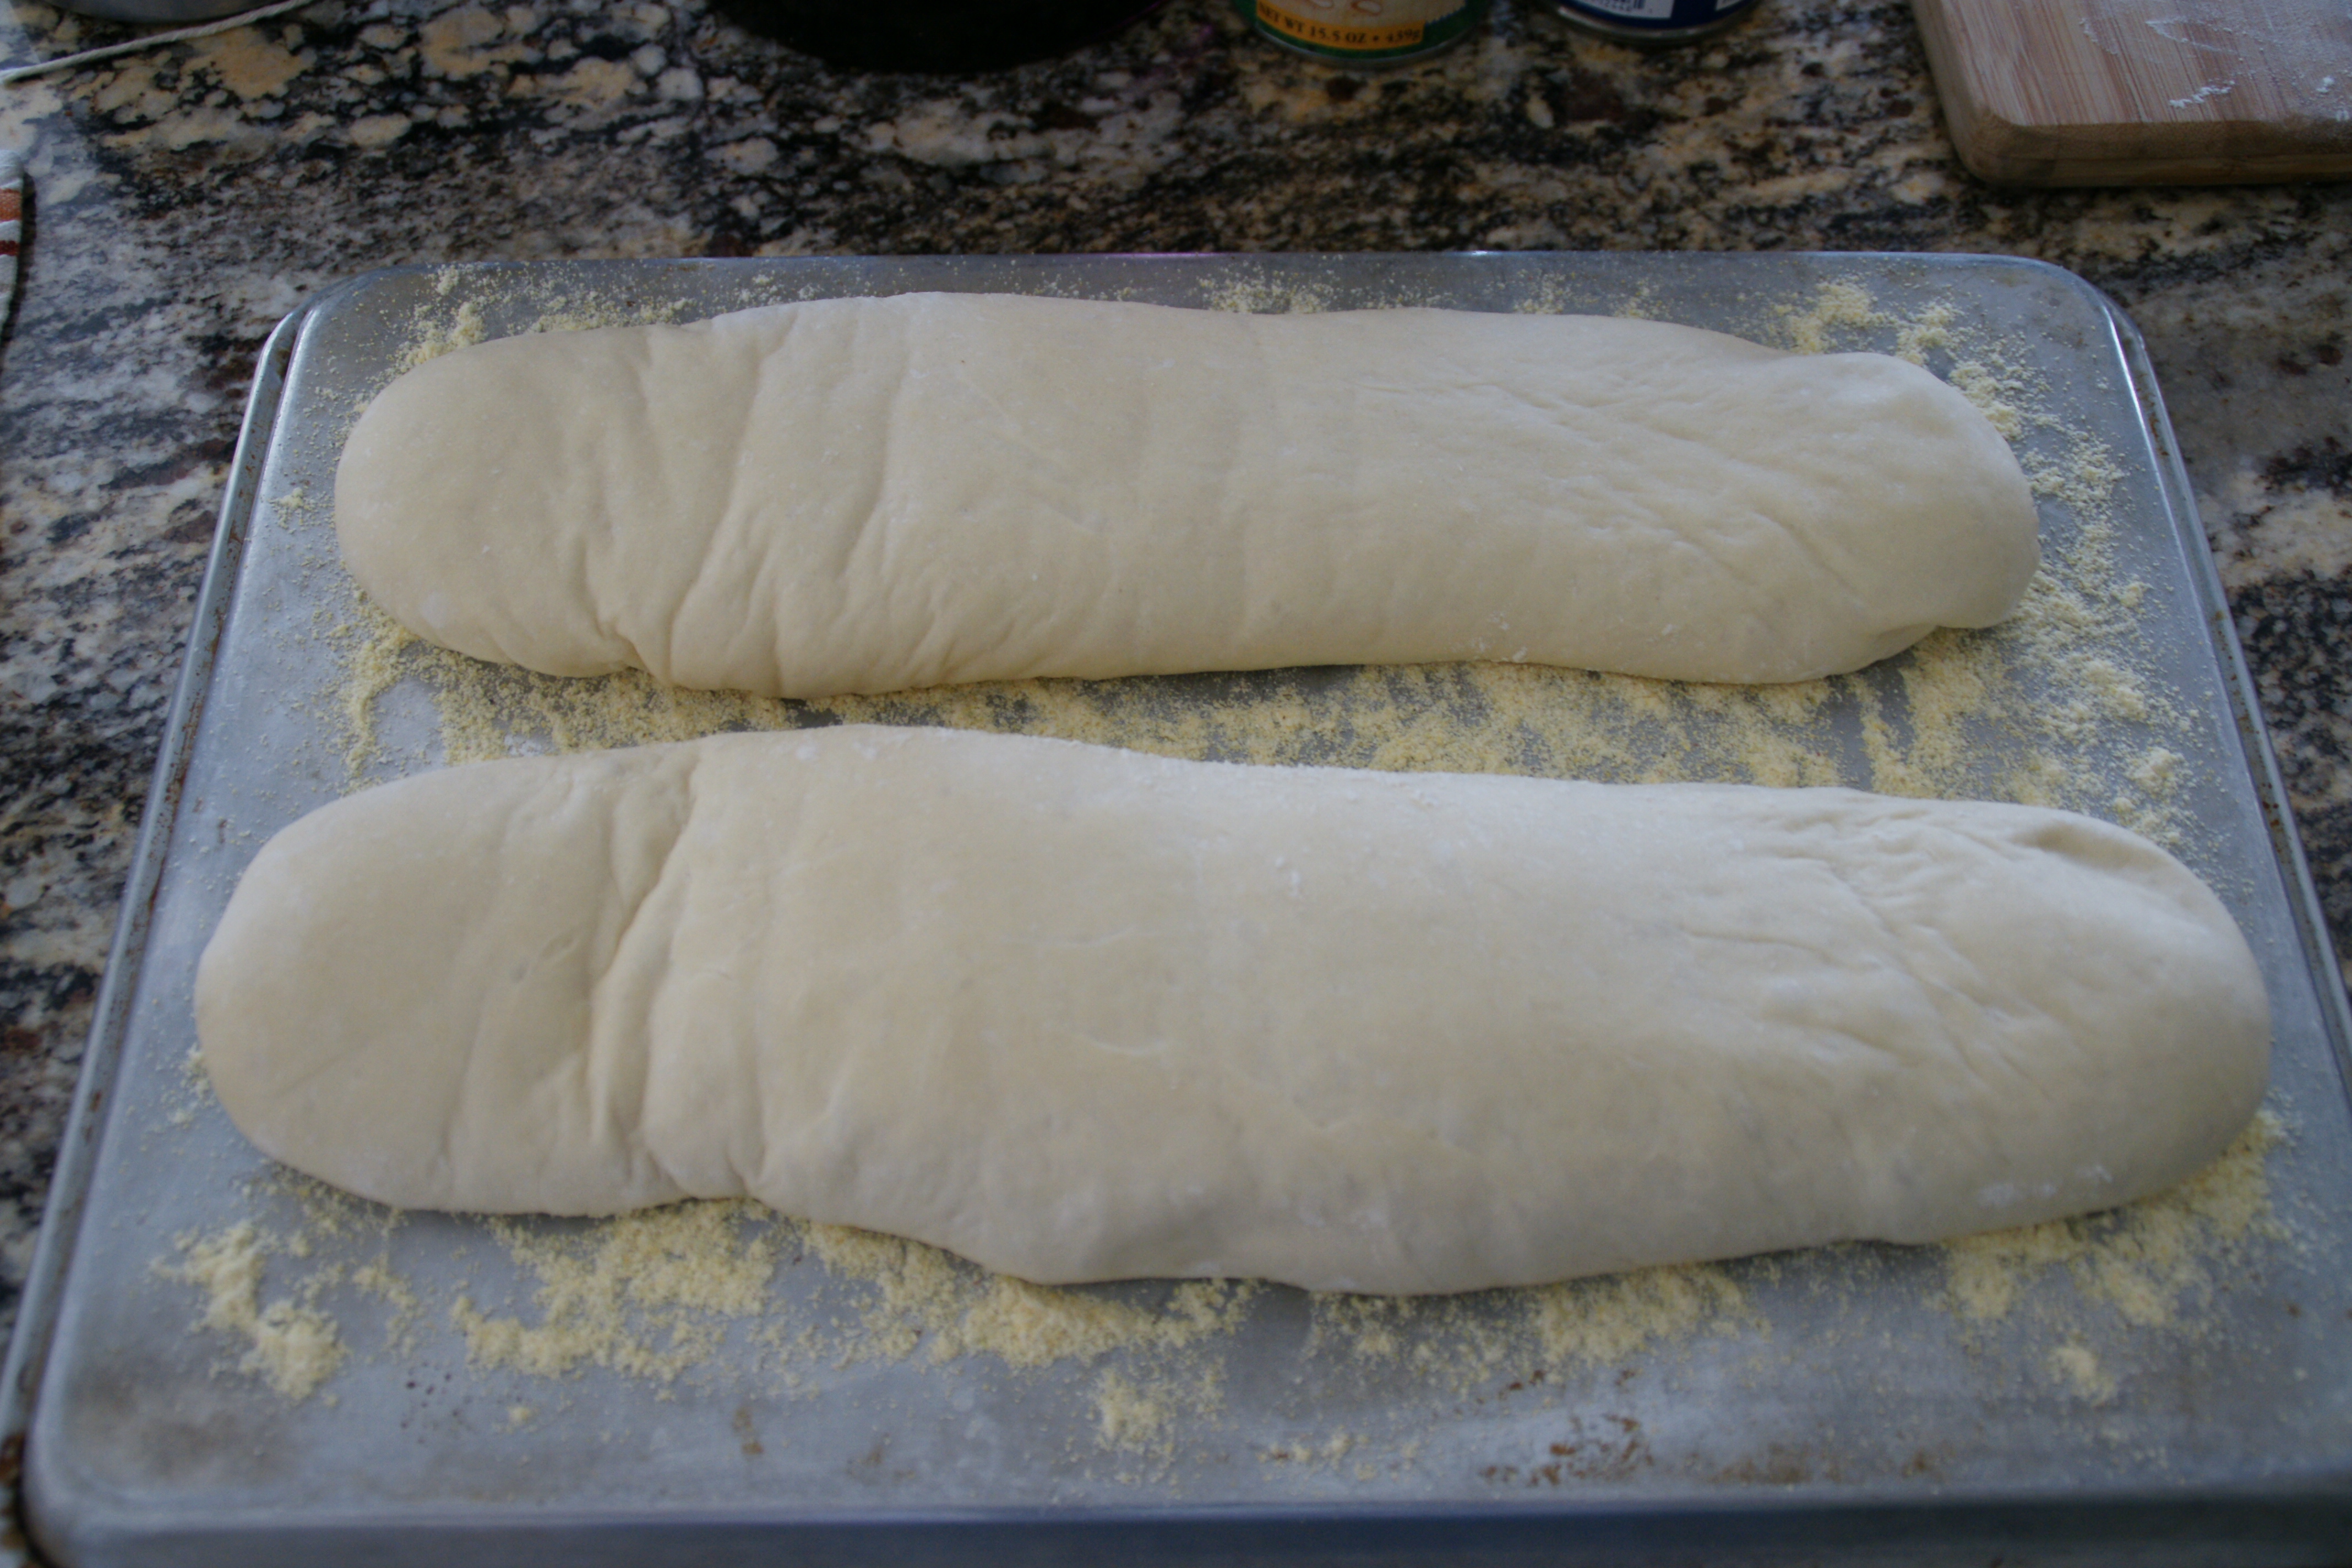
You can see where the loaf “bent” from my lifting. It won’t matter in the end!
With a very sharp knife, make 3 or 4 diagonal slashes on each loaf. (The loaves don’t look like much right now, but once they hit that high heat…)
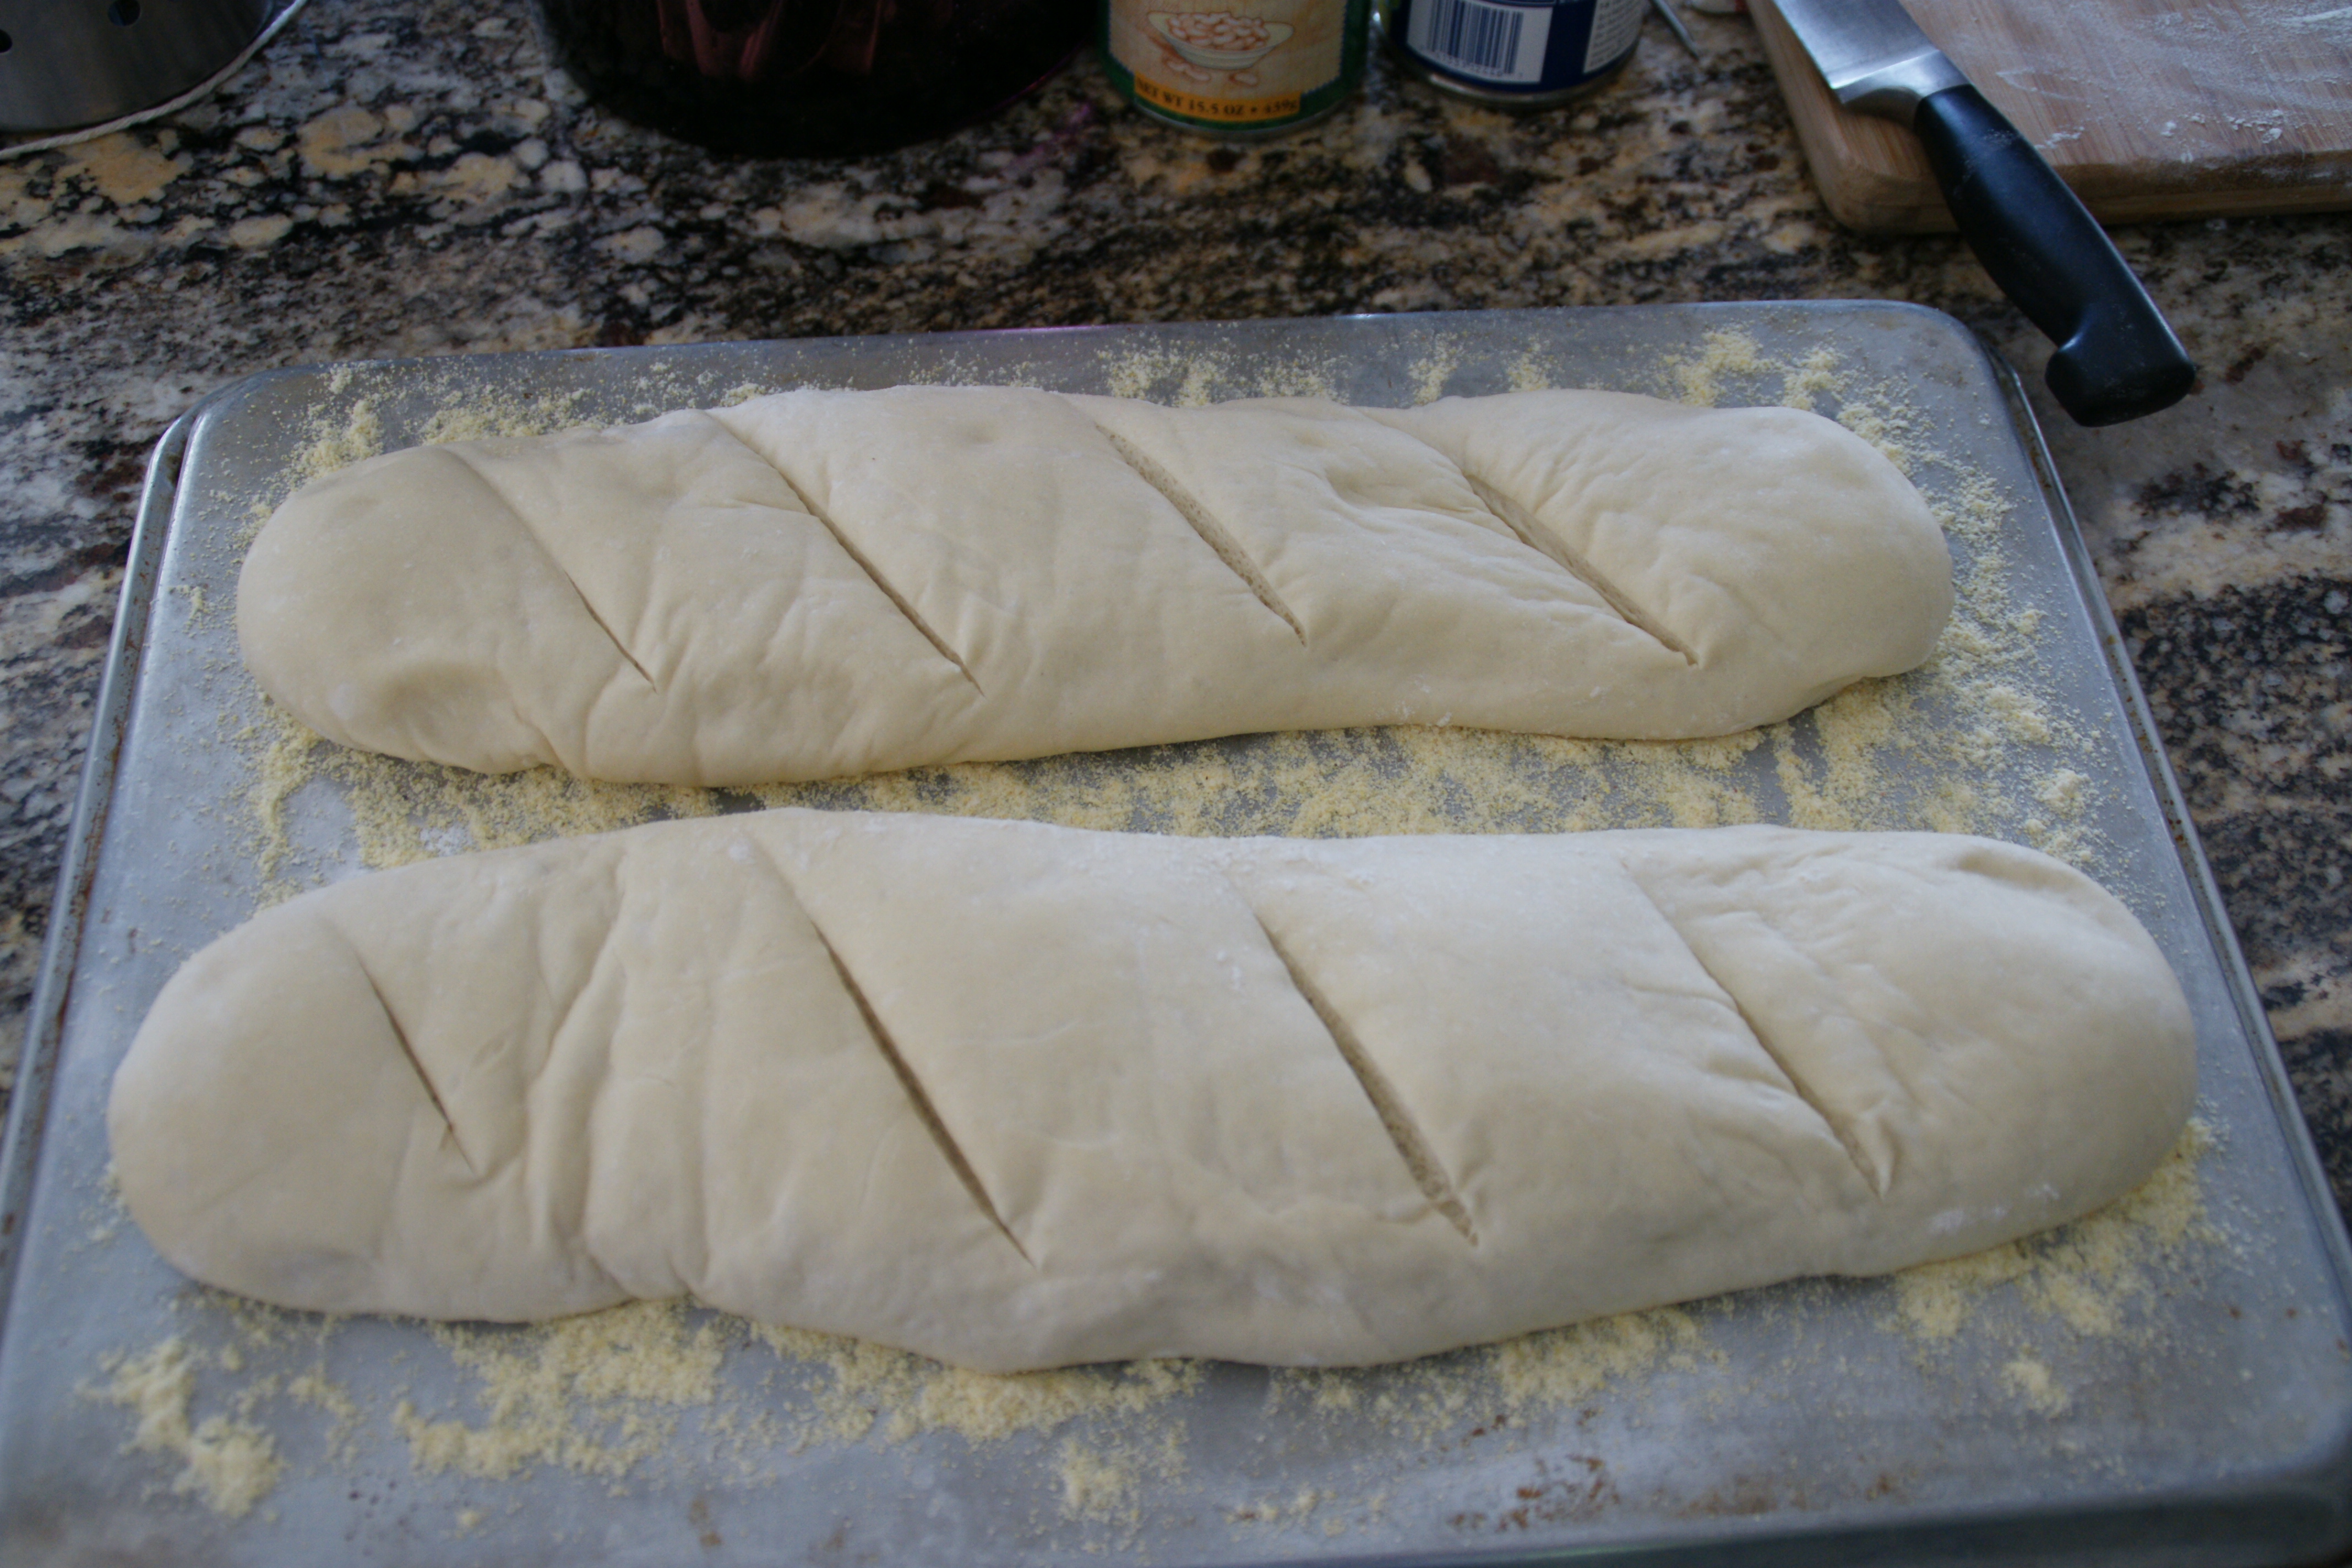
I realized while slashing that I need to sharpen my knives! I had to go over a couple of cuts…
Working as quickly as you can, open the oven door and shake the loaves onto the baking stone. By shake, I really mean jerk; you want to get those loaves onto the pan in one smooth motion like the guys do with pizzas in those giant brick ovens. This is where the “generous coating” of cornmeal is critical; I’ve had some loaves stick on the cooking sheet and the result has been a J-shaped loaf!
Once the loaves are on the stone, take the spray bottle and spray a few times on the walls and floor of the oven. Don’t spray the bread! Close the oven door and set the timer for 30 seconds. Open the door and spray again. Wait another 30 seconds, spray, then close the door and turn the oven down to 450 degrees. Bake for 10-20 minutes or until the internal temperature of the loaves is between 205 and 209.
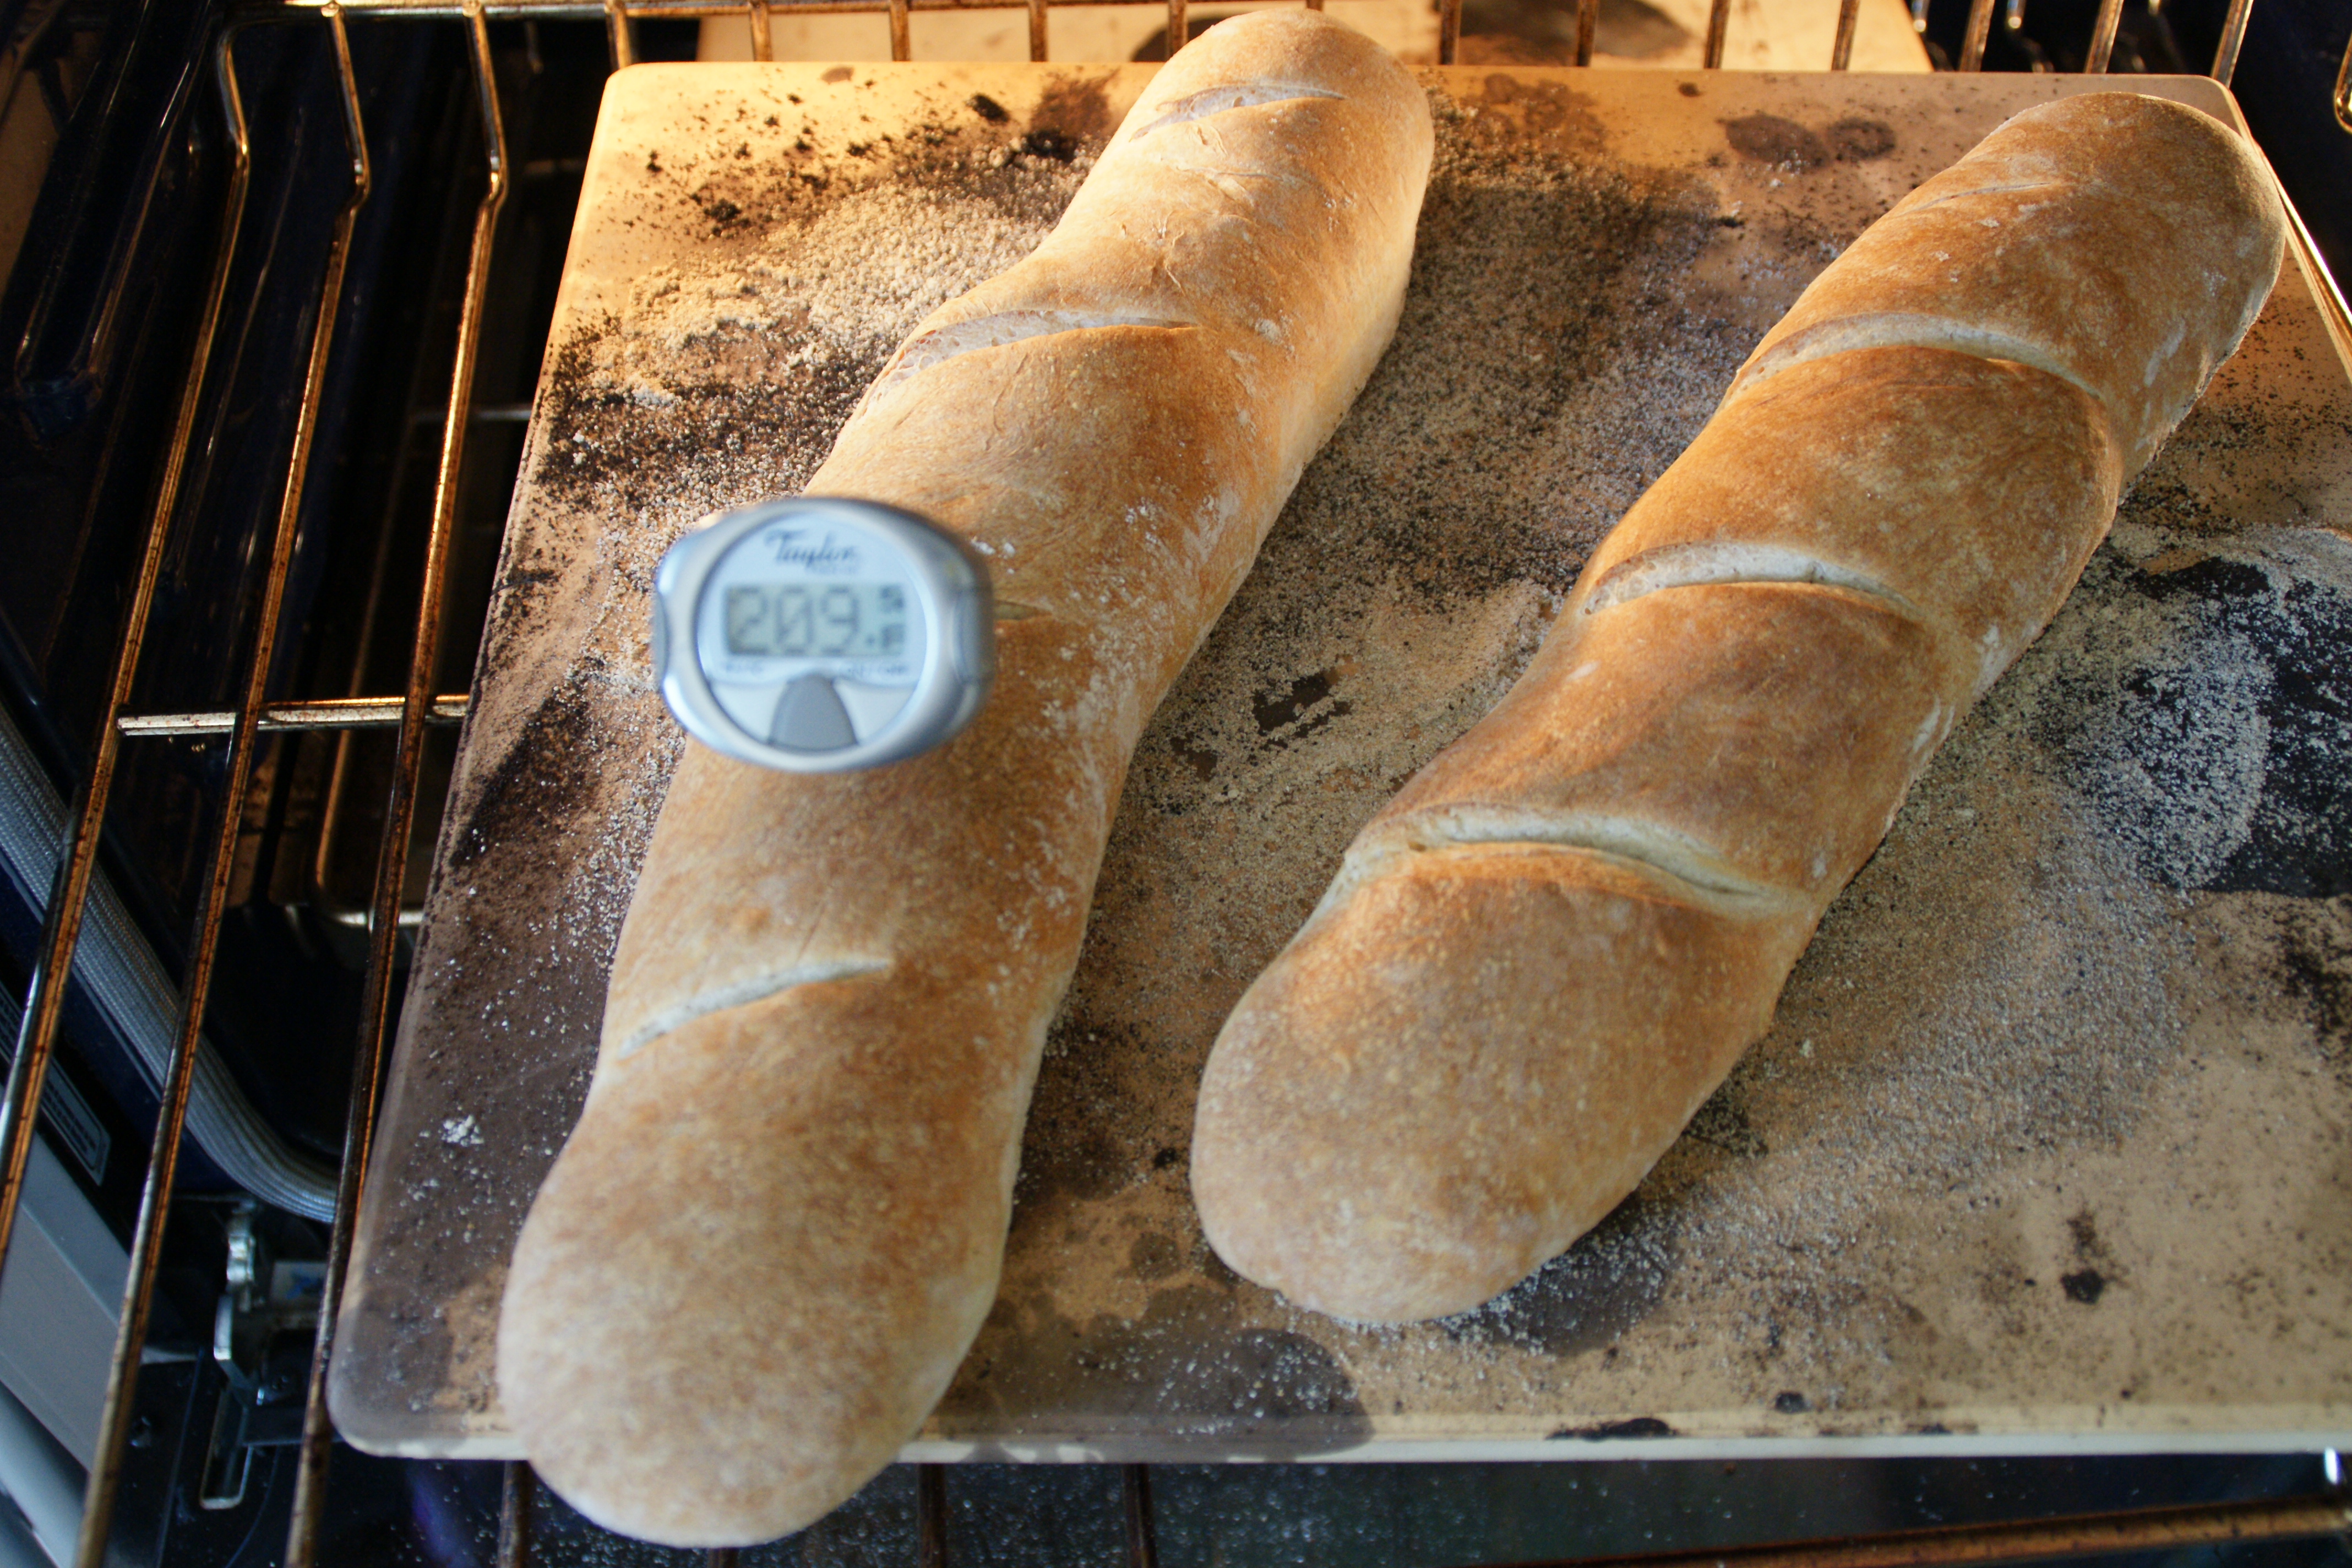
I don’t rely on the thump test.
Remove to a wire rack and let cool for at least 45 minutes.
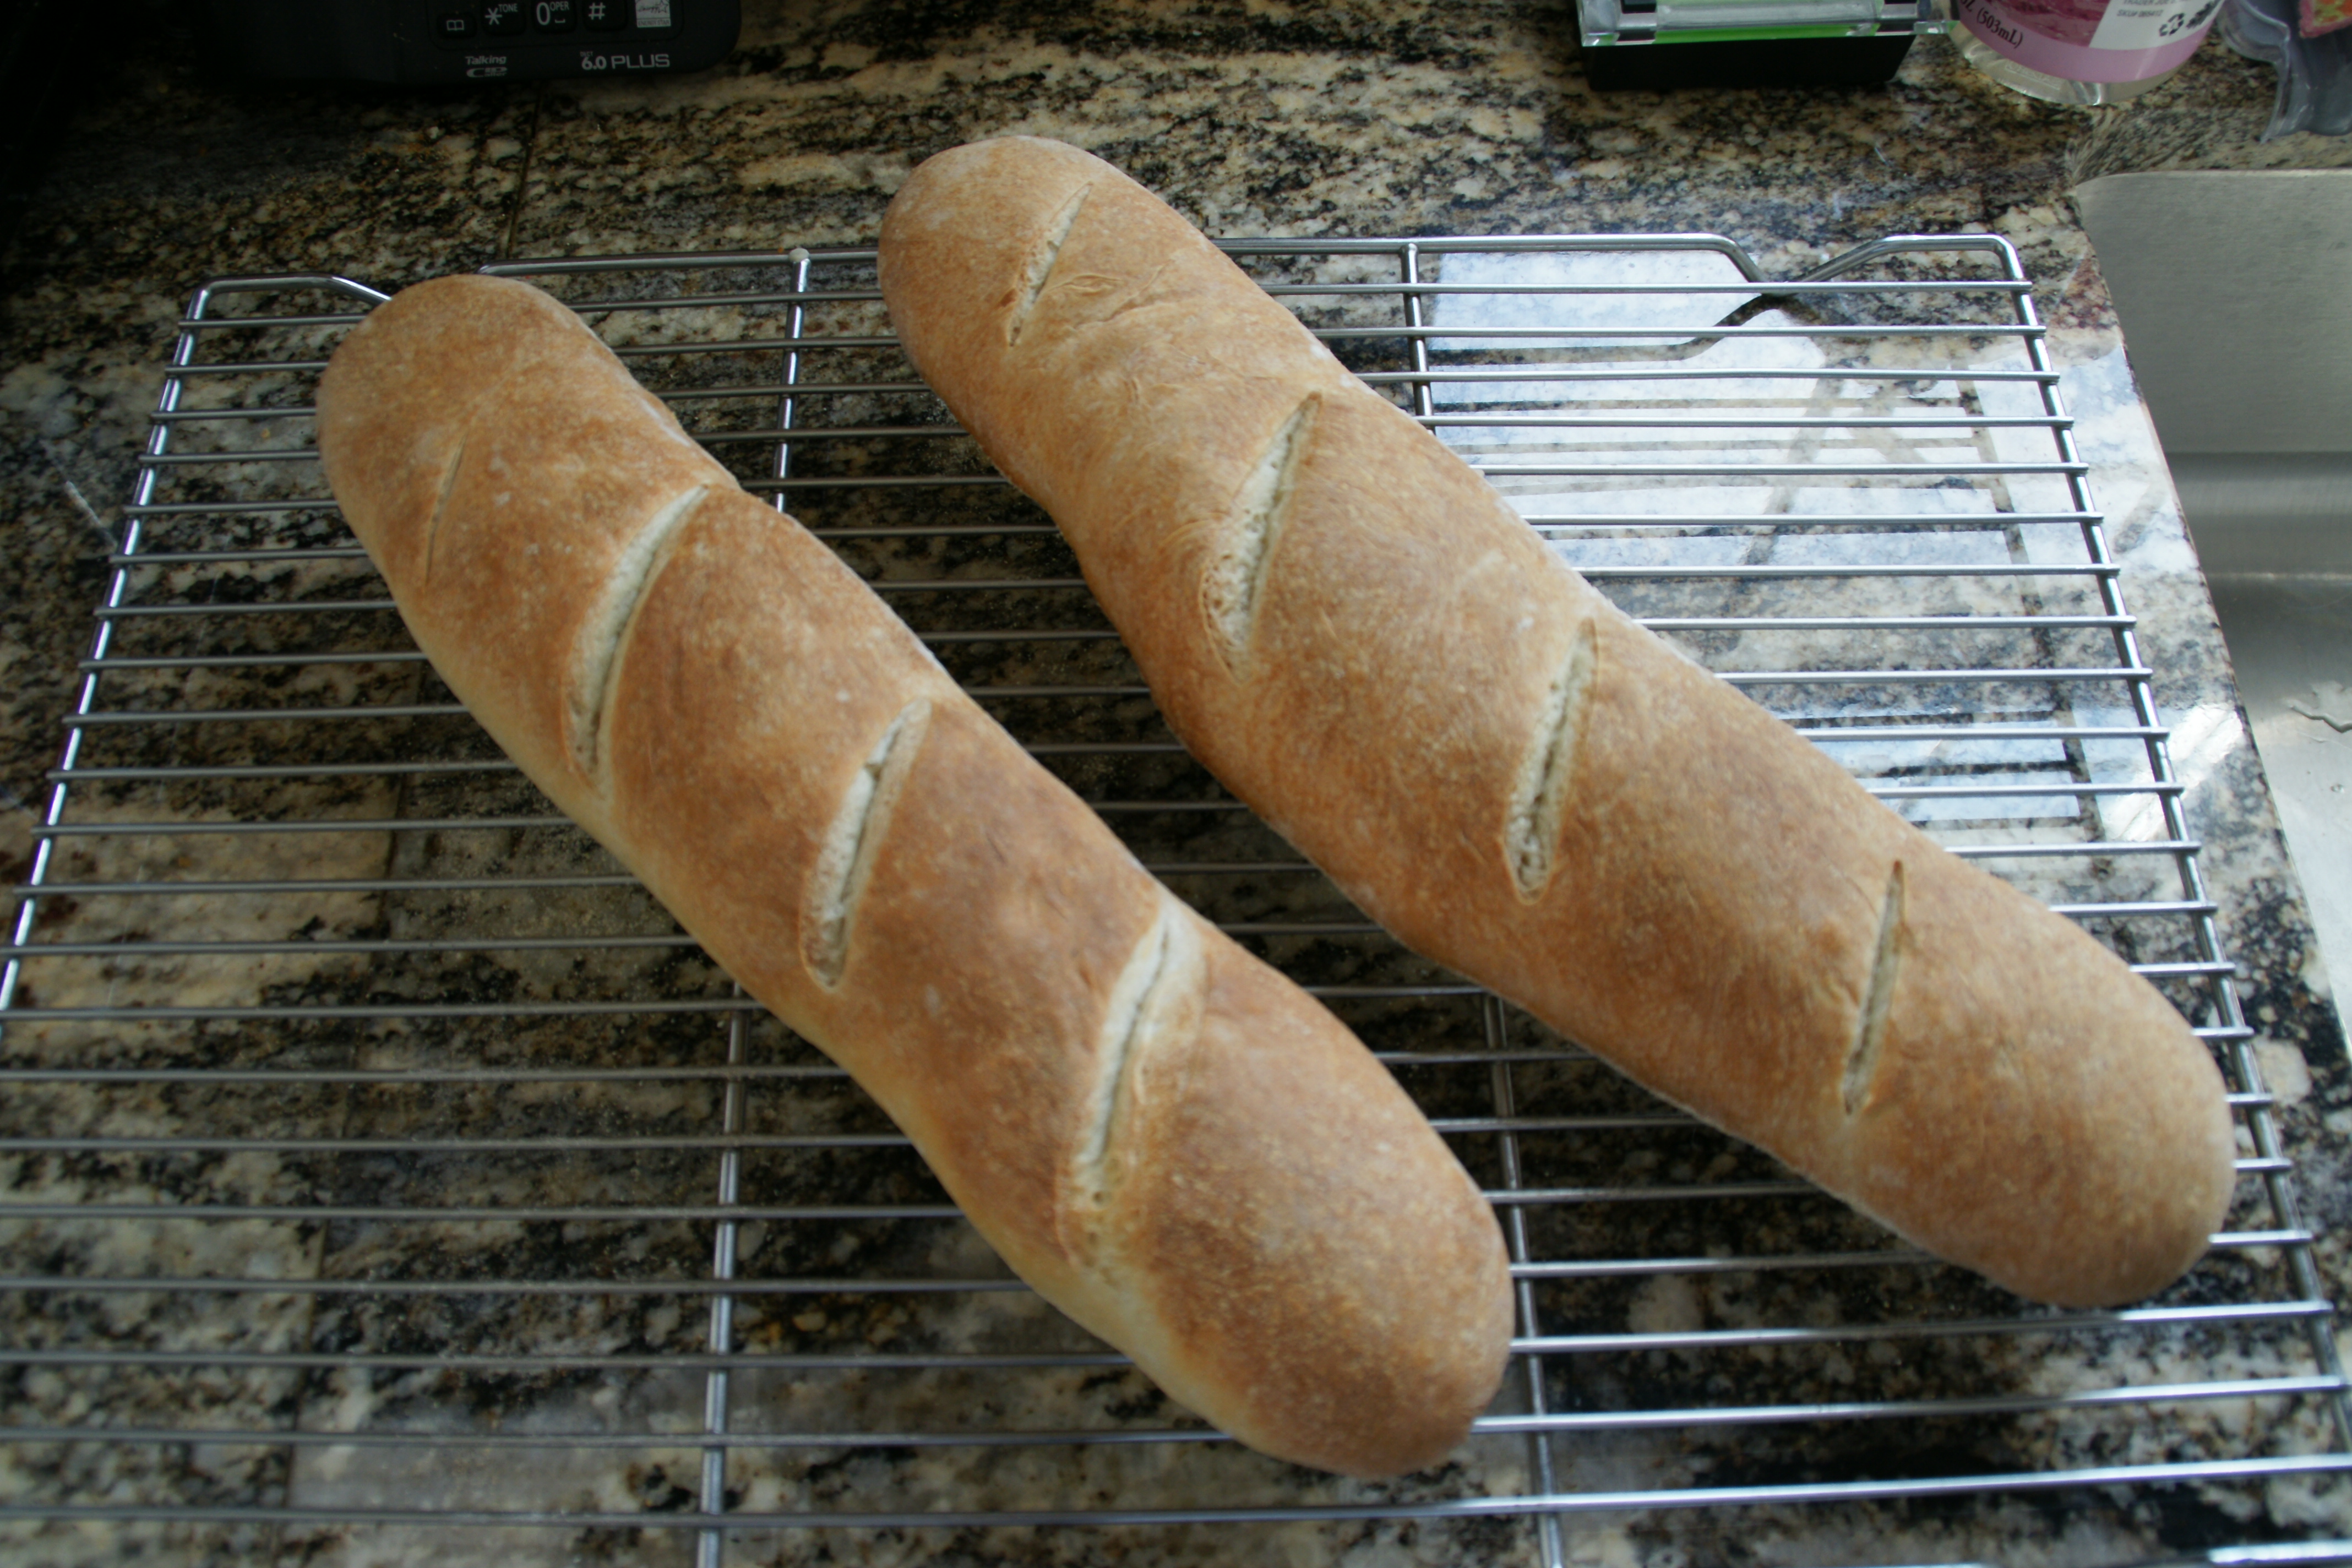
Don’t even think about cutting a loaf until 45 minutes have passed. The proteins won’t have time to settle if you slice early and you get gummy bread!
Note: The reason you spray the oven is to create steam. The steam helps increase the loaf’s spring– how much it rises when it’s first put into the oven (slashing the loaves also helps). It also is responsible for that nice shiny glaze. Don’t stress about the time being perfectly accurate– just get it done within the first two minutes of baking.
The overnight retard is what makes this loaf so tasty. Sometimes I let the pre-ferment go the full three days in the fridge and the flavor is even better, but most of the time, the guys don’t want to wait that long!
Let me know if you give it a try!


